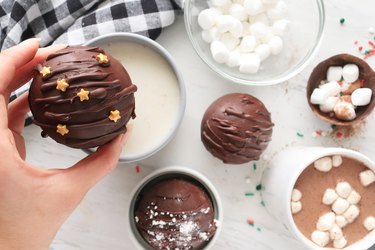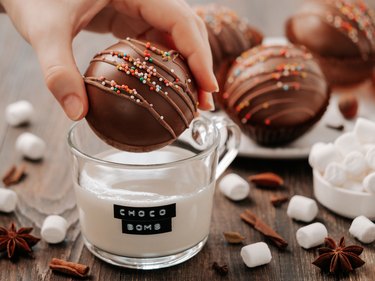
On a cold evening—or even a pleasantly cool one—a cup of hot chocolate is a comforting way to warm up. It's even more fun when your cup of comfort starts with a hot chocolate bomb, one of the happier social media trends the pandemic brought us. The concept is simple enough: You make a chocolate sphere, fill it with hot cocoa mix and mini marshmallows, and drop it into your mug of hot milk. Boom! One mug of hot chocolate, made even richer and more decadent by the chocolate shell as it melts. The chocolate bombs are fun when you're entertaining and they make great gifts, but buying them ready-made is pricey. Making your own is easier than you'd expect and requires only a few ingredients and minimal equipment. Here's what you need.
1. Chocolate for the Shell
Video of the Day
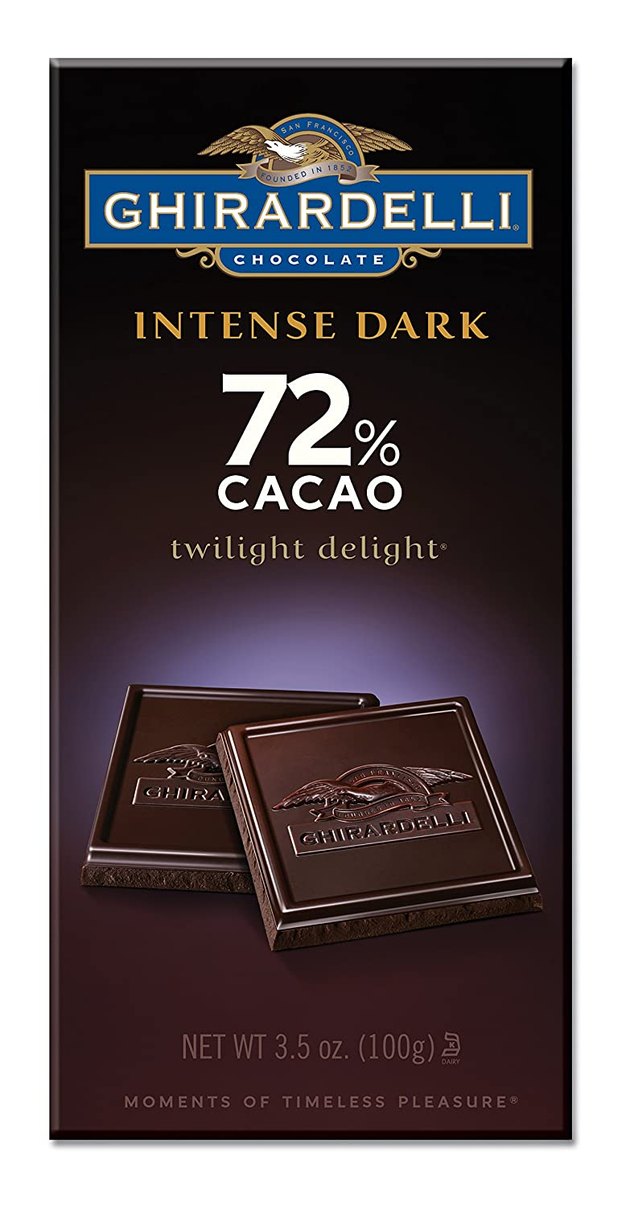

You can make the shell for your hot cocoa bombs from any kind of chocolate you have on hand, from chocolate chips to a milk chocolate bar from your nearest supermarket checkout line. You'll get the best flavor from high-quality chocolate, though, and good chocolate—as a bonus—is also more likely to give you the kind of shell you're looking for. One option is to go with a high-cocoa dark chocolate bar, like Ghirardelli's Intense. Another is to use what are called "melting wafers," "chocolate melts" or "candy melts," which have added ingredients to help them melt and harden easily. Most of those don't pack a lot of chocolate flavor (they're what candy bar manufacturers refer to as a "chocolatey" coating), but premium brands like Ghirardelli make melting wafers that still taste good. Either option will work beautifully.
Video of the Day
2. A Dome Chocolate Mold
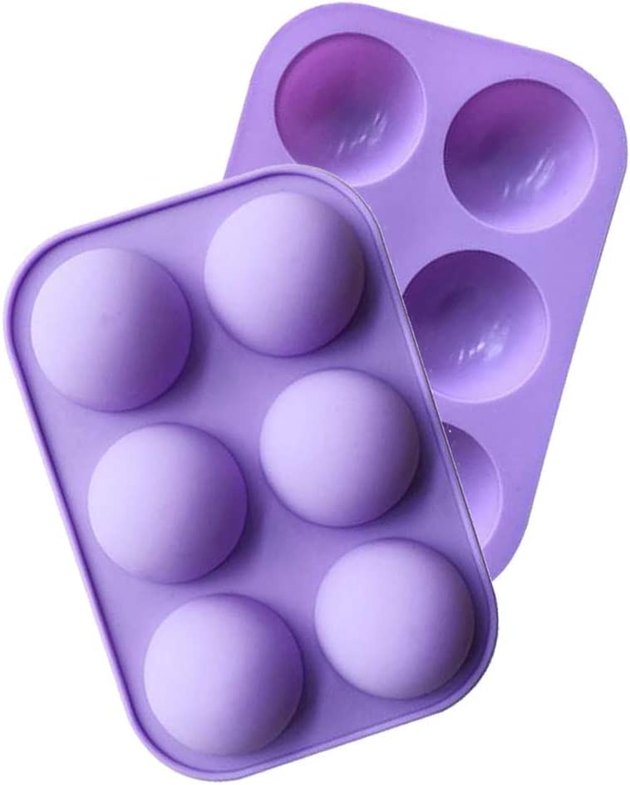
Silicone molds like this one from Meisen have been around for a while, and pastry chefs use them a lot for things like single-serving cakes or mousses, or small chocolate domes to incorporate into fancy desserts. The half-sphere shape is perfect for hot chocolate bombs too, though, and most online listings now identify them as bomb molds. Professionals use hard polycarbonate molds, but these silicone versions are better suited for home use. They're inexpensive, they release the finished half-spheres at the push of a finger, and they're dishwasher-safe. You can also bake or freeze treats in them, which you can't do with polycarbonate. What's not to like?
3. A Good Hot Chocolate Mix
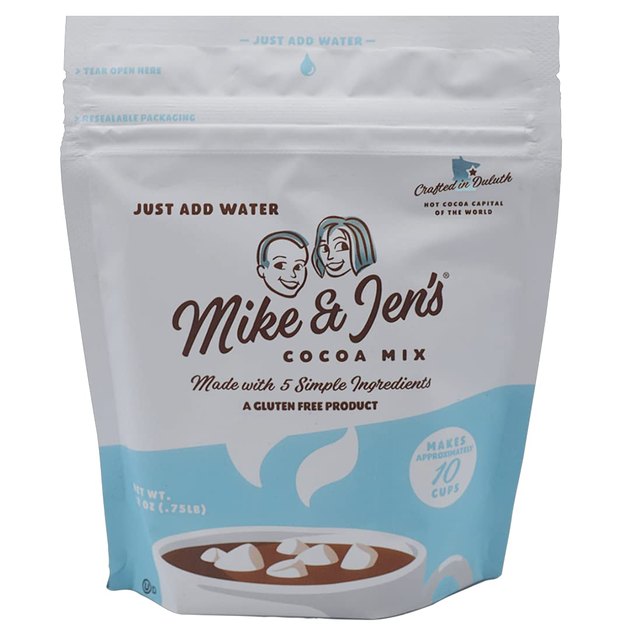
You'll also want a good quality hot chocolate mix to fill your chocolate bombs. This one from Mike & Jen is a solid choice, with just five everyday ingredients instead of the usual laundry list of additives and preservatives. There are lots of others, of course, from premium suppliers like Ghirardelli and Valrhona to the common supermarket brands. If you're making chocolate bombs for yourself, go with whichever brand you usually buy. If you're making them as gifts, you might want to fork over some extra dollars and get a flavor upgrade.
4. Mini Marshmallows
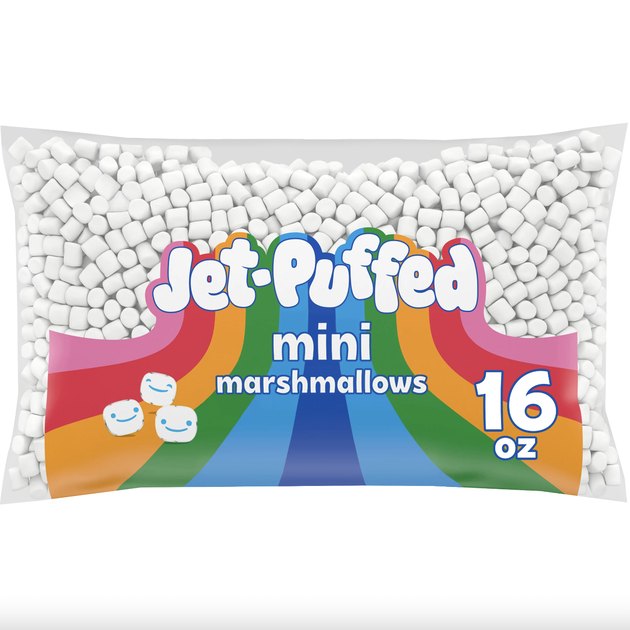
There are lots of other potential add-ins for your DIY chocolate bombs (we'll circle back to those in a few minutes), but mini marshmallows are the only one that's all but mandatory.
5. A Microwaveable Mixing Bowl
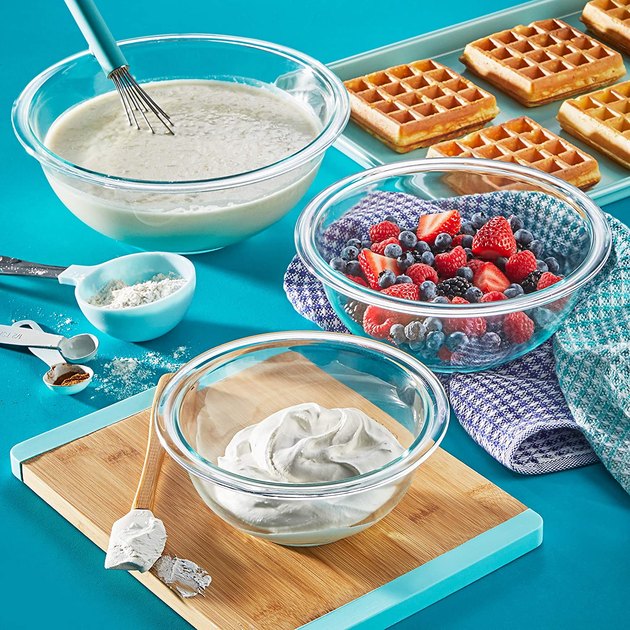
There are two ways you can melt the chocolate for your chocolate bombs; in the microwave or over a pot of gently simmering water (a double boiler). Either way, you'll need a heat-resistant mixing bowl, like these ones from Pyrex (a microwave-safe bowl will also work in a double boiler scenario). In classic Pyrex fashion, these are oven-, microwave-, fridge- and freezer-safe, and they're dishwasher-safe as well. Because they're glass, they also won't hold onto any flavors or odors from previous uses. They're just about ideal for the purpose.
6. A Plastic Scraper
This one's optional, but scrapers like these will make the project a lot easier. Use the flat edge to scrape away any excess chocolate from your silicone mold after it's filled, and the curved edge to get the last of the chocolate from your bowl. Once you own them, you'll find them super-convenient for all of your baking and dessert-making projects, and wonder how you ever got along without them.

Making Your Hot Chocolate Bombs
Now, let's talk about how you put it all together. We aren't going to provide a hot chocolate bombs recipe as such, because really it's more of a method. The process goes like this:
- First, give your silicone molds a good wipe with a clean paper towel to remove any dust or debris that might have accumulated since the last time you used them (if you've just ordered them, wash and dry them before the first use).
- Now chop and melt your chocolate, and transfer a tablespoon or so of chocolate to each cup of your mold. Spread it around with a gloved finger, or the back of a spoon, so the entire interior of the mold is well coated. Turn the mold upside down for a moment and allow any excess to drip back into your bowl. Scrape the mold with the flat side of your scraper to remove any remaining chocolate from between the cups. Put the mold on a sheet pan and refrigerate it for 5 minutes or so.
- After the shells have set, remove them from the fridge and—if necessary—add another dab of chocolate to any places where the shell looks thin. Return them to the fridge to set again, if any patches were necessary. Once the shells have hardened, pop out half of the domes onto your sheet pan and put the other half back in your fridge.
- Fill each half-dome with a tablespoon of your cocoa mix and as many mini marshmallows as you can conveniently fit.
- Heat a skillet on the stovetop over low heat for a moment or two, or warm a plate in the microwave (we all have some dishes that heat up when they're microwaved, so use one of those). Take an empty dome and place it onto the warm surface for a moment, just long enough to begin to soften, then quickly use it to cap one of the filled half-domes. Repeat, until you've used up all of the domes.
Tips for Successful Hot Chocolate Bombs
That's the short version of how the process goes, but of course, there are a lot of details that can spell the difference between success and failure. Here are a few tips and tricks (and some important notes about chocolate) to help you along the way.
Let’s Talk About Tempering Chocolate
Cocoa butter, chocolate's natural fat, is pretty complex stuff. Depending on how warm it gets, your melted chocolate may form a rigid structure when it cools, or it might stay soft and melty. That's what "tempering" means; getting it to the right temperature so it cools with a nice sheen and snaps when bent or bitten into.
There are several ways to temper chocolate, but the easiest for home cooks is the so-called "seeding" method. The bar chocolate you're starting with is already tempered, with the structure you're looking for. When you chop (or grate) the chocolate for melting, set aside up to a quarter of the total. Warm the rest in your glass bowl over a double boiler, or in the microwave with a stir every 10 to 15 seconds, until it's about half-melted. Stir until the last pieces have melted all the way (it should be barely warm to the touch), and then stir in the chopped chocolate you kept back. This "seeds" the melted chocolate with the structure you want, and it should set to the kind of crisp, glossy finish you see on store-bought cocoa bombs.
Alternatively, just use melting wafers, which—as mentioned previously—have extra ingredients to help them melt easily and set to a glossy sheen.
Choice of Chocolate
Dark chocolate will give you the biggest punch of chocolate flavor, but you can use semisweet chocolate, milk chocolate or even white chocolate if you prefer. The process is very much the same.
The Cocoa Mix
If you'd rather DIY your own cocoa mixture instead of a store-bought mix, whisk 2 parts baking cocoa, 2 parts non-fat instant milk powder and 1 part confectioner's sugar in a bowl. Use that mixture to fill your cocoa bombs.
A Few Suggested Add-Ins
Your choice of add-ins is limited mostly by your imagination. Ask yourself "what do I like in my cup of hot cocoa?" and take it from there. A few options include:
- Espresso powder or instant coffee for a "mocha" flavor
- Crushed candy canes or other peppermint candy for peppermint hot chocolate
- Sprinkles, just for color
- Caramel chips and sea salt
- Peanut butter chips or dry peanut butter powder
A Few Final Tips
If you aren't comfortable with the usual method of slightly melting the edge of the dome to make a seal, you can use a piping bag instead. Fit your bag with the smallest round tip you've got, and fill it with the melted chocolate. Pipe a small bead of chocolate around the edge of each half sphere, and then place the other half on top.
A pastry bag also provides an excellent way to decorate your homemade hot chocolate bombs, which is a nice touch if you're giving them as a gift. Drizzle a few stripes of chocolate over each of the bombs—or better yet, melted white chocolate for a visual contrast—to give a professional appearance. If you wish, you can add sprinkles or other decorations while the chocolate is still wet enough for them to adhere.
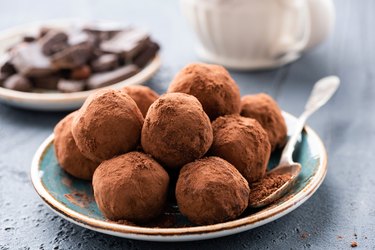
If you want to make hot cocoa bombs but messing around with molds and tempered chocolate feels like more work effort than you can manage, there's a "cheat." A chocolate truffle, whether homemade or store-bought, makes a wonderful mug of chocolate and they're a much simpler DIY project.