What do you give the person who has everything? A homemade food gift, of course! After all, edible gifts are fun to make and eat. Consumable items are also perfect gifts for foodies or minimalist loved ones who simply don't want, well, more stuff.
Fortunately, edible holiday gifts are easy to make even if you're not a pro at baking or cooking. This means they make great last-minute gifts when you're short on time. (Hey, it happens.) What's more, homemade gifts are often inexpensive, which is helpful if you're on a budget.
Video of the Day
Video of the Day
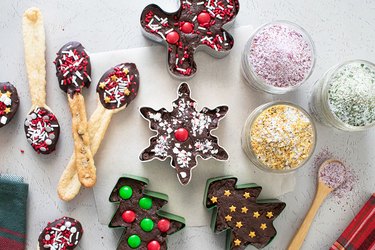
If you're looking for inspo, we've created three food gift ideas for the holidays: hot chocolate cookie spoons, fudge-filled cookie cutters and flavored salts with celery, rose and lemon pepper. The first two are best for people with a sweet tooth, while the last no-bake option is great for folks who love to get creative in the kitchen. Either way, you can be sure that your family members and friends will (literally) eat these goodies up.
Gift giving has never been so tasty!
Things You'll Need
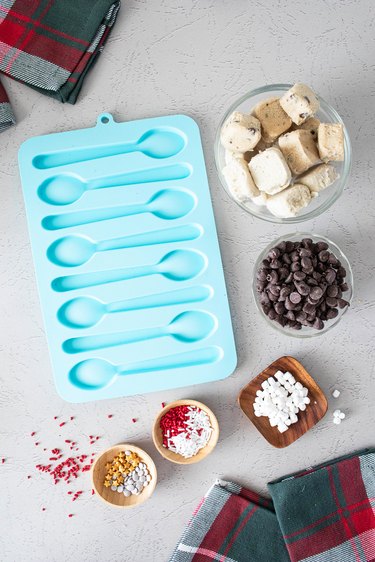
Spoon mold
Chilled cookie dough
Chocolate chips (semisweet or dark chocolate)
Sprinkles
Dehydrated mini marshmallows
Tip
Spoon molds are available in the candy section of craft stores or Amazon. We used this candy spoon mold from Michaels.
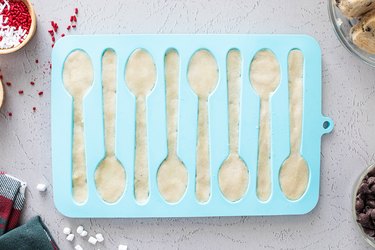
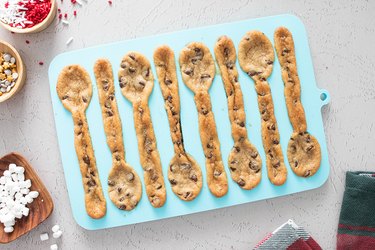
Break the cookie dough into small pieces and press it into the mold. Keep in mind that the cookies will rise slightly, so avoid overfilling.
Chill the dough in the freezer for 30 minutes to an hour. This will help minimize spreading during baking.
Tip
For our spoons, we used store-bought sugar cookie dough and chocolate chip cookie dough. However, you’re welcome to use your favorite type. Just be sure to bake each one separately if they have different baking times. You can also use a gluten-free cookie dough for a friend with dietary restrictions.
Preheat the oven according to the temperature of your cookie recipe. Let the dough sit at room temperature for 10 minutes and then place the silicone mold on a baking sheet. This will make it easier to handle the mold.
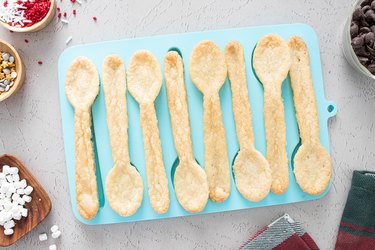
Bake according to the recipe's directions. If the dough spreads too much, gently separate or trim the spoons while it's still hot (as soon as it comes out of the oven).
Tip
We recommend baking at the higher end of the recommended time range to ensure sturdy spoons. If the cookie spoons are underbaked and too soft, they will easily break when you remove them from the mold.
3. Melt chocolate and dip the spoons
Let the cookies cool completely. This is important because handling them while they're still soft can lead to breakage.
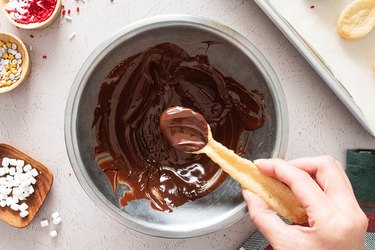
While you're waiting for the cookies to cool, melt the chocolate chips. To do this, place them in a microwave-safe bowl and heat on high for about 60 seconds. Mix and heat for another 30 seconds, repeating as needed. The bowl will be very hot, so be sure to use an oven mitt. You can also create a double boiler on the stove top with a small pot and stainless steel bowl.
Line a baking sheet with parchment paper or a silicone mat. Dip each chocolate spoon into the melted chocolate, making sure to coat both sides. Place them on the baking sheet.
Tip
The required amount of chocolate chips will depend on the size of your cookie spoons and how many you’re making. We melted about 1 cup of chocolate chips for 8 spoons.
Add sprinkles, mini marshmallows and any other hot chocolate toppings you love. You can also add any leftover melted chocolate onto the cookies for an extra treat. Get creative!

Tip
For even more flavor, add a dollop of peanut butter to the spoon.
Let them sit until the chocolate sets—this should take about 2 to 4 hours depending on the temperature of your kitchen. Another option is to pop the finished cookies in the refrigerator to speed things up.
And just like that, you have a mouthwatering spin on Christmas cookies! You can place them in cellophane bags before gifting, but if you're looking for a more eco-friendly option, pack them in a tall Mason jar or metal gift box instead.
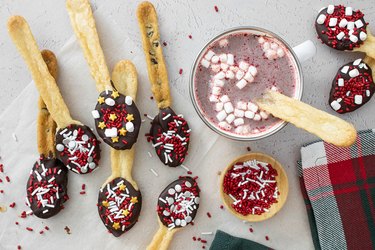
It's also a good idea to include instructions on how to use this holiday treat. Simply heat a mug of milk—any kind will do—and then dunk the chocolate-dipped end of the spoon. Yum!
Things You'll Need
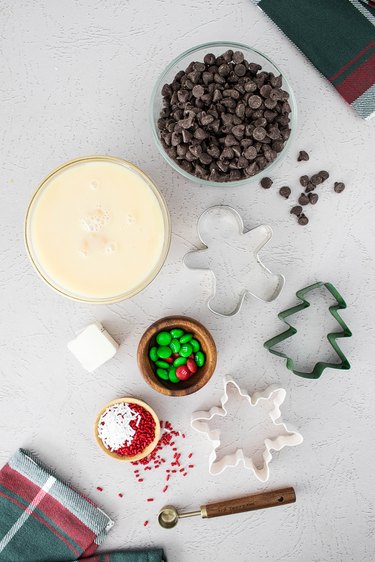
2 1/2 cups chocolate chips (semisweet or dark chocolate)
14 oz. sweetened condensed milk
2 Tbsp. butter
1/2 tsp. peppermint extract
Christmas cookie cutters
Aluminum foil
Sprinkles, candies and crushed candy canes
Tip
To make this edible gift dairy-free, use dairy-free chocolate chips, coconut condensed milk and plant-based butter. Alternatively, to make a vanilla version, use white chocolate chips and vanilla extract.
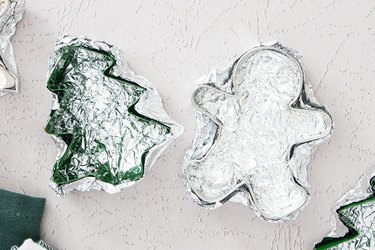
Wrap the bottom of each cookie cutter with a layer of foil, making sure to create a tight seal. The goal is to prevent fudge from leaking out of the bottom.
Place the cookie cutters on a baking sheet or plate and then set it aside.
2. Make fudge on the stove top
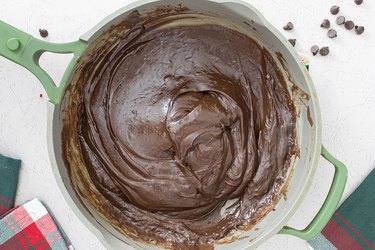
In a large pan over medium heat, combine the condensed milk, chocolate chips and butter. Stir until melted and thick. This will only take a few minutes, so keep a close watch on the mixture.
Once thick and combined, remove the fudge from the heat and mix in 1/2 tsp. peppermint extract. You can add another 1/2 tsp. if you prefer a stronger peppermint taste.
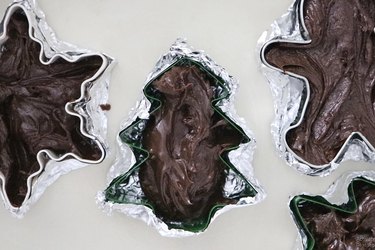
To complete your homemade Christmas gift, spoon the fudge into the cookie cutters, filling each one to the top. Be sure to work quickly, as the fudge will begin to set.
Tip
If needed, use a butter knife to spread the fudge into crevices and corners. This is especially useful for complex shapes, like snowflakes and trees.
Top off the fudge with candies, sprinkles and crushed candy canes. You could even add chopped pretzels or nuts, like pistachios or pecans, for a dash of salty flavor. Finally, chill them in the fridge for at least 2 hours until set.

Tip
Depending on the size and shape of your cookie cutters, this recipe will yield enough to fill 4 or 5 cutters.
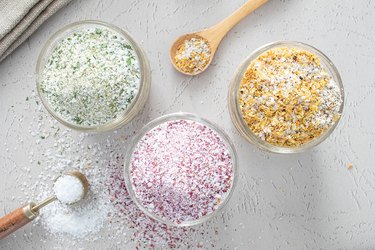
Recipe 3: Celery, Rose and Lemon Pepper Salts
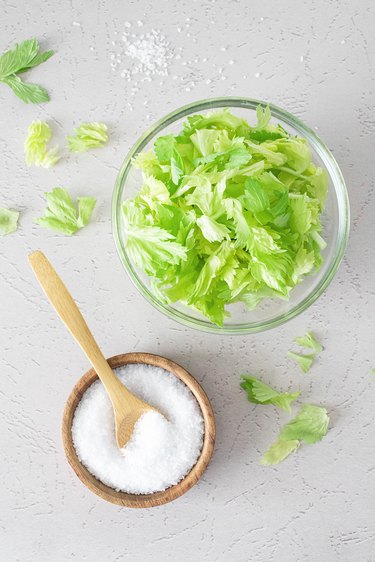
Part 1: Celery Salt
Things You'll Need
2 cups fresh celery leaves
1/4 cup coarse or fine sea salt
Spice or coffee grinder
How to make Celery Salt:
Tip
For a more celery-forward version, use 2 Tbsp. salt. This will yield a smaller amount, but the salt will have a stronger celery flavor.
1. Dry celery leaves
Preheat the oven to 200°F. Line a baking sheet with parchment paper and then spread the celery leaves in a single, even layer.
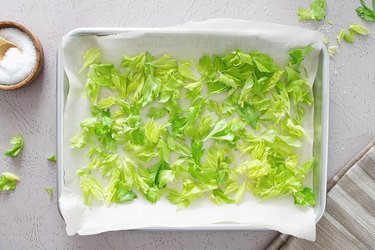
Bake for 20 minutes or until dry and crumbly, flipping once halfway.
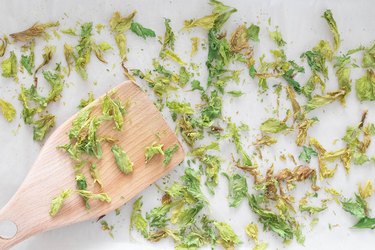
Tip
In general, inner leaves will take longer to dry. You can toast any leaves that are still damp in a small pan (without oil) over low heat.
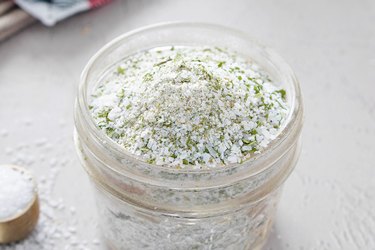
2. Mix with salt
Add the dried leaves to a coffee grinder and pulse several times until pulverized. You can leave some bigger pieces if you'd like.
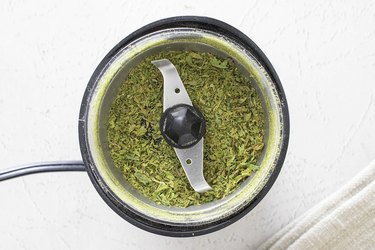
Add the salt and pulse several times until the salt reaches your desired consistency. Alternatively, you can mix the crushed celery leaves and salt in a bowl. Store it in a small Mason jar or spice bottle and gift it to your favorite foodie.
Part 2: Rose Salt
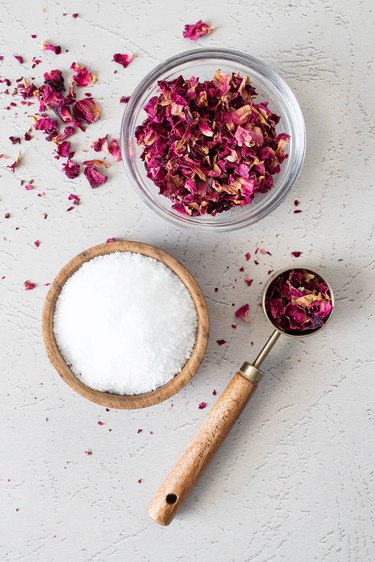
Things You'll Need
1/4 cup dried rose petals
1/4 cup coarse or fine sea salt
Spice or coffee grinder
How to make Rose Salt:
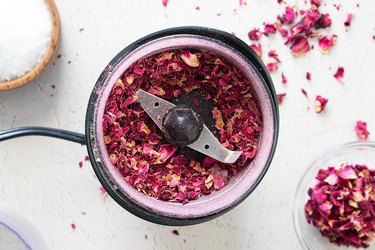
1. Crush dried rose petals
Place dried rose petals in the coffee grinder. Pulse several times until the petals are about 1/3 their original size.
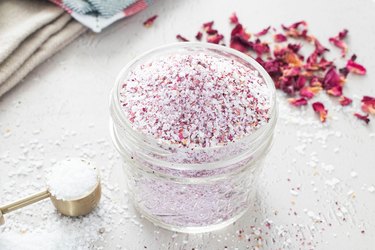
2. Combine with salt
Add the salt. Pulse until combined and the salt reaches your ideal texture. Alternatively, if you're already using very fine salt, continue pulsing the rose to create a powder. From there, mix it with the salt in a bowl.
The result will be a unique garnish that's tasty on meats, baked goods and chocolate. To gift the DIY rose salt, store it in an airtight Mason jar or spice bottle.
Part 3: Lemon Pepper Salt
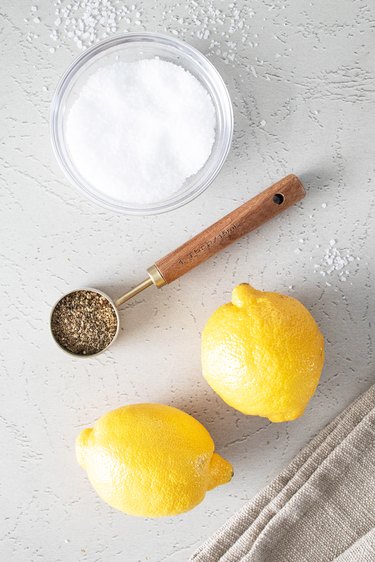
Things You'll Need
4 Tbsp. lemon zest (2 large lemons)
1 Tbsp. ground black and/or white pepper
1/4 cup coarse salt
How to make Lemon Pepper Salt:
Tip
The ideal amount of lemon zest depends on your desired flavor. We used about 4 Tbsp. of zest from 2 large lemons. If you're using average-size lemons, you'll need about 4. Also, lemons are typically coated in wax. To avoid this, be sure to use organic lemons.
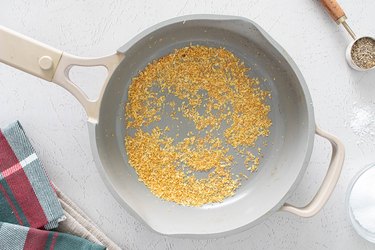
1. Dry lemon zest in a skillet
Add the lemon zest to a small skillet without any oil. Place it over low heat and cook for about 5 minutes or until completely dried. The exact length of time will depend on how much moisture is in the zest.
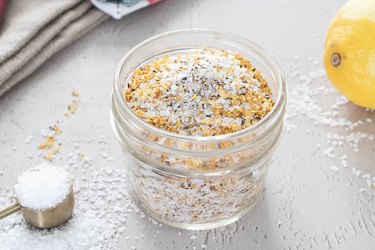
2. Mix with pepper and salt
In a bowl, combine dried lemon zest, ground pepper and salt. You can also add all the ingredients to a spice or coffee grinder until it reaches your ideal texture.

The finished product will taste amazing on myriad dishes, from roasted veggies to meat. Store it in an airtight jar or spice bottle for an awesome Christmas food gift.
Whether your loved one is a sugar fiend or a fan of salty flavors, we hope these foodie-inspired homemade gifts leave you with plenty of seasonal inspiration. Have a delicious DIY holiday!