Mind if we chime in with a DIY idea for your outdoor garden? Seashell wind chimes, sea glass wind chimes, capiz shell wind chimes and driftwood wind chimes all make wonderful garden decorations with beautiful sounds. Best of all, you don't have to own a beach house to bring in a bit a coastal decor to your patio. And when these hanging wind chimes are made with souvenirs from your trips to the beach, they are even more special.
Our twist on classic wind chimes involves a "message in a bottle" theme (yes, we have been watching too many Kevin Costner movies again!) and couldn't be more fun to make. On your next trip to the beach, collect a little sand and some shells and then grab beads and an empty glass bottle and write a message to a loved one, yourself or even the sea itself. Then, every time you hear that magical "clink clink" of your handmade wind chimes, you'll be reminded of someone or something you love!
Video of the Day
Video of the Day
So, grab your shells and let's get ready to make DIY wind chimes!

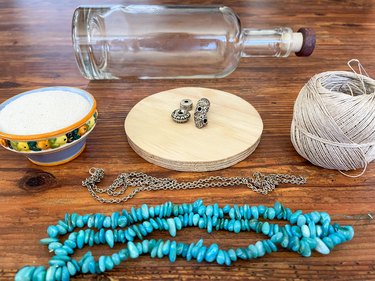
Things You'll Need
Variety of teal beads or small shells with holes in them
6 pieces of twine, string or fishing line, 28 inches in length
Tape measure
Drill
Hot glue gun
Bottle with a cork or twist cap
Wooden disc, 5 inches diameter
12-inch chain
Small piece of paper
Funnel
1/2 cup fine white sand
2 or 3 small oyster shells, scallop shells, conch or tiny starfish
S-shaped hanger
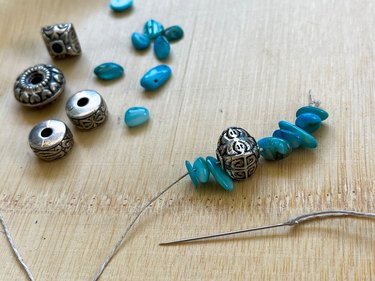
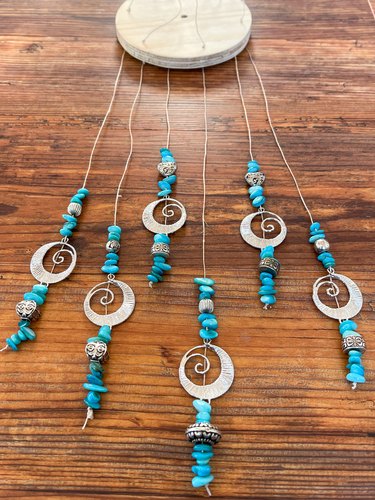
1. Don't worry, bead happy!
Choose a variety of beads or shells to create six 28-inch strands. The strings can be made from thin twine, fishing line or cotton string. You only need to place beads for about 5 or 6 inches at the bottom of each strand. Lay out your finished beaded strand and measure 13 inches from the bottom of the strand. Tie a knot at the 13-inch mark and place one small bead above the knot. This will keep the strand in place when you thread it through the wooden disc that will secure the beaded strands, chain and bottle.
Tip
If you'd like to use shells that you collected on your beach trip, you can carefully drill small holes in the top of each shell and string your shells along with the beads.

2. Wrap it up
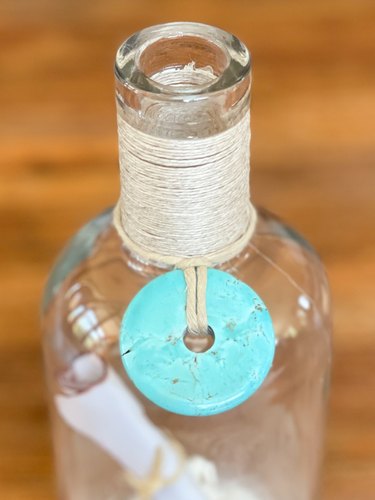
Place a dot of hot glue on the neck of the bottle to secure the end of a piece of twine. Wrap the twine around the neck of the bottle and secure the top end with another dot of hot glue.

Tip
When choosing a bottle, find one that matches the theme and possibly the color of your desired wind chimes. A thrift store or garage sale might have the bottle of your dreams so you won't have to purchase something brand new. To add meaning to your wind chimes, you could use a bottle from a special celebration, like a wedding, vacation or birthday. Whatever bottle you choose, be sure the cork or lid is tight enough to hold the weight of the bottle when you hang it.
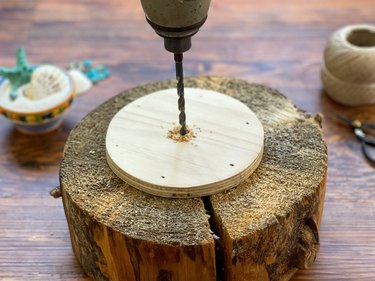
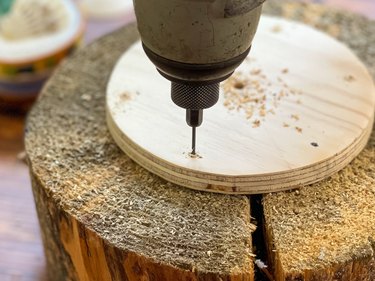
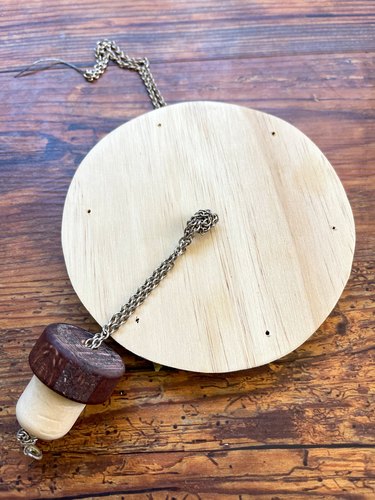
3. Make your wooden topper (it's easy once you know the drill!)
Use a drill bit that is slightly larger than the width of the hanging chain to drill a hole in the center of the wooden disc. Then, use another drill bit that is slightly larger than the beaded twine, string or fishing line to drill holes that are 1/4 inch in from the edge of the wooden disc.
Tip
If you don't have the tools to cut your own 5-inch wooden disc, you can find unfinished 5-inch wooden discs on Amazon. If you'd like to give your wind chimes a rustic touch, Amazon even has natural tree slice wooden circles complete with bark.
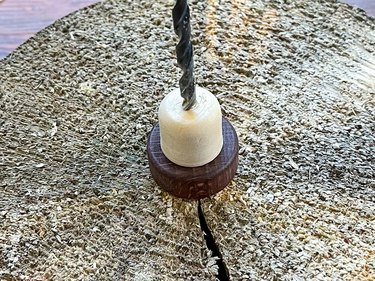
Drill through the center of the cork with the same drill bit you used to drill through the center of the wooden disc.
4. Thread it all together
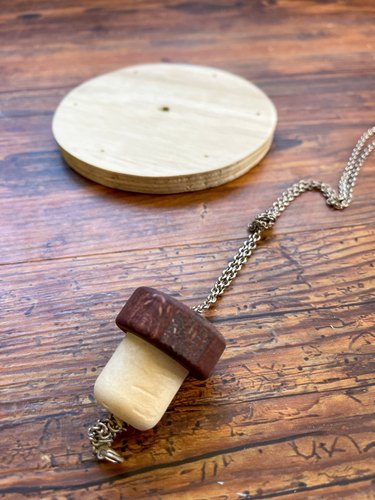
Tie a knot in the bottom of the chain and thread it through the hole in the cork. Tie another knot in the chain 3 inches up from the top of the cork. Thread the chain through the center of the wooden disc.
Tip
Make use of something you already have, like an unused chain from a necklace you don't wear anymore, to hang your wind chimes.
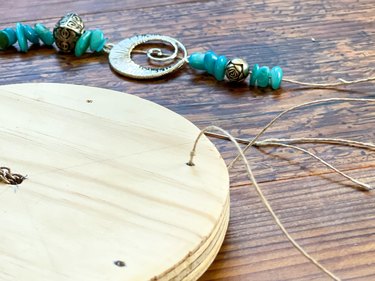
Thread the strands of beads up through the bottom of the holes around the edge of the wooden disc. Pull each strand completely through the hole until the bead and knot rests next to the bottom of the wooden disc. Tie a knot in each strand on the top of the wooden disc to hold the strand in place.
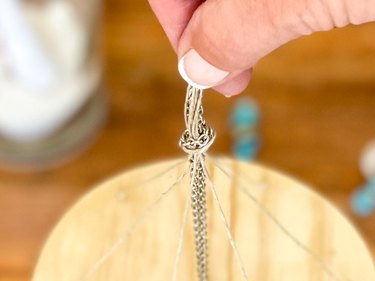
Pull the six strands up with the center chain until the wooden disc is level and then tie a knot to hold them all together. The knot will hold an S-clip later when you're ready to hang the wind chimes.
5. Add finishing touches
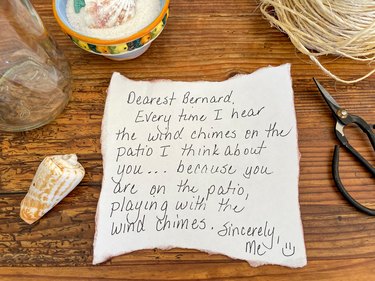
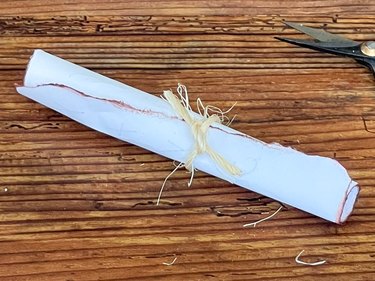
Tear the edges of a 5- by 7-inch piece of paper. If you really want to make it look worn, you can run the edges through a brown ink pad before you write your message. No one will actually see the message, so it's entirely optional to write one, and whatever you write can be your little secret. Roll up the message from the short side and tie it with a small piece of twine.
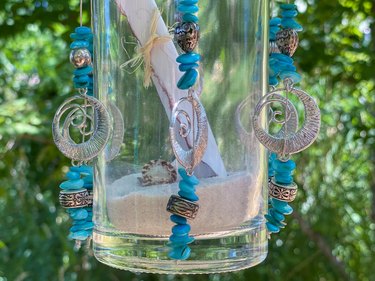
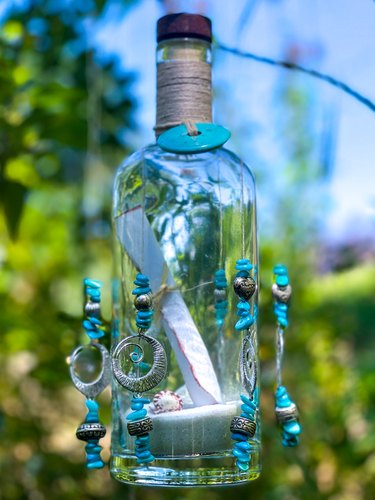
Pour the sand into the bottle using a funnel and drop in a few small shells and the message.
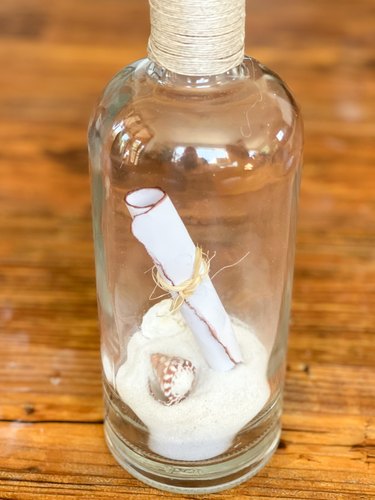
If you really want to get creative, you can add a large, flat bead or shell to the neck of the bottle for added flair.
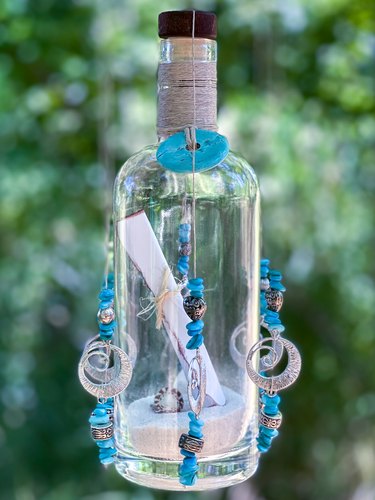
Carefully pop the cork back into the bottle, slip an S-hook through the knot in the top and find the perfect place to hang your chimes.
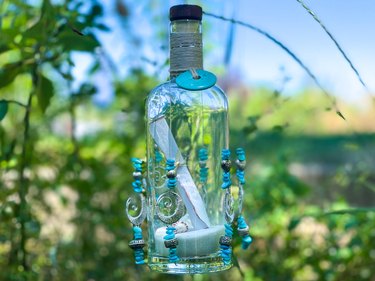
This project is a breeze!