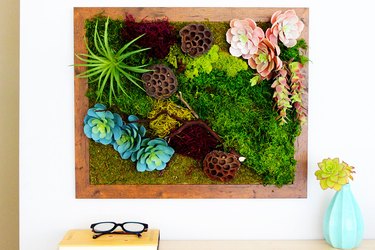
One of the hottest trends in home decor is moss wall art. It's a gorgeous way to bring the outdoors inside. Preserved moss, faux succulents and various organic materials come together to create a tranquil piece of art. Think of it as a vertical garden that can give your living room or any room in the house an instant makeover. And because all the elements are dried or artificial, you don't need a green thumb or have to worry about upkeep to have it stay beautiful. In fact, making your own preserved moss wall art is easy even for beginners.
Video of the Day
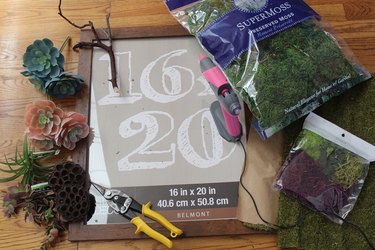
Things You'll Need
Picture frame
Pen
Scissors
Colored moss
Small branch
Faux succulents and air plants
Wire cutters or metal snips
Other dried elements, like lotus pods
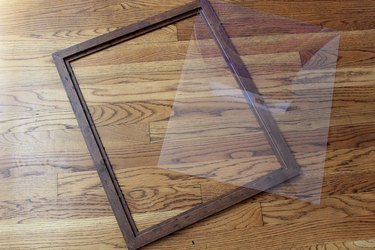
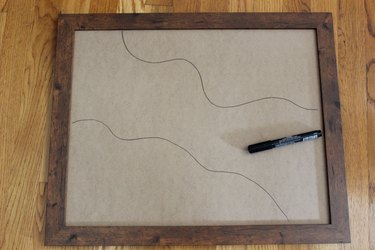
Step 1: Prepare the Frame
A 16 by 20-inch picture frame is ideal for this DIY moss wall art, but you can use any size and finish that works with your decor. Start by removing the glass or plastic from the frame and save it for another project.
Video of the Day
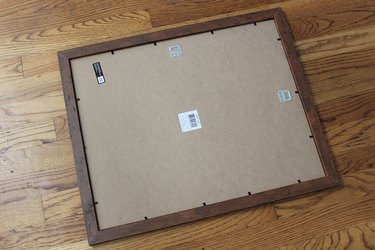
Return the wood or cardboard backing to the frame. That will serve as the foundation for the moss wall decor. If the backing has preinstalled hanging hardware like mine did, you're all set. If not, you'll want to install D-rings or the hanging hardware of your choice onto the frame.
Step 2: Diagram Your Moss Layout
With a pen, draw a general diagram of how you want to position your pieces of moss. If you're more of an intuitive artist and prefer to wing it, that's fine too. But a lot of people like to start with a layout for where the greenery goes.
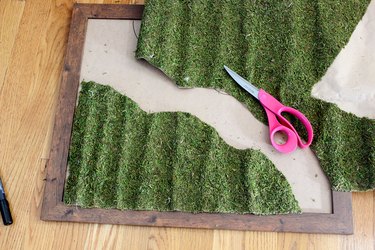
Step 3: Glue on the First Layer of Moss
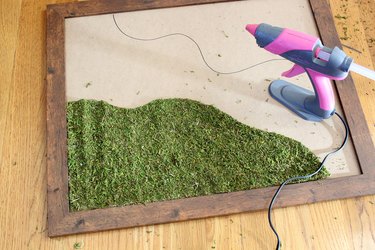
For the first layer of moss, I like to use what's called a moss runner. It's a flat length of dried moss that comes in rolls. You can cut it like paper. The dried moss has a mesh backing, which makes gluing the moss onto your frame a lot easier. Cut the moss to fit your pre-drawn layout. I decided to place these first layers of moss on the outer sections.
Flip over the moss and apply a hot glue gun to the mesh side.
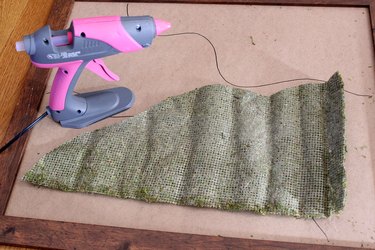
Hot glue a little of the dried moss section at a time until the entire piece is secured.
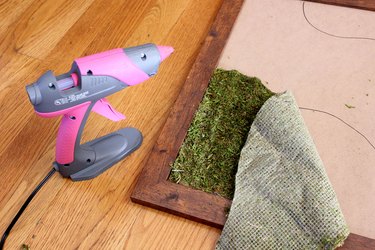
With just this first layer, the moss frame looks so good already.
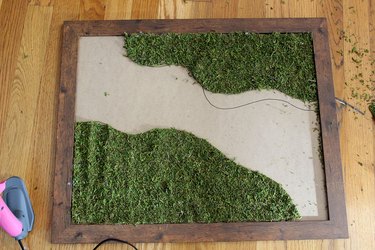
Step 4: Add the Second Layer of Moss
To create more dimension, we'll add thicker moss in the center of the art piece. For this part, use preserved sheet moss. It's bulkier and loose unlike the moss runner. Tear off a piece of the preserved moss and apply hot glue to the section of the frame where the moss will be going. Then, press down the moss on the hot glue until it sets.
Because the sheet moss is loose, it is not as easy to glue as the moss runner, but by applying a nice, even coverage of hot glue on the frame, the moss does stay in place when you press on it. And yes, you're going to need a lot of hot glue sticks for this project.
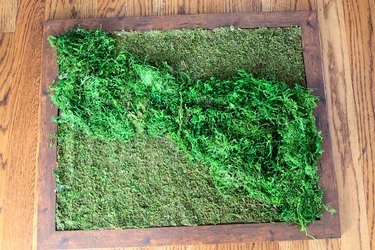
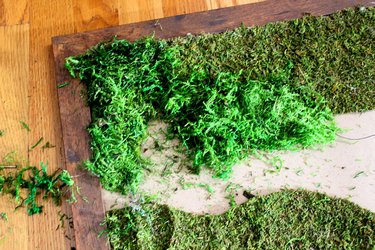
Step 5: Add Colored Moss Accents
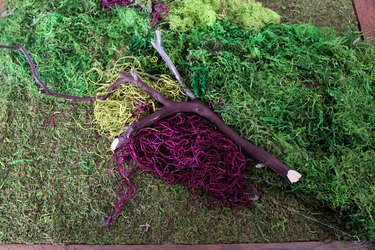
There's a lot of green going on right now, so let's add some dollops of colorful moss. Reindeer moss, Spanish moss and lichen are types of moss that come in assorted colors, and you can find presorted collections in craft stores and on Amazon. With hot glue, adhere the colored moss wherever you'd like on the piece, adding the glue to the base moss and then pressing down the colored moss.

Step 6: Add a Branch
A gnarly branch adds extra dimension and visual interest to the piece, and you can use something you've foraged from your yard. Hot glue it to the top of the moss and press down until the glue has set. If you do add a branch, make sure it doesn't stick out too much from the moss frame, especially if the finished moss panel will be displayed in an area where people could snag their clothing on it.
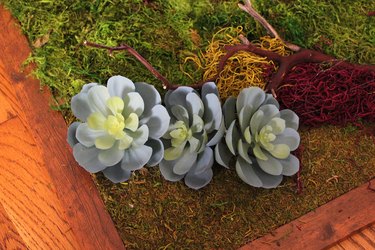
Step 7: Decorate With Faux Succulents
Cut the faux succulent blooms from their stems with a wire cutter or metal snips.
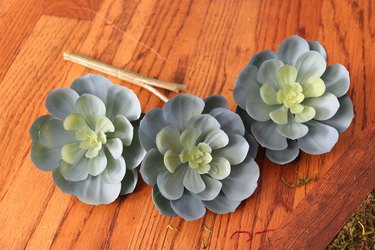
Hot glue the faux succulents wherever you'd like to place them on top of the pieces of moss. Position the succulents at an angle so more surface area of the succulents can make contact with and be glued to the moss. Faux air plants, or tillandsia, also add much pizzazz to your piece of art.
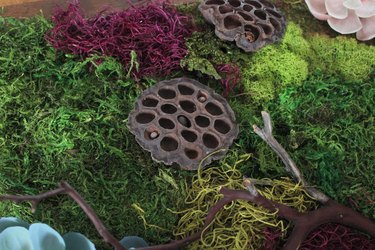
Step 8: Incorporate Other Dried Elements
Use your imagination as to what other dried, organic elements you can add to your art. Pine cones, tree bark or driftwood all work well. I decided to add lotus pods, which have such a Zen vibe to them. Again, position them around the moss picture, gluing them where you want them to go.
When you're finished with your DIY moss wall art, take it outside and give it a good shake to remove any loose moss and check that the succulents and other elements are well secured. You can even bang it lightly against the ground.
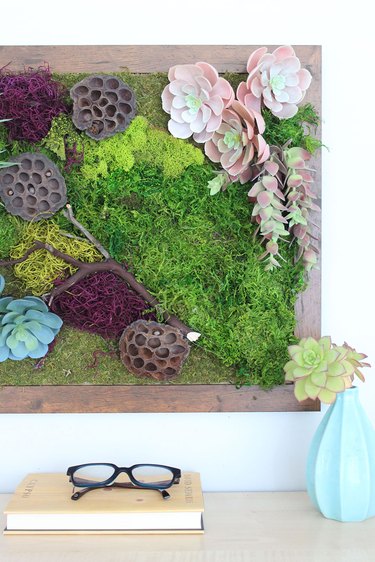
Display it proudly and enhance the interior design of your space with this gorgeous alternative to indoor plants.