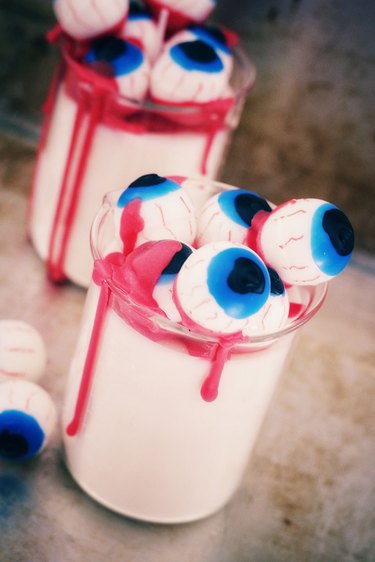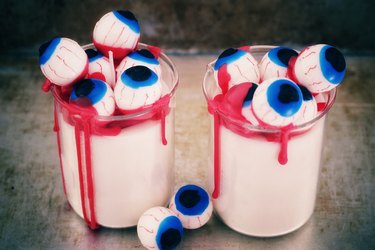
When it comes to scary Halloween candles, this tutorial is absolutely eye-popping. Everyone will be creeped out over your clever hocus pocus and the pile of eyeballs covered in blood that top the candle — and it's all in a laboratory beaker for that creepy mad scientist vibe. Whether you light it in a spooky corner or make it a candle holder centerpiece for your Halloween tablescape, this Halloween decor candle is sure to be a bloody hit.
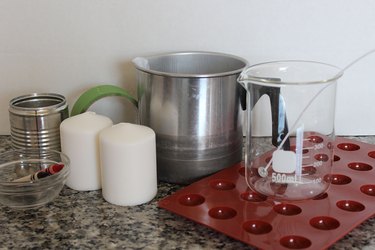
Things You'll Need
White candle wax
Knife
Candle pouring pot
Semi-sphere silicone mold, 1-inch diameter
plastic spoon
blue, black and red crayons
small, shallow heat-proof bowls
red Posca marker
glass beaker, 250ml
candle wicks
glue dot
drinking straw
masking tape
clean, empty tin can
Video of the Day
Making the Eyeballs
Cut up some white wax
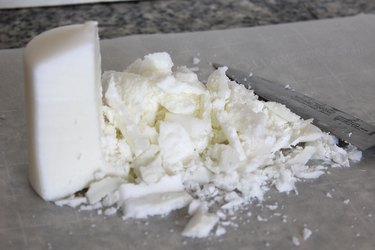
There are basically two kinds of wax for candles — one exclusively for container and jar candles and one for pillar candles and taper candles. I'm using wax for white pillar candles because the wax eyeballs will be sitting on top of the main candle. By using an existing pillar candle, I know that it's the right kind of wax candle. Using a knife, you can easily shave it into smaller pieces for melting.
Video of the Day
Melt the wax
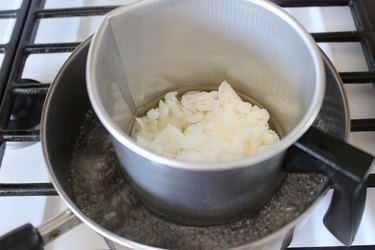
Place the wax chips into a candle pouring pot. Then place this pot into a saucepan with about an inch of water to create a double boiler. Heat the wax in the double boiler until all the wax is melted.
Mold the wax
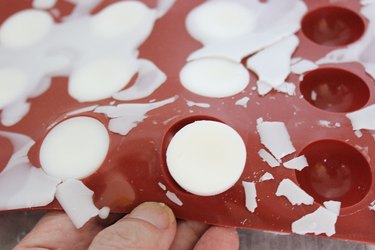
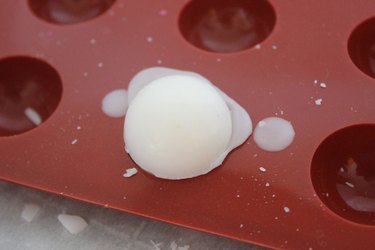
Pour the melted wax into a semi-sphere silicone mold. As you can see, I am very sloppy at pouring wax. Don't worry if your aim is similar to mine. All the wax that has overflowed will just snap off when it hardens.
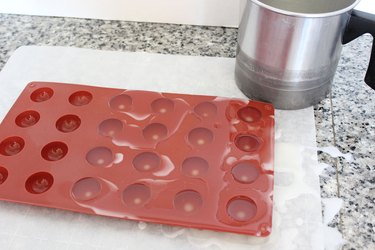
The wax will harden in about an hour. Pop the semi-spheres out of the mold and remove any excess bits.
Create a sphere
To create the eyeball, we'll melt two semi-spheres together. With a plastic spoon, pour some melted wax on the flat side of one semi-sphere.
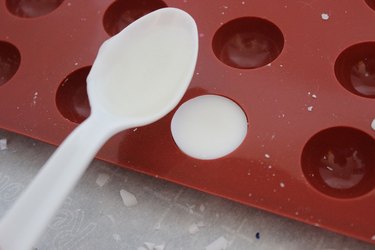
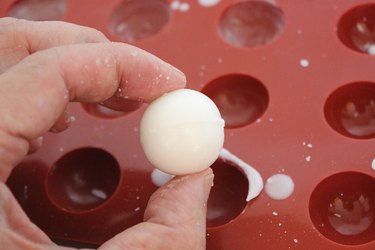
Place a second semi-sphere on top of the first one, using the melted wax as the glue to hold the two halves together. Press down to get a good seal as the wax hardens.
Rub off any excess wax where the two halves meet.
Add the irises and pupils
Place some wax shavings in two shallow, heat-proof dishes. Peel the wrapping from a blue and black crayon and add about a half inch of the crayons to the wax. (I chose to make blue irises, but your eyes can be any color you wish.)
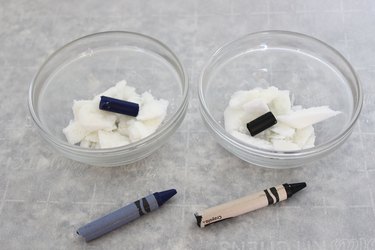
Heat about an inch of water in a saucepan. You can use the water you used to melt the wax. Turn off the stove, and place the bowl with the blue crayon in the hot water. The wax and crayon will melt quickly on its own. You can stir with a skewer to help it along.
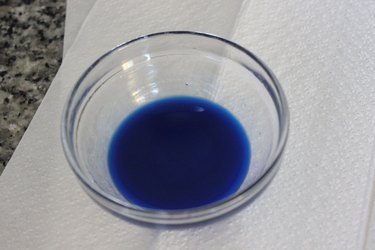
Dip an eyeball in the melted blue wax to create the iris.
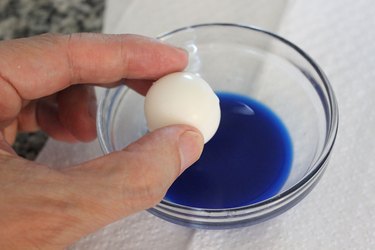
Let it dry for about a minute.
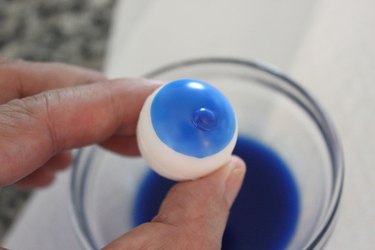
Melt the wax in the bowl with the black crayon.
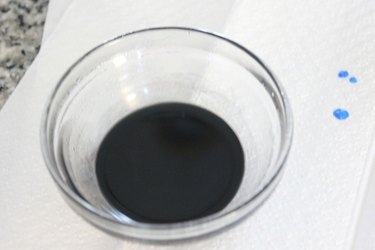
Dip the eyeball again in the melted black wax to create the pupil. Be sure to dip it so the pupil is smaller than the iris. Let it dry for about five minutes.
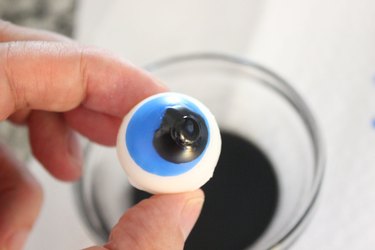
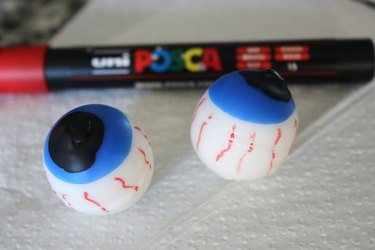
What really makes the eyeballs creepy is the bloody veins going up and down them. To make the eyes bloodshot, draw squiggly lines with a red acrylic paint marker. I recommend a brand like Posca, as the paint is not flammable.
Making the Candle
Prepare the beakers
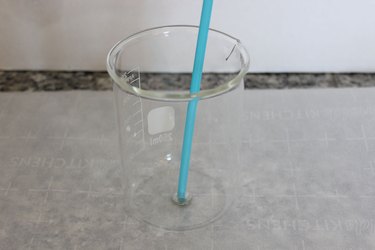
Beakers that are 250ml in capacity are ideal for these candles, but you can select larger ones if you prefer. Take a candle wick with a metal tab, and place a glue dot on the bottom. Slip a drinking straw through the wick to guide it into the beaker, and use the tip of the straw to press the glue dot on the wick onto the bottom of the beaker. Then remove the straw.
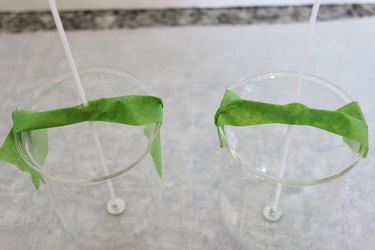
To help keep the wicks upright, tear a piece of masking tape than is longer than the diameter of the beaker and cut a slit through the center. Thread the wick through the slit and adhere the tape to the sides of the beaker. Pinch the tape around the wick to keep it steady.
Pour the wax
Cut up more wax and melt it in the pouring pot.
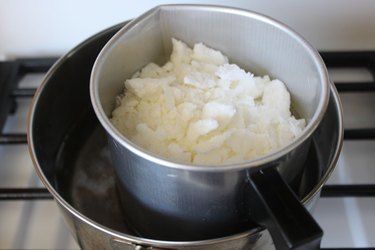
Pour the melted wax into the beaker, filling it up to about a half inch below the rim. Let the wax cool and harden overnight. Even when the candle turns white and looks like it has hardened, the center may still be liquid, so do not disturb it or move it around until the next day.

Bloodying the Candle
Make the "blood" for DIY Halloween bleeding candles
Place some wax shavings in a clean tin can and add a red crayon. Use at least an inch of the crayon. You can add the whole crayon if you want a more intense color.
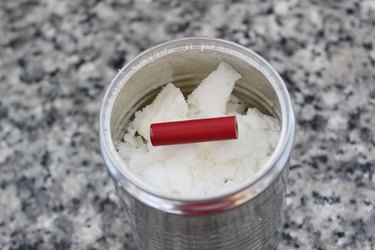
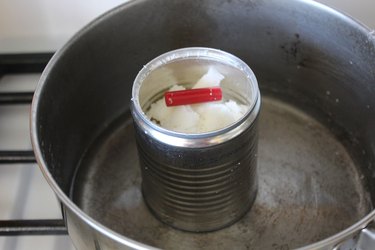
Melt the wax using the double boiler method, placing the can in a saucepan of hot water over low heat.
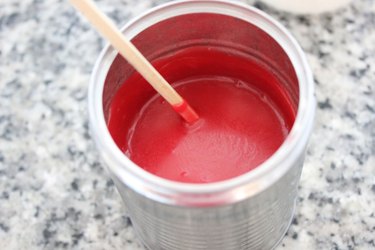
Once the wax has melted, allow it to cool, stirring constantly until the consistency is like strawberry syrup. When the wax is liquid, but thick like this, it's easier to control.
Pour some "blood"
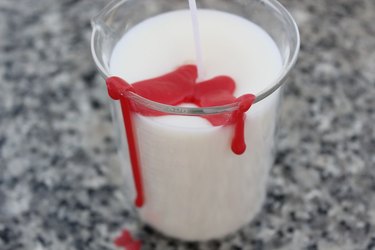
Pour the red wax over the top of part of the candle. Let some of the red wax drip over the rim of the beaker so it looks like blood is dripping.
Add the eyeballs to finish your creepy candles
Dip the eyeballs in the red wax and add the eyeballs to the candle, using the melted red wax as glue. As the wax hardens, the eyeballs become locked in place. Stack some eyeballs on top of each other for a more gruesome effect.
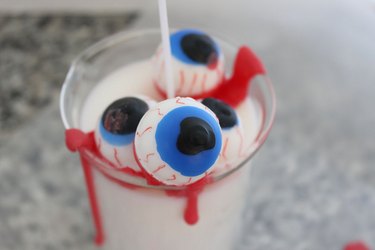
Drizzle a little more blood on top of the eyeballs.

Trim the wick, and your creepy creation is done.

All eyes will definitely be on this candle for Halloween.
