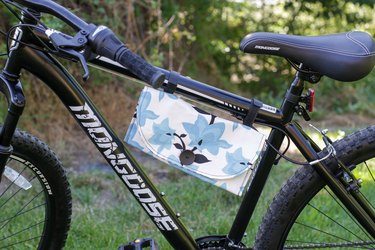
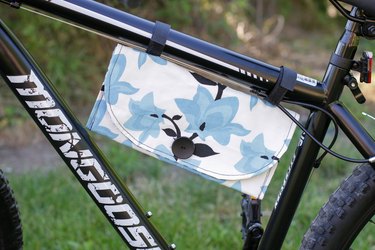
Bicycles have been one of the hottest commodities lately and it's pretty easy to see why these two-wheeled beauties are in such high demand. There aren't too many places where can you experience fitness, freedom and fun all at once. Breathing in fresh air, feeling the wind in your hair and getting your heart rate up is a win-win-win situation in our book. If you've recently taken to the road on a bike, and you love to sew, then this DIY bike pouch could be a perfect way to combine two of your favorite hobbies and create a spot to carry a few essentials while taking to the open road.
Video of the Day
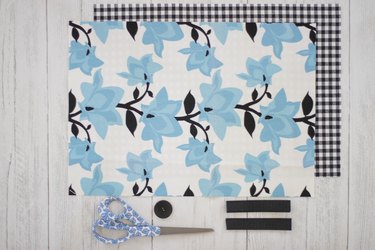
Things You'll Need
Two 12-inch x 17-inch pieces of fabric
Sharp scissors
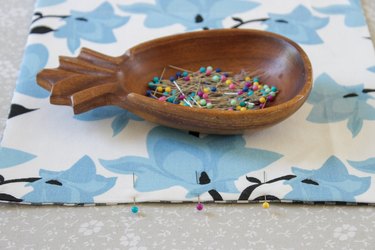
Straight pins
One 1-inch piece of hook and loop fastener
Two 5-inch pieces of hook and loop fasteners
One decorative button
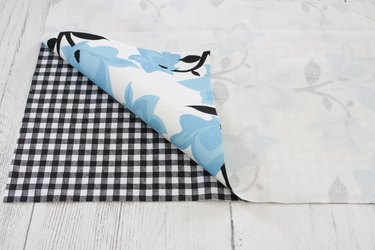
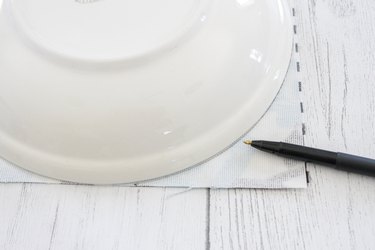
Step 1
Place the fabric pieces with right sides together. Use a bowl to trace a curve along the two corners of one of the short edges. Cut along the lines through both layers of fabric.
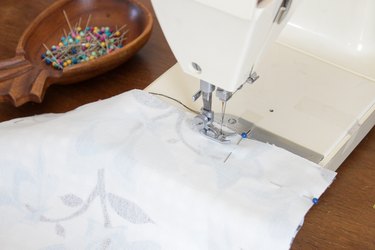
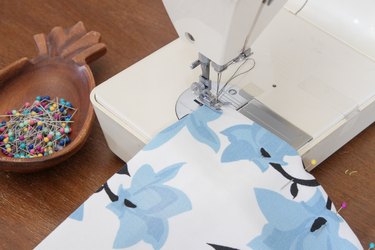
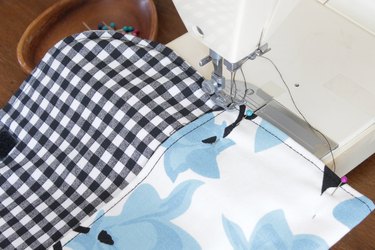
Step 2
Pin and sew around all four sides, leaving a 4-inch opening along the straight short edge. Be sure to remove the pins as you sew.

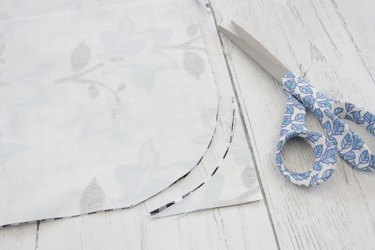
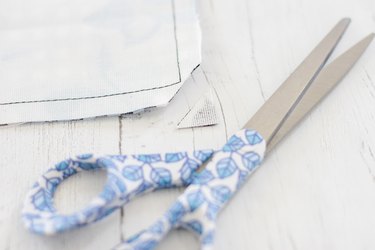
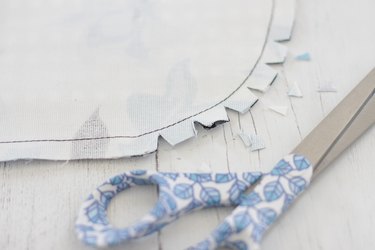
Step 3
Clip the corners and notch the curved edge. Be very careful to not cut any of the stitching.
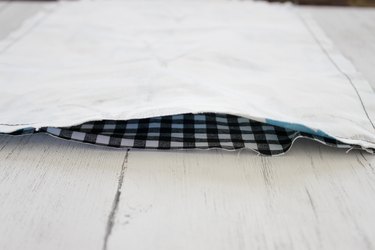
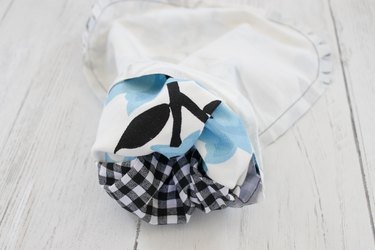
Step 4
Turn right side out by pulling the fabric through the opening in the short edge. Push out the corners with a pencil or a chopstick.
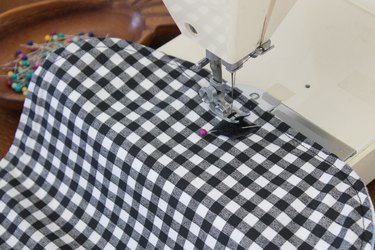
Step 5
Tuck in the raw edges of the opening, press and pin in place. Press around all four sides to create a nice crisp finish. Topstitch around all four edges, removing the pins as you sew.

Step 6
Open the 1-inch piece of hook and loop fastener. Place one piece on the underside of the rounded edge of the pouch with the sticky side up. Center it a 1/2-inch from the edge. Pin and sew in place.

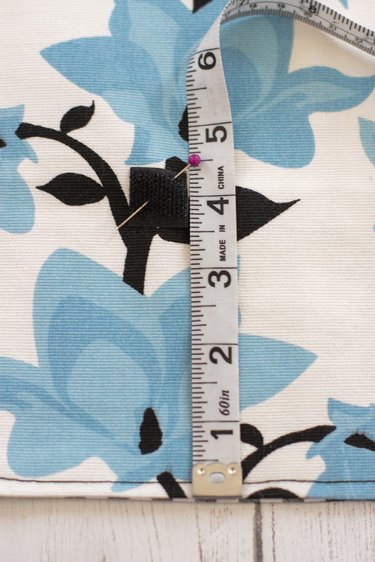
Step 7
Place the other piece of the 1-inch hook and loop fastener on the outer side of the straight edge of the pouch with the sticky side up. Center it 3 1/2-inches from the straight edge. Sew in place.
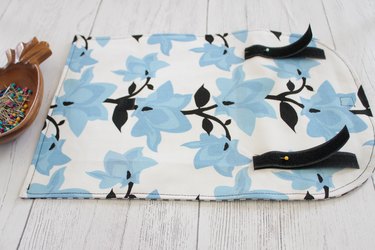
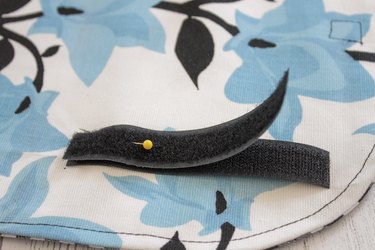
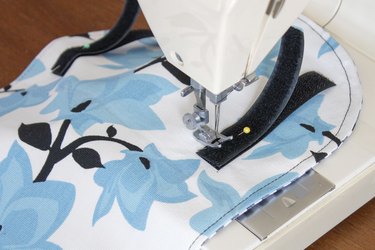
Step 8
Open the two 5-inch pieces of hook and loop fasteners and place them back together with the both of the sticky sides facing up. Pin them in place on the outer side of the pouch, 10-inches up from the straight edge and 1 1/2-inches in from each side. Sew in place.
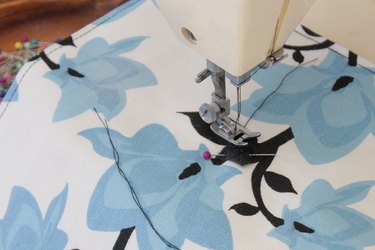
Step 9
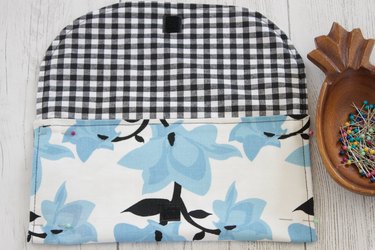
Fold up 5-inches on the straight edge of the pouch. Pin and sew each side.
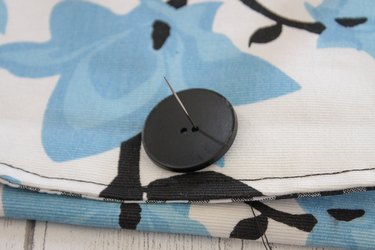
Step 10
Sew a decorative button over the hook and loop fastener stitching on the flap. Be sure to only sew through the flap.
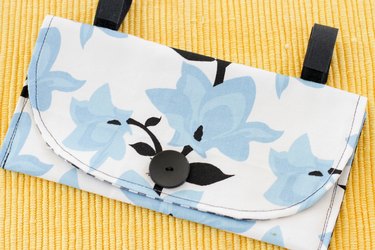
Ready to roll!