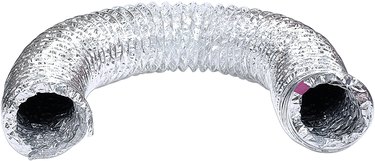
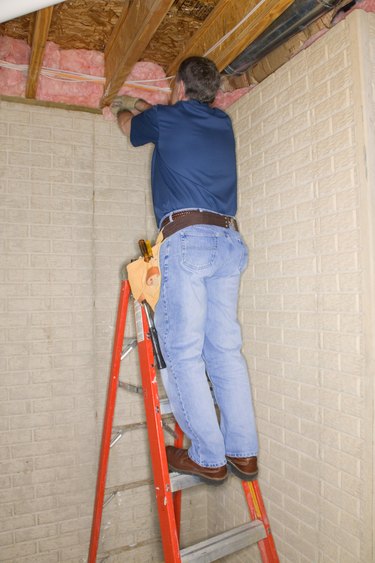
One way to save money on your energy bills is to add blown-in insulation to your attic or walls. If you don't own an insulation blower and don't want to rent one, you can build your own. A homemade device will work effectively if the space you have to fill is small and contained. The blower works by forcing the insulating material, usually cellulose, into a cavity. The key components of the blower are a container for the insulation, a hose and a blower.
Gather Your Materials
Video of the Day
A large bucket with a secure lid will serve as a container to hold the insulation. You will need a jigsaw to create a hole in the side of the bucket near the top to insert a hose or plastic pipe large enough for several pieces of insulation to move through at one time. The jigsaw will also be needed to fit a second hole for a vacuum cleaner hose to fit. The vacuum cleaner itself will need to have a powerful blower setting.
Video of the Day
Select Your Insulation

Of all the kinds of insulation available on the market, cellulose works best in blowers. Made from recycled newspapers, it is sold in hardware stores. You will find it compressed in large plastic bags, which will need to be emptied into the bucket portion of your home-built blower. Buy slightly more than you think you will need for the intended job, as you can generally take back any unopened bags, and you don't want to run out in the middle of the process.
Test Your Homemade Blower
To assemble your homemade insulation blower and get it to work, cut a whole for the end of the pipe to emerge and a second hole to link to the vacuum cleaner hose. Then just fill up the bucket, snap it shut, insert the plastic pipe of 2 to 3 inches in diameter into the hole you have created in the bucket, connect it to your vacuum cleaner hose and turn the vacuum cleaner on to the blower setting.
Possible Problems
If you have a large attic or wall to fill with insulation, consider renting a professional-grade insulation blower with a much larger capacity. If you do the job yourself with a rented blower, get one person to help you to keep the blower full and working while you work the hose in the attic or wall. Be sure to wear eye goggles and a dust mask.