Things You'll Need
Spray Glue & Tape Binding:
White glue
Binder clips
Wax paper
Scissors
Decorative fabric tape such as duct tape
Cardstock
Spray glue
Decorative Stitch Binding:
Decorative card stock
Satin ribbon, 1/8” or ¼”
1/8” hole punch (could also regular sized hole punch with ¼” – ½” ribbon)
Ruler
Pencil
Binder clips
Paper trimmer or scissors
Sewn Binding:
Paper folded in half
Butchers twine (shown,) embroidery floss or waxed floss
Binder clips
Awl tool and hammer
Cutting mat
Ruler and pencil
Cardstock
Decorative craft tape, 1”-2” thick
Paper trimmer or scissors
Bone folder
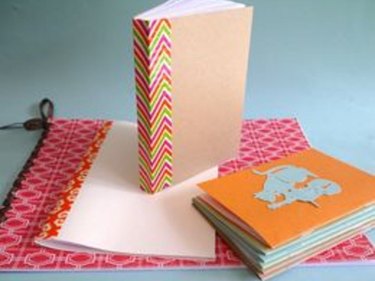
Making and binding a homemade book is likely easier than you think. You can make journals and notebooks to give as gifts, bind a collection of artwork or writing and make programs -- all from materials you might already have at home. Here are some techniques.
Spray Glue & Tape Binding: This technique works best with many small same-sized pages. You can use existing pages you may have, such as a recipe collection, or make a blank book using white printer paper. All pages must be exactly the same size and 5 ½ x 8 ½ or smaller. If you have a larger book to bind, it is best to seek a professional binder.
Video of the Day
Decorative Stitch Binding: This technique is great for making a homemade scrapbook, binding a photo album, or binding children's artwork together. It's the best technique for binding together different sizes of paper.
Sewn Binding: This technique is best for books with blank pages inside such as a notebook, sketchbook or journal. The size of the pages is irrelevant, but the width should not exceed 1/8" thick.
Spray Glue & Tape Binding
Step 1
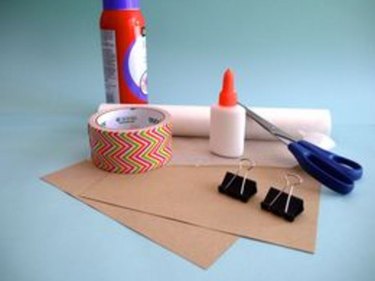
To use this binding method, which is best for books with same-sized pages, you'll need white glue, binder clips, wax paper, scissors, decorative fabric tape, cardstock and spray glue. Please see the last slide for an itemized list of tools and materials.
Step 2
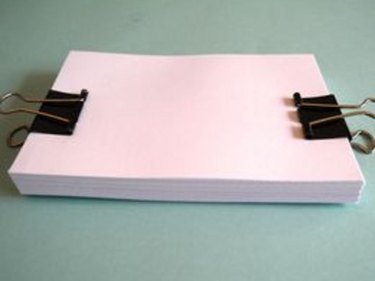
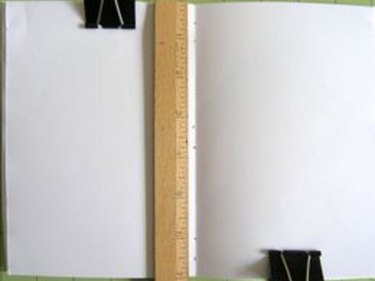
Start by tapping the pages together on a hard surface so all pages line up evenly along the spine. If any of the pages are not level with the others, they will not bind properly.
Once you have an even spine, clip the top and bottom pages together with large paper clips. Place the clips in the middle rather than right next to the spine so the pages have just a bit of give.
Step 3
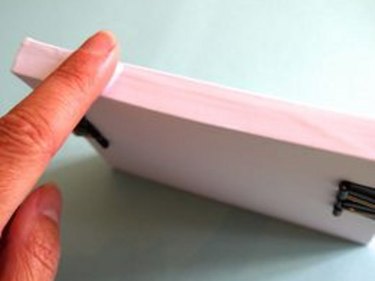
Pour a thick layer of white glue down the length of the spine and even out with your finger or a brush.
Step 4

Carefully remove binder clips and set glued pages between two pieces of wax paper on an even surface such as a table to prevent the pages from sticking to the table. Place a heavy book on top and allow to dry for 1 hour. Remove weighted book and repeat the gluing process a total of 3 times, allowing glue to dry between applications for 20 minutes. There is no need to weigh the book down after the first application of glue has dried. Allow the final layer of glue to dry overnight.
Step 5
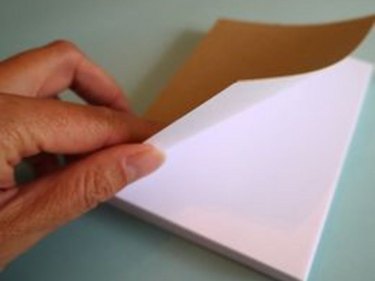
Once dry, cut out two pieces of heavy cardstock the exact size of the pages. Spray glue the back of the cardstock and place directly on the front and back pages of the book.
Step 6
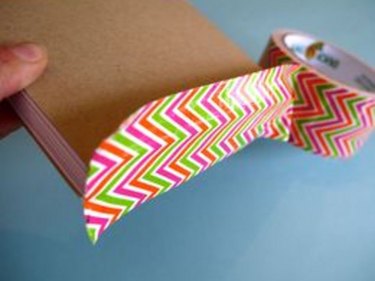
The final step is to tape the spine. Use a high quality 2" fabric tape. Center the tape along the spine and smooth down with a bone folder or your finger.
Step 7
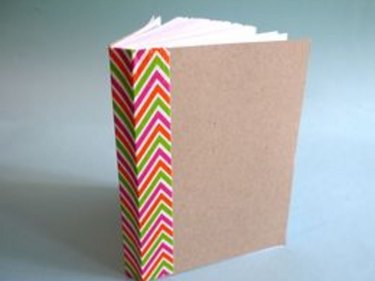
Once tape is secure along the spine, carefully fold tape along the front and back covers. Trim excess.
Decorative Stitch Binding
Step 1
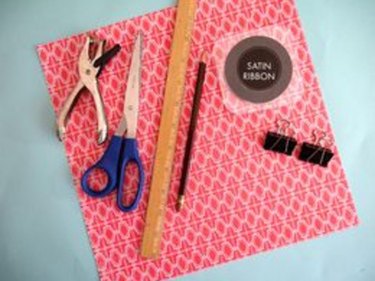
This technique, which is best for binding different-sized pages, requires cardstock, ribbon, a hole punch, ruler, pencil, binder clips and scissors. Please see the last slide for an itemized list of tools and materials
Step 2
To create the front and back covers, cut two pieces of cardstock to measure ¼" larger than the largest page of the book.
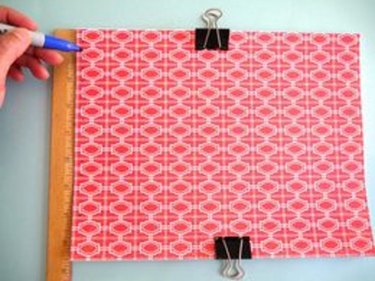
Tap the pages of your book together on a hard surface along the spine. Once all pages are even, clip the top and bottom of the book together with binder clips. Before you continue, double check to make sure you are binding the correct side of your book.
Mark every ½" along the spine about ¼" in. Punch through covers and pages with small hole punch at each mark. This could be done every 1" with a larger hole punch as well. Just use a larger ribbon.
Step 3
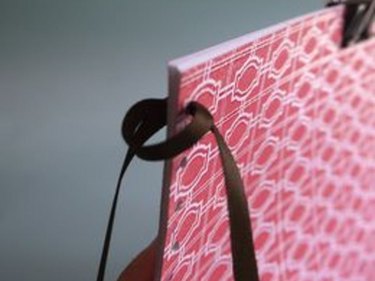
Loosely measure ribbon 4x the width of the spine. Find the middle of the ribbon and begin by threading the two ends through opposite sides of the same first hole. If the hole is tight, use a toothpick or the blunt end of a bamboo skewer to help the ribbon through. Pull tightly so the middle of the ribbon is looped along the spine.
Step 4

Cross the two ends and repeat the length of the spine, pulling tightly between each thread.
Step 5
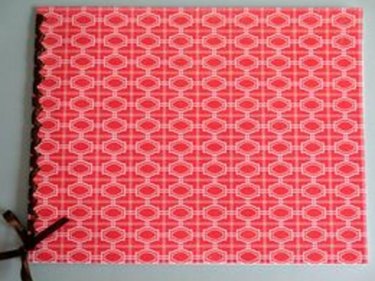
Tie the end of ribbon in a knot or double-tied bow and clip edges.
Sewn Bind
Step 1
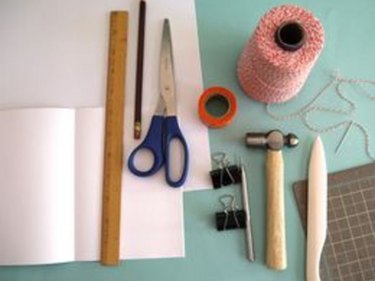
Use this technique for books that will have blank pages inside like a journal or sketchbook. To make a sewn-bound book, you will need paper, binder clips, an awl tool, a hammer, a cutting mat, a ruler, a pencil, cardstock, craft tape, scissors, a bone folder and either butchers twine, embroidery floss or waxed floss. Please see the last slide for an itemized list of tools and materials
Step 2
Start by stacking all pages and folding in half all at once. Use a bone folder to crease the spine of the book. You can trim the end on the pages so they are all the same width with a paper trimmer or scissors.
Open the folded pages and secure opposite top and bottom with binder clips.
Find the middle of the pages and make two marks ½" apart so the middle of your marks is the exact middle of the crease. Make two more marks ½" apart and ½" in from the top and bottom of the crease. Place awl tool on marks and gently hammer through all pages and cover.
Step 3
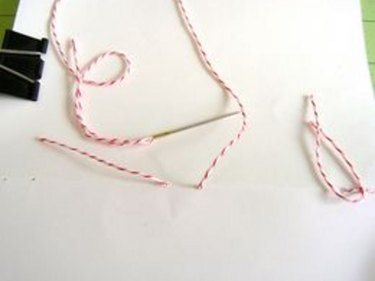
Using an embroidery needle, sew 3 stitches through the holes, knotting on the outside of the spine.
Step 4
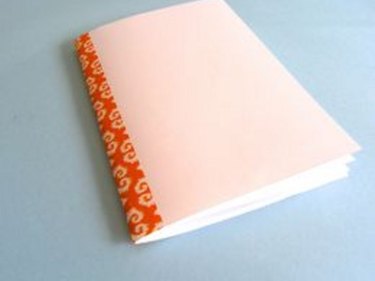
Tape spine with decorative crafting tape to hide stitches.
Video of the Day