Finishing your basement lets you expand your home's living area, but because your basement is below grade, you'll have to keep moisture issues in mind. Breadboard resembles wood paneling, but it's thicker, making it a good choice to install where traditional drywall isn't desirable. You can install beadboard in just about any basement, but you can't glue it directly to the concrete or block wall.
Beadboard
Video of the Day
Beadboard comes in 4-by-8 panels. The panels are sturdy and of varying thickness, but 3/16-inch is average. You can also find shorter individual beadboard strips that lock together. The shorter boards are generally used as wainscoting on finished walls. To cover basement walls, the panels are your best bet.
Video of the Day
Moisture Issues
The rule in finishing a basement is to keep wood from making contact with concrete or other masonry materials. Concrete is porous, and as such, it will absorb moisture from the ground, transferring it to the inside of your basement walls. While sealing your foundation and installing correct drainage help to reduce moisture, these steps can't guarantee that your basement will be moisture-free, so you'll need to install furring strips to keep the beadboard from touching the concrete basement walls.
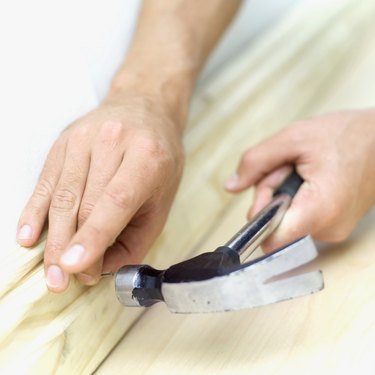
Furring-Out the Wall
Attach furring strips directly to the basement walls. Using standard studs, commonly called 2-by-4s, is optimal. Use only treated lumber, and turn the boards so their flat sides are against the concrete wall. You'll need a hammer drill and concrete screws to attach the furring strips vertically at 16-inch intervals. Leave a 1-inch gap between the bottom of the furring strips and the concrete floor; you'll cover it later with the beadboard panel.
Prep for Installation
Before you attach the beadboard panels, you can install outlets and switches in the wall between the furring strips, using the gap you left at the bottom of the strips to run the wire. Contact your local building department for electrical codes in your community. This is also the time to install moisture-resistant rigid-foam insulation or a vapor barrier between the furring strips.
Installing the Beadboard
With the furring strips in place, it's time to install the beadboard panels. Run a thick bead of wood glue down each strip before positioning the panels. The glue helps to hold the panels securely, but don't put the glue within the top or bottom 6 inches of the strip, as it will squeeze out. Attach each panel, using finish nails that are no longer than the thickness of the furring strips. You can fill the small holes left by the nails with wood putty that matches the beadboard.