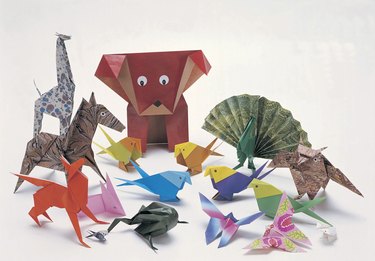
Origami is the use of folds to create shapes and figures out of perfectly square sheets of paper. Money origami uses paper currency to create origami figures. Because traditional origami requires a square, money origami requires additional folds to create a square before proceeding with origami figure making. The size of origami birds made from dollar bills are smaller than origami figures made from standard 6 inch-by-6 inch origami paper. A swan is a simple bird to make in money origami.
Make a Square
Video of the Day
Step 1
Fold the dollar bill in half so that both ends meet.
Video of the Day
Step 2
Place your index finger and middle finger over the bottom corner of the bill where the two ends have met to hold the bill in place. Pull the bottom folded corner diagonally to align with the top of the bill to create a triangle. Note that meeting the corner with the top of the bill leaves a half inch of the bill's edge exposed.
Step 3
Fold the exposed edge of the bill over the triangle.
Step 4
Unfold the bill. Note that the bill has two straight lines on either end and one down the middle. Fold both ends of the bill along the straight line associated with that end. The bill now has two "new" ends. Fold both ends to meet at the center line of the bill. This square will form the base of your origami swan.
Make a Money Origami Swan
Step 1
Turn the square bill so that the pointed ends point up and down like a diamond. The other two ends should point out, like "wings." Fold the diamond in half so that both wing points meet. Unfold the diamond. Note the center line that has been created by the fold.
Step 2
Place the tip of your index finger on the center line at the bottom point of the diamond to hold the paper in place. Line up the right bottom edge of the diamond with the center line. Press down the new edge. Repeat step 2 on the left side. The resulting shape should resemble a kite.
Step 3
Turn the kite over so that the face is down. Locate one-half inch from the right point of the kite wing up toward the top point. Mark that half inch with your nail and mark a line from that measurement to the tail point of the kite. Fold backwards along this line. (The fold should go in the same direction as previous folds). This fold creates a new edge. Align the new edge with the center line. Repeat step 3 on the opposite side.
Step 4
Fold the tail point up and over the top end of the kite. The tail point should stick just a smidgen beyond the top point. Locate the part of the tail point that is even with the two "wing" points. Imagine a line crossing these two points. Fold the tail point down just below this line. This fold creates the head and neck of the swan. The body of the swan is the folded remainder of the bill.
Step 5
Raise the head and neck of the swan away from the body. Set your swan on display so others can admire your dollar bird.