Things You'll Need
Ruler
Colored pencils: gray, black, yellow
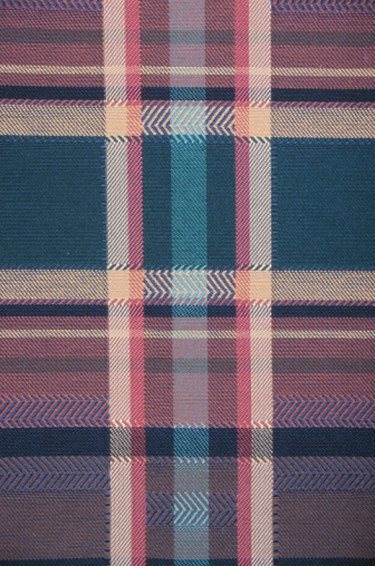
People have worn clothing with plaid prints since 1500 B.C. Today, plaid patterns adorn everything from clothing to home decor and artwork. All plaid patterns consist of a series of vertical and horizontal stripes that are printed in different colors. A basic plaid pattern consists of evenly spaced stripes and three colors. Learning how to draw a basic plaid pattern equips you with the skills you need to create more complex plaids.
Step 1
Align your ruler horizontally with the top edge of your paper. Make small marks on the paper with your gray colored pencil every 1 1/2 inches. Make small marks on the paper every 1/2 inch after each of the marks you made previously. Repeat the process along the bottom edge of your paper.
Video of the Day
Step 2
Draw vertical lines with your gray colored pencil to connect the marks along the top edge of your paper with the marks directly below them on the bottom edge of the paper. Use your ruler to make straight lines. Your paper is now divided into thick and thin vertical sections.
Step 3
Color the thin vertical sections with your gray colored pencil. Do not color the thick vertical sections.
Step 4
Align your ruler vertically with the left side of your paper. Make small marks on the paper with your gray colored pencil every 1 1/2 inches. Make small marks on the paper every 1/2 inch after each of the marks you made previously. Repeat the process along the right side of your paper.
Step 5
Draw horizontal lines with your gray colored pencil to connect the marks along the left side of your paper with the marks directly to the right of them on the right side of the paper. Use your ruler to make straight lines. Your paper is now divided into thick and thin horizontal sections.
Step 6
Color the thin horizontal sections with your gray colored pencil. Press lightly as you color to create a light shade of gray. Do not color the thick horizontal sections.
Step 7
Color all of the square-shaped areas where the light gray horizontal and vertical lines meet with your black colored pencil.
Step 8
Color all of the white areas of your paper with your yellow colored pencil.
Step 9
Align your ruler horizontally with the top edge of your paper. Make small marks on the paper with your black colored pencil every 1/4 inch before -- to the left of -- each gray vertical section. Repeat the process along the bottom edge of your paper.
Step 10
Draw vertical lines with your black colored pencil to connect the marks along the top edge of your paper with the marks directly below them on the bottom edge of the paper. Use your ruler to make straight lines.
Step 11
Align your ruler vertically with the left side of your paper. Make small marks on the paper with your black colored pencil every 1/4 inch below each light gray horizontal section. Repeat the process along the right side of your paper.
Step 12
Draw horizontal lines with your black colored pencil to connect the marks along the left side of your paper with the marks directly to the right of them on the right side of the paper. Use your ruler to make straight lines.
Tip
Experiment with different colored pencils to create different types of plaids, including combining different horizontal and vertical sections to create new colors: for example, a blue stripe crossing a yellow stripe will create green rectangles. Create more complex plaid prints by using more than three colors and leaving uneven amounts of spaces between the horizontal and vertical sections.
Video of the Day