Things You'll Need
Mixing bowl
Spoon
2 cups sugar
2 tsp. meringue powder
2 tsp. water
Cardboard
Pink icing
Blue icing
Green icing
Orange icing
Small hard candies
Icing tube
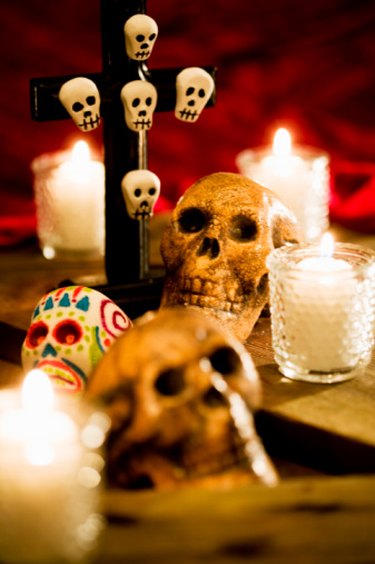
Dia de los Muertos is a Mexican holiday celebrated on Nov. 2 to honor the dead. Part of the tradition of Dia de los Meurtos is creating an altar where trinkets are placed for the dead. Trinkets include decorative art, mole, fruit, peanuts and other food items. One of the more popular items for children to place is the colorfully decorated sugar skull. Skulls are usually made with molds but can be done without them. The shape of the skull itself is not very important as the details are added with icing and decorative candies.
Step 1
Mix the dry ingredients in the bowl before adding any moisture. Sprinkle the water on the sugar until it starts to feel like moist sand. Spoon out a tennis ball-sized scoop of the mixture and form it into the shape of a skull. First, form it into a tight ball by cupping your hands around it. Then, narrow out the bottom of the ball to make the chin. Finally, make slight indentations into the top of the skull in the front with your fingertip to represent the eye sockets. As long as you've packed the sugar mix tightly enough when rolling it into the original ball, it will hold. Place it on the cardboard.
Video of the Day
Step 2
Repeat Step 1 until you run out of mixture. You should get eight to 10 skulls from this amount of mixture. Let the skulls dry for 24 hours.
Step 3
Decorate the skulls. Place the icing into the icing tube, selecting a tip that will make a very small icing stream. Detail the mouth of the skull by drawing an open mouth and filling the teeth in with a grid pattern. For the eyes and the nose, you can draw in happy, evil or sad looking faces using the various colors of icing. Use dollops of icing to secure the hard candies onto the skulls in any way you'd like. Candies can represent the nose or the eyes or be pasted in to represent hair or a hat on top of the skull.
Step 4
After decorating the skulls, allow the icing and candies to set for another 24 hours. They can be handed out as-is or wrapped in plastic wrap to help preserve the skull.
Tip
You can get as creative as you like with the decorating. Some people go as far as attaching crystals and feathers to the skulls when decorating them. Keep it simple if you'd like to eat them. If you're just making them for display, make them as ornate as you'd like.
Video of the Day