A whip stitch, also called an overcast stitch, is a useful stitch to have in your knitting repertoire. This stitch is not only used to seam two knitted pieces together, but it is also used to add a decorative edge. You do not need any special skills or previous seaming experience, as the whip stitch is a very basic seam.
Things You'll Need
2 knitted pieces
Tapestry needle
Yarn for seaming
Scissors
Video of the Day
Tip
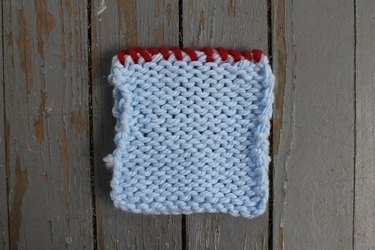
A contrasting yarn was used for demonstration purposes, but if you want your seam to be less visible, be sure to use a yarn that matches the knitted fabric.
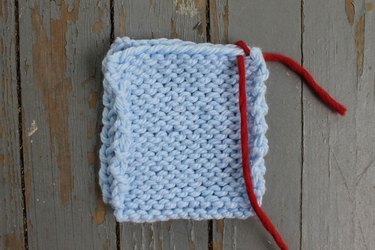
Step 1
Stack two pieces of knitted fabric with the right sides together. If your pieces are knit in stockinette stitch, as seen here, then the bumpy garter stitch sides will be facing out. Align the edges so that the two pieces are even.
Video of the Day
Step 2
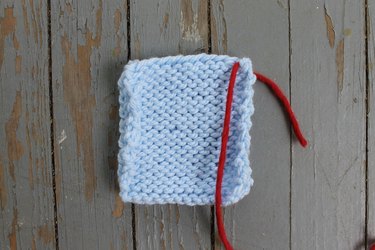
Cut a length of yarn that's about three times longer than the length of the seam. Thread the tapestry needle with the yarn.
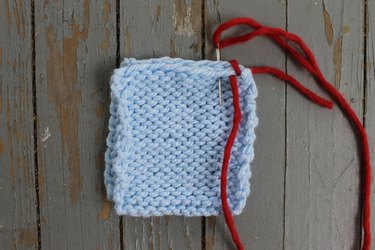
Step 3
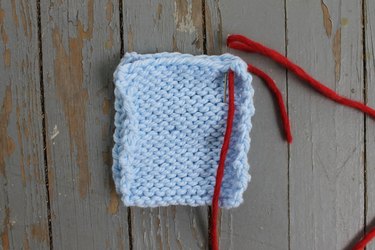
Working one stitch in from the edge, insert the needle from back to front along the edge of the right side of both pieces, leaving a 4-inch long tail for seaming in later.
Step 4
Insert the needle from back to front of the next edge stitch.
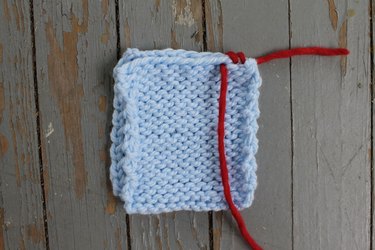
Step 5
Pull the yarn through, allowing the yarn to wrap over the top edge.
Warning
Don't pull the yarn too tightly when seaming, otherwise you could create a pucker or distort the knitted fabric.
Step 6
Repeat steps 4 and 5 across from right to left until the entire edge has been seamed.
Step 7
Once you've seamed the entire edge, cut the yarn, leaving a 4-inch tail. Weave in this tail, plus the tail you left at the beginning of the seam.
When to Use the Whip Stitch
To Line Knitting
If you're adding lining to a hand-knit bag, for example, you can use whip stitch to attach the fabric to the top of the bag.
To Create a Visible, Decorative Seam
Whip stitch is a visible seam, so use it when you don't mind showing off your seaming.
Tip
To make the seam even more decorative, place the two pieces of knitted fabric with wrong sides facing and whip stitch on the outside of the work.
To Join Squares
If you're knitting several squares and seaming them together to create a blanket or other knitted fabric, whip stitch is a quick easy way to join the squares together.