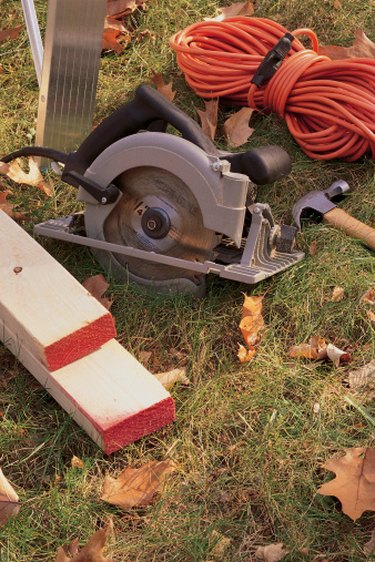
Things You'll Need
Ledger board (2-by-4-inch or 2-by-6)
Tape measure
Circular saw
Long screws
Screw gun
Level
2-by-4-inch rafter boards
Framing nails
Hammer
1-by-4-inch strip sheathing
Corrugated metal roofing (steel or aluminum)
Galvanized or aluminum screws with plastic washer tops
Metal flashing
Metal drip edging
Tin snips or metal saw
Clear silicone caulk

A lean-to shed is just that -- a shed that leans on the wall of a house, garage, or barn for support. Lean-to sheds are great for storing mowers, cookers, garden supplies, and other things that need to be sheltered but do not need to be in a freestanding building. Most lean-to sheds are built with open ends for easy access. They are basically two parallel walls connected by a roof. Lean-to sheds can be built to match a house or garage, or have their own siding and roofing, often made from corrugated metal.
Step 1
Make a ledger board to fasten to the existing wall and support the upper end of the lean-to roof. Measure the width of the outside wall, and cut the board with a circular saw to the same length. Use a 2-by-4-inch board for a short roof (up to about 8 feet), a 2-by-6 for a longer one.
Video of the Day
Step 2
Fasten the ledger board to the studs in the existing wall with long screws and a screw gun (you can remove the covering on the existing wall or leave it in place). Use a level to make the ledger board level at a height above that of the outside shed wall (you can make the lean-to roof at any pitch or slope you want, but it should slope 1 inch for every 10 feet it runs from the ledger board).
Step 3
Connect the ends of the ledger board and the ends of the outside wall with 2-by-4s cut at an angle to fit between those walls. Nail those to the outside of the ledger board and wall. Add internal 2-by-4s for rafters for a lean-to shed longer than 4 feet; cut these to the angles to fit between the walls and toe-nail them in place (toe-nailing drives nails diagonally through one board into another). Space rafters 24 inches apart.
Step 4
Install 1-by-4-inch sheathing strips across the rafters, shed end to shed end. Nail these to each rafter in 12-inch increments from outer wall to ledger board. Keep them level.
Step 5
Cover the lean-to roof with corrugated metal roofing. Place the first panel on one end of the roof, and secure it to the sheathing strips top and bottom with a screw gun and galvanized steel or aluminum screws (depending on the type of roofing metal) with plastic washers on them. Put a screw in each sheathing strip, through the valley in the corrugated panel. Do not put a screw in the last valley, where the next panel will overlap.
Step 6
Add another panel to the side, overlapping the corrugations according to the manufacturer's recommendation, generally one ridge and one valley. Cover the bottom of the roof and add a second row of panels at the top, if necessary, overlapping the bottom row by 6 inches. Panels normally are 8 or 10 feet long but can be bought in longer lengths, so for some roofs only one row will be needed. Use tin snips or a metal saw to cut panels to fit where needed.
Step 7
Put metal flashing at the top of the corrugated roofing, nailed to the building wall and overlapping the roofing to deflect water down the roof. Seal the top of the flashing with clear silicone caulk. Add drip edging on all sides of the roof, metal flashing elements which deflect water away from the roof and also seal sharp edges. Flashing is metal bent to overlap a straight wall and a sloped roof. Drip edging is metal sealing the ends of the roof to prevent moisture from getting in under the roofing.
Tip
Cut corrugated roofing with tin snips or a metal saw to fit the roof. Wear gloves when handling corrugated roofing; edges are sharp and can cut. Get help handling panels, which are not heavy but are unwieldy.
Video of the Day