Things You'll Need
Paper or canvas
Acrylic paint
Paintbrush
Cup of water
Image of subject or live subject
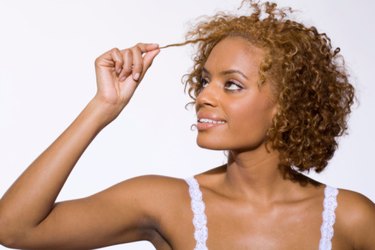
Painting hair is difficult because many people do not take the time to look at hair as a combination of shapes, but rather attempt to paint every single strand. If you look at someone's hair, you will start to notice that hair seems to fall in pieces or chunks: the bangs and every layer of hair has a different shape to it. Once you are able to understand hair in this way, you will be able to paint curly hair masterfully.
Step 1
Study the image of the subject or the live subject of whom you are painting the curly hair.
Video of the Day
Step 2
Dip your brush into any shade of paint which you want to use in the hair.
Step 3
Add a few drops of water to the paint to thin it down.
Step 4
Paint the basic shapes of the hair onto the head very lightly to capture the nature of the hair. Because this is curly hair, it will probably be somewhat round and large in shape. Focus on the top of the head and note the way that the hair swoops in either direction - where it is parted, whether it falls flat, and in what direction it moves.
Step 5
Paint the general shapes that comprise the sides of the hair. Focus on the left and right sides individually, observing the differences. Leave the finer details for later.
Step 6
Use multiple shades of color to create realistic looking hair. Layer the paint and note areas of light and dark in the subject. Certain chunks, or sections of hair will have different tones because of how the light hits it.
Step 7
Paint the details of the hair. Continue to look for shapes and areas of color rather than individual strands. Add the finer details, including smaller areas of varying color, defined corkscrew-shaped pieces of hair, smaller wisps of hair that stick out around the silhouette and frame the front of the face.
Step 8
Allow the paint to dry.
Step 9
Add the finishing touches to continue to build on the texture and fullness of the curly hair until you have reached the desired result.
Tip
Experiment with how much water you incorporate into the paint, as this will help to bring out the texture and depth of the curly hair. Use more water for the base layers of paint and less water as you start to paint more of the details.
Warning
Don't get discouraged if it doesn't look realistic at first. Continue to build on the layers of paint and you will find that the curly hair will start to look more and more realistic.
Video of the Day