Things You'll Need
Eraser
Pencil sharpener
Ruler
Picture frame with glass
Photograph of an open hand
Washable marker
White drawing paper
Apple
Coffee mug
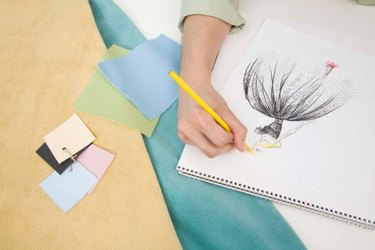
Drawing is a form of artistic expression that even beginning artists can engage in. There are many different types of drawing, such as cartooning, anime, doodling, landscapes, and the human form. You can sketch with lead pencils, colored pencils, graphite pencils, ink, chalk, crayons, charcoals or pastels. Most people begin drawing by sketching flat outlines of objects. You can improve your drawing by knowing the principles of perspective, shadowing, shapes, lines and their relationship to each other. The best drawing medium for beginners is a quality lead pencil with an eraser.
Step 1
Learn to draw by tracing other pictures. Take the back off of a picture frame. Insert a photo of a hand under the glass and put the frame back together. With the washable marker, trace the outline of the hand on the glass, including every line and crease on the palms and fingers. Tracing a hand will help you visualize in three dimensions. Most beginners can draw flat, one-dimensional pictures. Tracing the hand teaches perspective and depth. For more of a challenge, take the picture out of the frame and lay it on the table beside you. Try to draw the same hand on a piece of white paper by just looking at it.
Video of the Day
Step 2
Hold an apple in your hand and study it carefully. Notice apples are not perfectly round. Set the apple on the table about 2 feet away from you. Start your pencil drawing of the apple at the top and draw down the side and around. Sketch lightly, in case you want to erase. Draw the stem. Notice the apple is three-dimensional and the stem is not directly on top of the fruit, but a little bit forward. Shade the apple with the side of your pencil. Smudge the pencil shading with your fingertips to practice working with shades of dark and light and make the apple appear to have a smooth surface.
Step 3
Set a coffee mug on the table in front of you. Study it and notice the shape and the size of the handle in relationship to the mug. With your pencil, draw the top opening of the mug on a piece of paper as a very narrow oval. Draw the two sides of the mug, the bottom arc and the handle.
Step 4

Use your ruler to draw a 2-inch square on the left side of your paper and a smaller 1-inch square on the right side about 2 inches higher. The large square is in the foreground on your paper and the smaller square is in the background. Turn each square into a three-dimensional box by drawing the top of the box and the sides. Draw the interior of the boxes as if they were translucent. Attach the two boxes by drawing a line connecting the corners of the boxes so it looks similar to a box kite.
Step 5

Draw a landscape with a house or barn in the foreground and trees and mountains in the background. Draw the landscape either from your imagination or by copying another picture.
Step 6
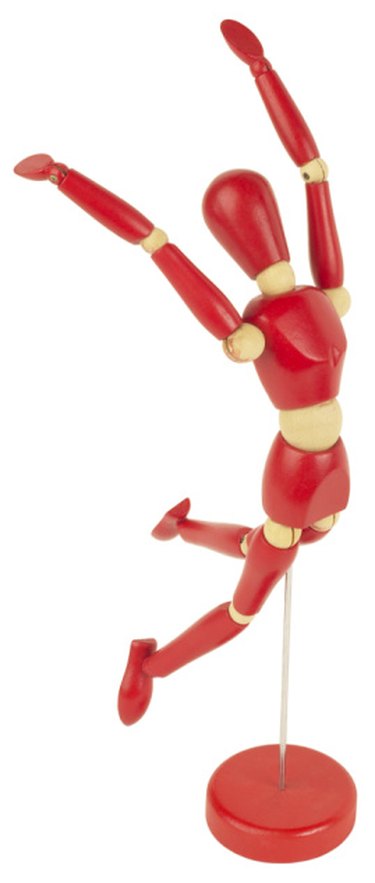
Draw cartoons of the human form using the ovals method. Draw an oval for the head. Add a longer and rounder oval for the body. Draw the upper arms with narrow ovals and smaller ovals underneath for the lower arms. Draw the legs in the same way as the arms, with small ovals at the bottom for the feet. Add cartoon facial features and hair.
Tip
Drawing takes a lot of practice. Do each of the above exercises several times. Consider taking an art class.
Video of the Day