Steampunk is a trend in literature and fashion that combines elements of the Victorian era with scientific invention. Imagine if the world functioned without modern digital conveniences and instead praised the idea of invention and exploration through the use of gears and creativity. Deck yourself out from head to toe for a costume party or other event, and show your Steampunk style with the right combination of clothing items and accessories. Learn how to make a Steampunk costume for a man or a woman so you'll be ready for any event.
Video of the Day
Things You'll Need
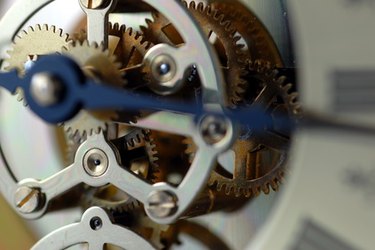
Gears
Goggles
Boots
Pocket Watch
Jewelry Findings
Feathers
Metallic Paint
Hot Glue Gun And Sticks
Step 1
Select your main clothing in shades of gray, brown or black. For women, combine a tight corsetlike top or dress with a full skirt and bustle and puffed-out sleeves. Men might wear a button-down shirt with a tie, vest, and pants or shorts; women can wear this trend as well, because Steampunk is less gender-biased than the actual Victorian era.
Video of the Day
Step 2
Add the proper Steampunk style in your shoes. Tall, lace-up boots work equally well for men and women in the Steampunk tradition. Try to find narrower boots with a little bit of a heel rather than bulky, combat-style boots. Spats or leg warmers with laced wingtip-style shoes also complement Steampunk style.
Step 3
Accessorize with goggles. This isn't the time to go to the swimming store; rather, channel the Wright Brothers in your goggle selection. Choose large, full-faced goggles that mimic an aviator style; if you can't find any, try making some with fabric glued to science-lab goggles instead.
Step 4
Bring in the gears. Gears and cogs are the height of Steampunk style, and they belong outside your clothing just as much as inside your pocket watch. Break up an old watch or clock to pull out the gears, and then string them together to make a pendant or hang them from earring hooks. Spray paint the cogs in metallic bronze or copper colors if they don't fit that color scheme already.
Step 5
Top it all off with a hat or hair accessory. For men, try a top hat or a bowler style. Attach gears to the sides with hot glue to provide visual interest. For women, glue large feathers and gears or cogs to a hair clip, and wear it on the side of your hair as a fascinator.
Tip
If you get stuck, try to combine "Dracula" with the Industrial Era, and you'll find your Steampunk inspiration. If your clothing or accessories don't fit the Steampunk color palette of brown, bronze, black and cream, just dye them that way before you wear them.