Things You'll Need
Painting surface suitable for acrylics
Brushes
Circle guide
Source Image
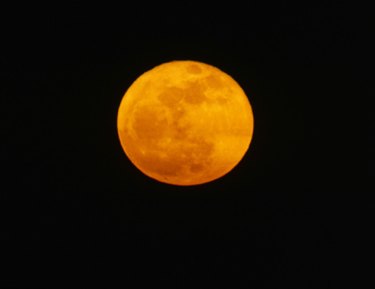
The moon is a constant presence in the night sky. Even when it can't be seen by the naked eye, the moon is still there lighting the landscape. In a painting, the moon can be more than a source of light. It can become a mysterious and mystical subject. An artist using acrylic paint can capture the subtle detail of the light the moon casts into the night sky and the majestic awe that nighttime sentinel invokes.
Step 1
Paint a rough circle using a lighter hue of what your primary sky color will be. The circle doesn't have to be perfect. This circle will make up the rough shape of the moon's glow. How much bigger the circle is than the final shape of the moon will dictate the strength of the glow.
Video of the Day
Step 2
Create a ring around the lighter circle using the darker primary sky hue. This will be the color that makes up the majority of the sky. Leave a small amount of white space between the two colors to give yourself room to blend.
Step 3
Blend the edges of the inner circle with the outer circle while the two paints are still wet. Create a gradient blend from the lighter color to the darks. This will represent the glow dissipating into the rest of the sky the further it gets from the moon.
Step 4
Fill in the rest of the sky. Add fine details like clouds or other effects as you wish. Allow time for layers to dry to create definitive shapes.
Step 5
Draw a circle in the center of the lightened area using a light pencil. You can use a circle guide or the bottom of a cup to create a perfect circle. Be sure the circle is centered properly. The glow should be equally balanced on all sides of the moon even if only a portion of the moon is visible.
Step 6
Paint the brightest highlights of the moon within the circle. Fill in only the portion of the moon you want to be visible. Be sure the layer beneath is completely dry before starting on the highlights. Use white paint or white tinted with the primary color of the sky to create a dramatic highlight.
Step 7
Let portions of the lighter background color remain while creating highlights. These sections make up the shadows of the moon, forming the shape of the craters. While the background color of the craters will be darker then the highlights, it will remain lighter than the rest of the sky, giving the moon the appearance of producing light.
Tip
Choose a good source image or work from real life. You can work from your imagination if you wish, but often the brain will attempt to create a representation of the moon and miss the subtle details that can be seen by studying a source image.
Video of the Day