Things You'll Need
Screwdriver
AC tester pen
Hammer
Wire strippers
From the 1950s through the 1970s, aluminum wires were used as standard electrical components for branch circuits in homes due to the high price of copper. However, aluminum wires were found to oxidize in a way that can cause shorts and increased resistance, which can lead to fires. Although aluminum wires are still considered safe to use, it is important that special precautions are taken when installing new circuit breakers or replacing old circuit breakers with aluminum wiring.
Step 1
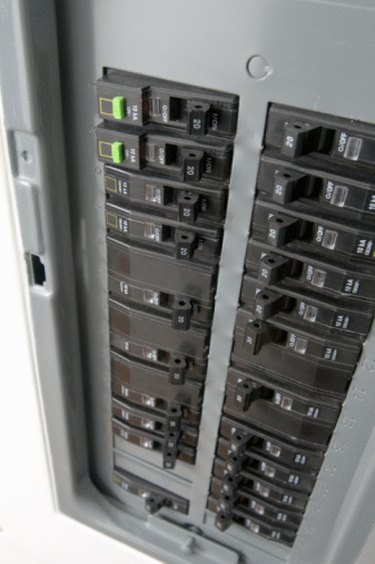
Turn off the electricity for the electrical panel by flipping the main cutoff switch at the top-center portion of the panel. Unscrew the faceplate of the electrical panel with a screwdriver. Use an AC tester pen to touch the wires of the branch circuits to make sure that the electricity is cut off properly. Be careful not to touch the main wires connected to the cutoff switch, as they will still be live.
Video of the Day
Step 2
Use a screwdriver and hammer to remove the knockout tab on the electrical panel. This will allow the aluminum wire to be fed into the back side of the panel, where it can be connected with a breaker. Install the cable clamp into the knockout hole and tighten the clamp around the wire.
Step 3
Strip the insulation off the end of the aluminum wire in order to attach it to the circuit breaker. If the wire has been used before and is already stripped, inspect the ends of the wire for fraying, oxidation or other forms of decomposition. If the wire end has deteriorated, cut it off and strip more insulation off of the wire to start with a fresh connection.
Step 4
Inspect the breaker to which you are attaching the aluminum wire. Make sure that the breaker is labeled "AFCI" (arc fault circuit interrupter), which is made specifically for applications with aluminum wiring and can sense and prevent electrical arcing from starting fires.
Step 5
Connect the aluminum wiring to the electrical panel by screwing the neutral white wire into the left slot of the AFCI circuit breaker. Bend the ground wire's end into a 90 degree angle and connect it to the ground bus bar. Connect the black hot wire to the screw-in terminal for the AFCIs. Stretch out the coiled neutral white wire attached to the AFCI circuit breaker and connect it to the neutral bus bar. Insert the end of the neutral wire next to the screw on the neutral bus bar and tighten the screw.
Step 6
Install the new breaker into the electrical panel by snapping it into place. If you are having difficulty getting the breaker to catch, try angling the wired end toward the hot bus bar and then pushing the rest of the breaker into the electrical panel.
Step 7
Reattach the faceplate on the electrical panel and turn on the main power switch. Test the breaker by turning it on and off and plugging small appliances, such as lamps, into the outlets connected to the branch with the aluminum wiring. Follow the specific instructions for the AFCI breaker switch to test the breaker itself using the test button on the breaker.
Video of the Day
- CPSC: Arc-Fault Circuit Interrupters: Getting the Word Out
- CPSC: War Consumers About Electrical Hazards in the Home
- BeJane: Electricity 101
- HammerZone: Adding a Subpanel: An Overview
- The Circuit Detective: AFCI Circuit Breaker Troubleshooting
- Electrician2: Table 310.16 Parallel Conductor and Voltage Drop Calculator
- NoJolt: NEC Standard Method Single Family Residential -- Electric Service Entrance Load Calculator
- Powerstream: Wire Gauge and Current Limits
- HomeTips: The Main Electrical Panel, Circuit Breakers and Subpanels
- Electrical-Online: Subpanel Installation