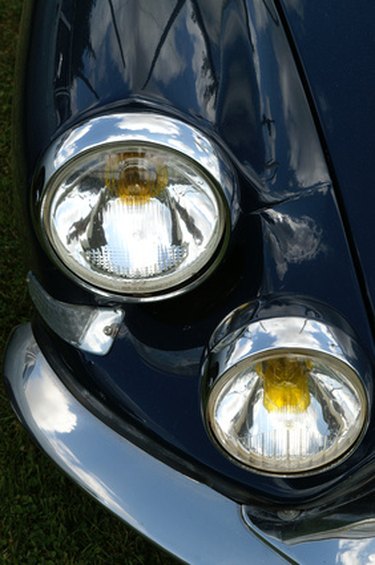
Car blueprints indicate the size of each part of a car to be manufactured. Auto designers use computer-aided design programs to produce these blueprints, but start the design process with hand sketching. With a little training, you can produce both sketch and blueprints with just pencil and paper. In creating your car blueprint, note that cars contain many curves despite being manufactured structures. As you develop your blueprint, strive to mimic those curves to create an appealing design. Making car blueprints develops your observational drawing skills and your design skills.
Step 1
Sketch a 3-D view of a car. Use car photos from the Web as a reference, or a model car. You can also trace over photos.
Video of the Day
Step 2
Write your estimate of how long the car appears in relation to its height. For example, if the car looks twice as long as it is high, write down "Length to height ratio is 2 to 1."
Step 3
Draw a rectangle on a piece of paper. Make its sides the same proportion as those of the car's length to its height. For the example in the previous step, you could draw a 10 inch long by five inch high rectangle. This step starts the side view.
Step 4
Write your estimate of where the top of the windshield falls in relation to the length of the car. For example, if it's halfway between the front and rear of the car, write "windshield top: 1/2 car length."
Step 5
Mark this estimate on your side view drawing.
Step 6
Mark your estimate of where the bottom edge of the windshield falls in relation to the car's length, just as you did the windshield top.
Step 7
Mark the rectangle with your estimates of the top and bottom of the rear window.
Step 8
Mark an estimate of the tire's position as you did the windshield position. Use the tire diameter and center in relation to the car's length to form your estimate.
Step 9
Draw the completed side view of the car using the marks you placed in the previous 4 steps. Refer to your sketch as needed.
Step 10
Measure each edge and label the edge with its measurement. This completes the side view of the car blueprint. You'll now draw the front view.
Step 11
Write your estimate of how much longer the car's height is compared to its width.
Step 12
Draw on the same piece of paper another rectangle whose height matches the height of the side view rectangle. Ensure the ratio between the rectangle's height and width matches the figure you estimated in the previous step.
Step 13
Measure the distance from the tire bottom to the bottom of the windshield, and mark the same distance on the front view rectangle.
Step 14
Draw the headlights, tire outlines, grill and hood ornament by estimating their position and size using the instructions for determining the windshield position. Refer to the sketch to help you gauge the correct placement of these parts.
Step 15
Label all edges with their measurements, as you did in the side view.
Video of the Day