Things You'll Need
Electric sander
Paint or wood stain
Clear varnish
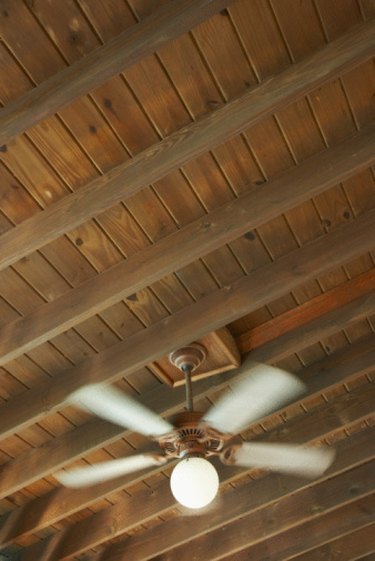
Exposed beam ceilings add architectural interest to a room, but over time they can fade and appear dated. Exposed ceiling beams can be updated similar to regular ceilings that need to be painted every few years. There are several options for updating ceiling beams. One is to paint them a color that contrasts with the ceiling to give a room a bolder look. Or, the beams can be painted a matching color for a more subtle effect. Other options include sanding and staining the beams instead of painting them.
Step 1
Decide what you want your finished ceiling beams to look like. For inspiration, browse through home magazines or catalogs that can show you what different styles look like in a room.
Video of the Day
Step 2
Cover the floor and furniture in the room with plastic. You will have dust, paint or stain splatters while working on the beams.
Step 3
Strip and sand the beams. Whether painted or stained, exposed ceiling beams must be thoroughly stripped of their finish. It is recommended to use an electrical sander for this job because it will make the work quicker and ensure that the beams are sanded evenly. Because you will need both hands for sanding and stripping, it is recommended to use a scaffold instead of a ladder to do this work.
Step 4
Clean the beams thoroughly. After sanding or stripping, dust particles will remain on the beams. This can mar the finish. Use a damp cloth to thoroughly clean off any remaining dust or dirt.
Step 5
Begin painting or sanding the exposed beams. Start with the top of the beam and slowly work around until the surface is covered with a thin coat of paint or stain. Work slowly to avoid drips. Allow this coat to dry thoroughly.
Step 6
Apply a second coat of paint or stain to the beams. Again, work slowly and methodically from top to bottom to avoid drips and streaks. Allow this second coat time to dry. If you are staining the wood, proceed to the next step. If you are painting the beams, and two coats are sufficient, you can stop here.
Step 7
Varnish the wooden beams. Varnish will help protect the wood from fluctuations in temperature and moisture within the home and provide a long-lasting shine to the wood. Work slowly, applying the varnish with a brush from top to bottom until the beam is lightly coated. Allow the varnish time to dry. Add a second coat if necessary.
Video of the Day