Things You'll Need
Protective cloth or newspaper
Gloves
Sandpaper
1 damp, clean cloth
Paint primer
2 paintbrushes
Paint
Screwdriver
Hammer
1 clean cloth
Antiquing with shoe polish is one way to achieve a weathered look on furniture that is either new or simply in need of a different look. Shoe polish, which is available in several colors, is affordable and easy to use when creating distressed furniture. In just a few steps, you can completely transform a modern table to antique or give an older piece of furniture more character. Simply apply the polish to areas of the furniture that would be naturally worn if it truly were an antique.
Step 1
Place furniture on a drop cloth to protect the surface underneath. Put on gloves to protect your skin from paint droppings.
Video of the Day
Step 2
Lightly sand the entire surface with medium 80-grit sandpaper. Slide the paper back and forth, keeping your pressure consistent. Wipe surface clean with a damp cloth every few inches.
Step 3
Apply primer to the furniture or object using a paintbrush. Dip the brush halfway into the primer. Gently stroke the primer onto the object until the entire piece is covered. Allow to dry. The primer should be about the same color as the paint you will be using.
Step 4
Dip a clean paintbrush halfway in your chosen paint color. Start at the top of the furniture or object and gently brush the paint downward and up again. Cover the entire piece and let dry overnight, if possible.
Step 5
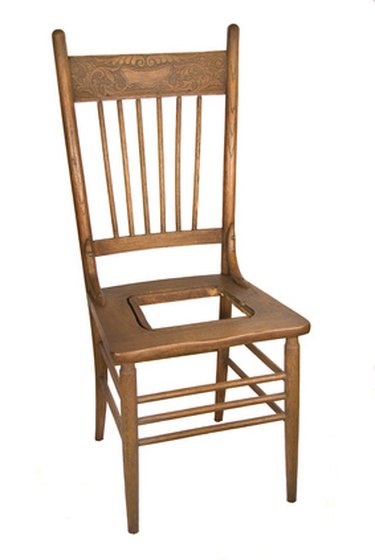
Decide where the natural wear on your furniture would be. For example, wear occurs on a chair near the arms, corners and edges. These areas direct where you'll need to apply the shoe polish.
Step 6
Strike the furniture in these areas with a screwdriver and hammer to create imperfections. Place the screwdriver on the object and hit a few times with a hammer. Control the pressure so that not too many dents and chips are made. Drag the screwdriver blade along the object to make lighter scratches.
Step 7
Pour about 2 tbsp. of shoe polish onto a clean, dry rag. Apply to the areas you've just distressed. Rub the polish in gently. Wipe clean. Reapply if more polish is needed and wipe again. Judge if the object looks right or needs more dents, scratches or shoe polish. Work accordingly to your liking.
Tip
Apply only the necessary amount of paint and shoe polish. Less is more.
A red chest antiqued with black shoe polish creates a rubbed, worn look, while a brown chest with white shoe polish rubbed into the cracks creates the illusion of dirt settling in.
Warning
Create a realistic look by first looking at pictures displaying distress marks that can be recreated on your piece of furniture. Don't guess where the antique marks and shoe polish should go.
Video of the Day