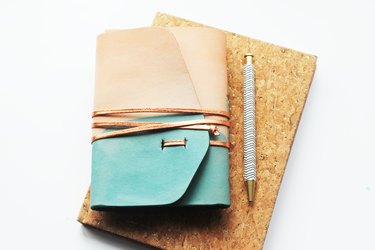
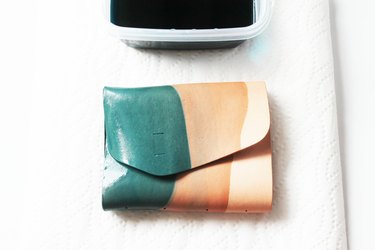
We choose leather products for their superior quality and durability, and we can give these goods a colorful, modern spin using Rit Brand dyes! From dip-dyed journals, to ombre suede fringe, these four simple steps are all you need to create colorful leather pieces you can use for years.
Things You'll Need
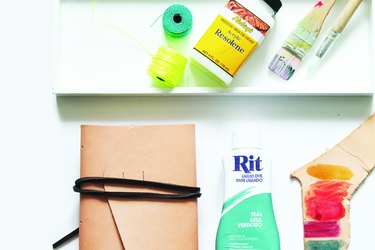
Any Color Rit Brand Liquid Dye
Plastic Gloves and Apron
Unfinished Leather
Stir Stick
Plastic Container
Rags or Paper Towels
Clear Leather Sealant
Paint Brush
Access to Sink
Video of the Day
Choosing the Right Leather
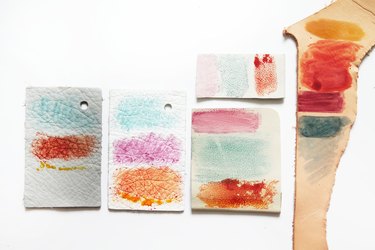
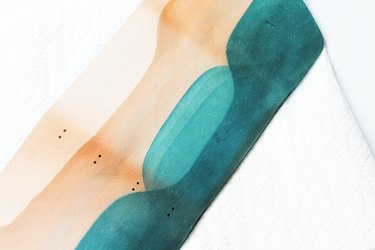
When choosing leathers to dye, keep in mind most leather shoes and handbags have been pre-treated with a waterproofing sealant that renders them impervious to liquid dyes, including Rit. Bleached and unfinished hides take colors best, while darker tones will alter the dye's color output. Gray and white hides take cooler colors like teal and fuchsia better than brown and tan hides--which are easily dyed warm colors like orange and yellow. You can find a range of untreated leather kits at craft supply stores that are perfect for dyeing.
Video of the Day
Tip
Check the tag before starting this project! Some sandals and bags might look like leather but are actually embossed vinyl and can't be dyed. From deer to cow hides, each skin is unique in texture, thickness and weight -- assess which works best for your project.
Step 1: Prep Your Dyeing Station
Set up near a sink for easy clean up and access to water. Measure and mix your dye according to the instructions on the bottle in a disposable plastic container. Omit steps calling for salt or vinegar, these additions are only necessary for dyeing fabrics and are corrosive towards leather. If dip-dyeing your leather, choose a plastic container your project can safely prop up in without tipping over. If you plan on fully dyeing your leather choose an aluminum tray or large container so that your leather can be completely submersed in the dye bath.
Warning
Dye can stain clothing and hands, so be sure to wear gloves, old clothes and an apron!
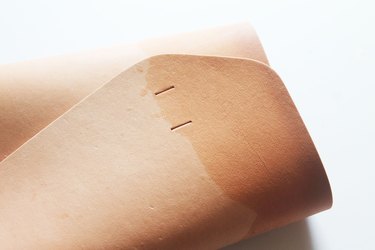
Step 2: Prep Your Leather
Run warm water over your piece of leather to remove any dust and prepare it for the dye bath. This will aide in an even distribution of dye and consistent color.
Step 3: Dye
Submerse your leather in the dye bath and leave to absorb color. The longer the leather soaks, the deeper the color will be, so continue to check the color every couple of minutes until reaching your desired shade. Keep in mind wet leather appears much darker than dry leather, so your dyed project will be much lighter once its had a chance to fully dry.

Step 4: Dry and Treat Leather
Remove leather from dye bath and allow to dry flat overnight on a rag or paper towels.
Once fully dry, apply a thin coat of clear leather sealant over your project to prevent any color transfer to clothing or furniture.
Allow to cure overnight before sporting your new leather accessory!
