Things You'll Need
Motion light fixture
Phillips screwdriver
Silicone caulking
2 flood light bulbs
Cooper manufactures several types of outdoor motion detector lights. One of the most common is the MS34 series of security floodlights. The motion-activated floodlight senses heat from people, animals and automobiles to automatically turn the light on. Once the motion has stopped, the light will turn off after a preselected time.
Location
Step 1
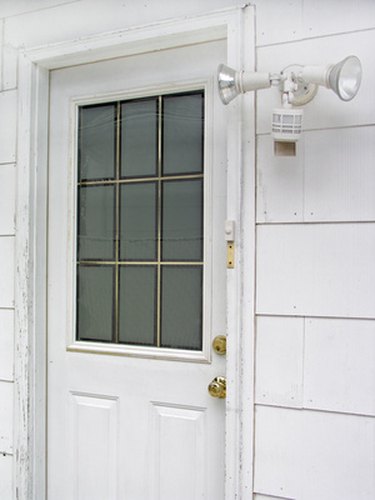
Select a location that is 6 to 8 feet above ground level. Install your fixture near a doorway or pathway to automatically come on when someone approaches your home.
Video of the Day
Step 2
Select a location away from heat-producing triggers to prevent the light from turning on at unwanted times. Stay away from dryer vents, air conditioner vents and heat pumps.
Step 3
Select a location away from moving objects. Trees swaying in the wind and excessive automobile traffic could cause false triggers.
Installation
Step 1
Turn off power at the main fuse or breaker box.
Step 2
Match up screw holes on the cover plate with the junction box screw holes. Junction box must be at least 1.5 inches deep.
Step 3
Thread fixture wires through cover plate gasket. Connect black wire to house black wire and connect white wire to house white wire using wire nuts.
Step 4
Use a Phillips screwdriver to attach fixture to the junction box with two screws. Apply silicone caulking around the edges of cover plate.
Step 5
Insert lamp-holder gaskets into lamp holders and screw bulbs into lamp-holders. Turn power back on.
Video of the Day
Adjust Settings
Step 1
Rotate both knobs on bottom of the sensor to "T" to test the fixture. Turn the fixture on at the wall switch. Allow fixture to warm up approximately one minute before testing. The light will come on and stay on during warm-up period.
Step 2
Adjust sensor head up, down, left, or right. Move the time adjustment controls to the desired length of time you would like the light to remain on.
Step 3
Turn the sensitivity light knob to desired location. Turn knob closer to moon symbol for the light to turn on at night or turn closer to "T" for light to turn on during dusk hours.
Tip
This fixture is for outdoor use only.