Things You'll Need
Level
Tape measure
Power drill
3-inch deck screws
Circular saw
2 inch by 4 inch board
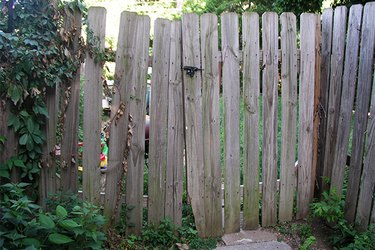
A sagging gate is a common problem that many homeowners experience. Weather and constant use can cause deterioration of the bolts and wood where they are attached. It can become a real annoyance, dragging on the ground and becoming impossible to open. In most instances, it can be repaired with a few basic adjustments.
Step 1
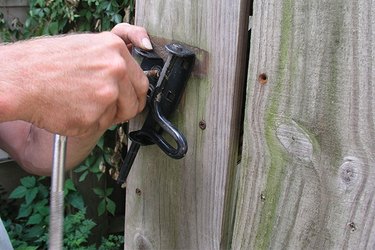
Examine the gateposts to make sure that they are level and plumb. Although this is not usually the problem, you must have a secure foundation to attach the gates. Repair if necessary. Examine the hinges for missing or rusted lag screws. Obtain replacements if necessary. Remove the latch.
Video of the Day
Step 2
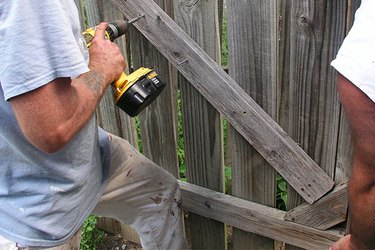
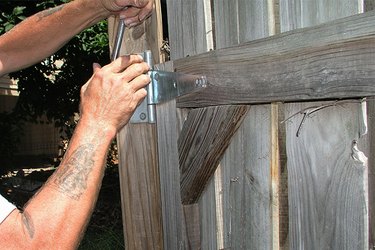
Measure from the bottom on the hinge side up to the top on the latch side at a diagonal. Cut a 2 inch by 4 inch board to fit this measurement. Start a few 3-inch deck screws partway through the board. Have a helper pull the gate up to a little above level and drive the screws into the vertical boards of the gate.
Step 3
Disconnect the bottom hinge by removing the lag bolts even if the hinge and bolts look like they are in good shape. If the hinge is bent, obtain a replacement.
Step 4
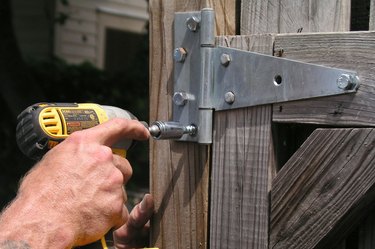
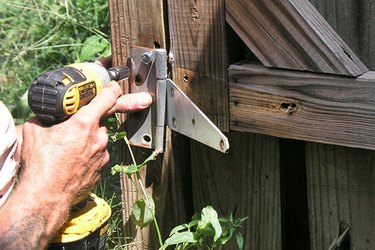
Loosen the top hinge by removing the lower lag bolt. Have a helper pull the gate up and check with a level. Mark the location on the lag bolt and retighten or replace the bolt in the new location.
Step 5
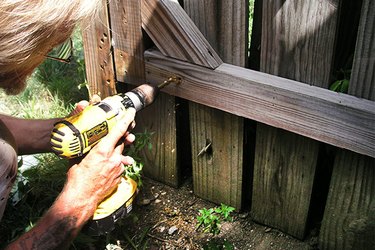
Still holding the gate at the level position, reset the lower hinge by relocating it and drilling new holes for the lag bolts. Drill holes slightly smaller than the lag bolt diameter.
Step 6
Install the lag bolts in their new location and tighten all the bolts at the top and bottom hinge. It's a good idea to oil the hinges or spray with WD-40 to help them work smoothly without creaking.
Step 7
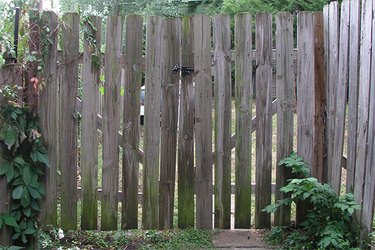
Last step, reinstall the latch and it should work smoothly.
Video of the Day