Things You'll Need
Open-end wrenches
Flywheel holder
Clutch tool
Flywheel puller
Flat head screwdriver
320-grit sandpaper
Feeler gauge

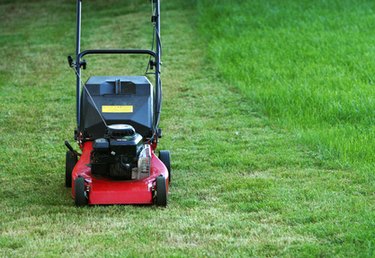
Briggs & Stratton builds a variety of small engines for use in lawn and garden equipment, such as lawn mowers, log splitters, pressure washers and more. Beginning in the early 1980s, Briggs & Stratton began using a solid state ignition system in its engines that does not require points and a condenser. On earlier models, the points and condenser were located underneath the flywheel, which means that setting the points on these engines requires removing the flywheel.
Step 1
Pull on the spark plug wire to disconnect it from the spark plug.
Video of the Day
Step 2
Loosen and remove the three bolts that hold the starter housing onto the engine with an open-end wrench. Lift the housing off of the engine and set it aside.
Step 3
Insert the hook of a flywheel puller into the fins of the flywheel, wrapping the puller around the right side of the flywheel. Position a clutch removal tool over the clutch on the crankshaft and turn the clutch counterclockwise while holding the flywheel in place with the flywheel holder. Remove the clutch and the flywheel holder and set both aside.
Step 4
Position a Briggs & Stratton flywheel puller over the crankshaft and tighten the bolts of the puller into their corresponding holes in the flywheel with the open-end wrench.
Step 5
Turn each of the nuts above the flywheel holder clockwise one full turn at a time evenly until the flywheel pops loose. Lift the flywheel off of the crankshaft and remove the puller from the flywheel.
Step 6
Loosen and remove the two screws that hold the points cover onto the engine block. Lift the cover off and set it aside.
Step 7
Rotate the crankshaft until the points are separated at their widest point.
Step 8
Fold a small piece of 320-grit sandpaper in half so that grit is exposed on both sides of the fold. Slide the paper back and forth between the metal points to remove any rust or corrosion on the points. Remove the paper and blow away any debris from the points.
Step 9
Insert a .020 feeler gauge in between the points. If the gap is wider or narrower than .020, loosen the points adjustment screw, and widen or narrow the gap appropriately. Tighten the screw to hold the points in place and verify the gap again with the feeler gauge.
Step 10
Replace the points cover and attach it with the two screws. Replace the flywheel over the flywheel key on the crankshaft, followed by the clutch. Tighten the clutch with the clutch tool.
Step 11
Place the starter housing over the engine and secure it with the three bolts. Remove the spark plug from the cylinder and reconnect the spark plug wire to the tip of the spark plug. Pull on the starter cord a few times, watching the electrode on the spark plug. If a spark appears, then the points are set correctly.
Warning
To prevent accidental firing of the engine, always disconnect the spark plug wire from the spark plug before beginning work on the engine.
Video of the Day