Things You'll Need
Hammer
3/16-inch nail punch
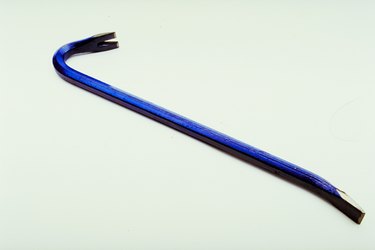
Pry bar
Pocket doors are a popular door type found in many homes, utilizing a portion of the adjacent wall to conceal the door when opened. Removing a pocket door from its jamb and track for painting is a simple procedure that retains the existing door adjustment for reinstallation when the painting is complete.
Step 1
Open the pocket door. Using a pry bar, remove the lower door guide from the opening face of the door pocket by removing the two Brad nails holding it in place.
Video of the Day
Step 2
Remove the vertical door casing from both sides of the door pocket, using a nail punch and hammer to push the finish nails through the casing or a pry bar to gently lift the casing from the wall surface.
Step 3
Remove the vertical pocket trim pieces from both sides of the pocket opening, using a nail punch and hammer to push the finish nails through the trim or a pry bar to gently lift the trim from the pocket frame.
Step 4
Remove the door from the top rollers by rotating both rollers' top pin locking levers counterclockwise until perpendicular to the door, then lifting the door's two top pins horizontally out of their respective roller assemblies. For older pocket doors with door-mounted rollers, swing the bottom of the door outward slightly, then lift the door upward to detach the rollers from the top track.
Tip
Reinstall the pocket door by reversing this procedure’s steps.
Video of the Day