Things You'll Need
Power drill
1/8-inch drill bit
2 clamps
1 1/4-inch grabber screws
Fast caps
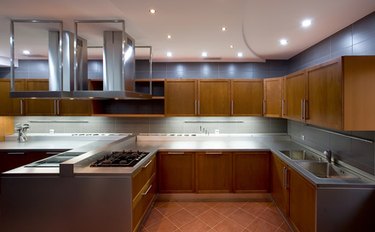
Kraftmaid cabinets will enhance the functionality and look of any room. You can order Kraftmaid cabinets direct. They offer different colors, molding styles and door profiles to fit your style. Two different colors can also be used to create a custom two toned look. You have the option to install Kraftmaid cabinets yourself to save money. Kraftmaid cabinets are frame-less cabinets, which mean they do not have a hardwood frame around the front. These cabinets are screwed together using grabber screws.
Step 1
Drill 1/8-inch holes through the side of one cabinet using a power drill and a drill bit. Drill four holes near the front of the cabinet and three holes in the rear. The holes should be roughly six inches apart.
Video of the Day
Step 2
Clamp the two cabinets together using clamps. Flush the faces of each cabinet.
Step 3
Fasten the two cabinets together using 1 1/4-inch grabber screws through the holes previously drilled.
Step 4
Remove the clamps from the cabinets.
Step 5
Place Fast Caps on each screw hole. They are self-adhesive and are applied using your hands. Fast Caps are a round disc that covers the screws. These are available in any color to match the interior of your cabinet.
Video of the Day