Things You'll Need
Broken wind chime
Braided nylon string or polyester string
Staples or nails
Scissors
Optional
Upholstery needle
Needle-nose pliers or tweezers
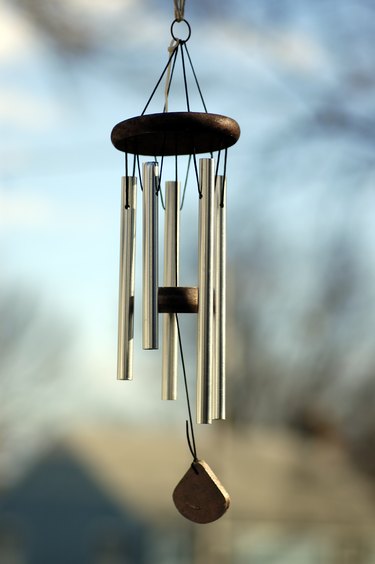
While rain, sun and wind can damage even the sturdiest wind chime, a broken thread does not have to signal the end of this outdoor decoration and music source. Wind chimes can be restrung with braided nylon thread or polyester thread sold for fishing or archery. In under an hour, a favorite wind chime can be back in place and spreading simple tunes through the garden.
Assemble the Pieces
Step 1
Lay the chime ring on the table, bottom side up.
Video of the Day
Step 2
Find the attachment points for the tube strings by looking for the old staple holes. If they cannot be seen, mark the points with a pencil or marker. Space them evenly around the ring, one point for each tube. Some chimes may have holes drilled for the strings.
Step 3
Arrange tubes from longest to shortest and look for marks where the clapper has hit the tube. These marks should be placed in the center of the wind chime and should line up with the clapper when strung.
String the Pieces Together
Step 1
Use an upholstery needle or needle-nose pliers to thread all the chimes onto the string in order. Keep the centers of the chimes facing the same direction.
Step 2
Staple the end of the string to the chime top at one of the marked attachment points, leaving a 1 1/2-inch tail on the string.
Step 3
Lay the chime flat on the table and place the tube halfway between the stapled point and the next attachment point. Place the top of the tube 1 inch from the ring. Make sure the tube is center side up.
Step 4
Pull the thread tight and staple at the next attachment point on the chime ring. Repeat until all the tubes are attached to the ring.
Step 5
Cut the string, leaving a 1 1/2-inch tail. Twist with the tail from the beginning and staple the twist to the chime ring. Leave a 3/4-inch tail -- cutting the string at the staple will allow the string to slip through the staple.
Tip
If using nails instead of staples, drive the nail into the ring, leaving space between the ring and the nail head for the thread. Wrap the thread around the nail once or twice to secure.
Lightweight string may break from the weight of the chimes when the wind blows. String rated for 100 lbs is strong enough for most wind chimes; however, tubes larger than 1 inch in diameter need string rated for at least 130 lbs.
Tubes up to 7/8 inch need 3/8-inch staples or nails. For 1-inch tubes, use 1/2-inch staples or nails.
Do not staple on top of an existing staple, as it may crack the ring.
Do not staple through the string, as it will cause the string to fray and break.
Video of the Day