Things You'll Need
Fabric
Thread
Pleat tape
Pleat hooks, 4 prongs
Curtain rod rings with eyelets
Scissors
Tape measure
Pins
Sewing machine
Iron
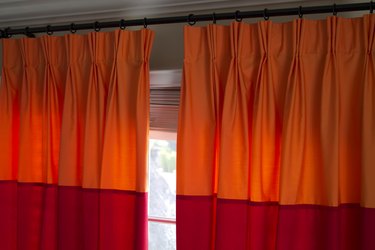
These pinch pleat drapes bring an elegant and professional touch to your windows and are easier to make than you may think. Pleat tape and pleat hooks make the pleats for you. They glide across a curtain rod effortlessly and always have the perfect drape whether open or closed.
Step 1
Pleat tape comes with hook holes 1/2 inch and 1 inch apart for smaller or larger pleats. The pleat hooks come with 2, 3 or 4 prongs for the option of 1, 2 or 3 pleats per hook. Eyelets for your curtain rod rings are necessary so that the drapes can hook onto the rings straight in line with the curtain rod.
Video of the Day
Step 2
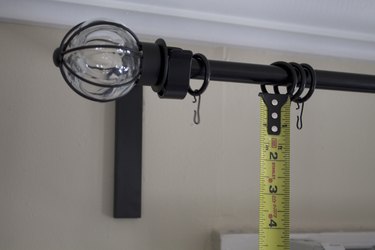
Measure the desired length of your drapes starting at the bottom of the installed curtain rings. Add 1/2 inch seam allowance to the top, 1 inch to the sides, and 2 inches for the hem. To find the width of your curtain panel, multiply the width of your window by 2.5 for traditional sized pleats. Since most fabrics come in 45 inches to 60 inches wide, you may need to combine several panels. For example, 60 inches wide fabric will finish at 25 inches wide with 7 pleat hooks.
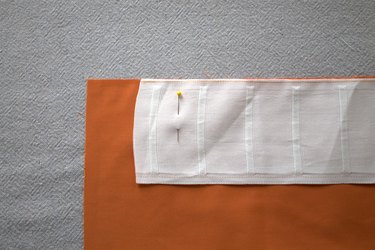
Step 3
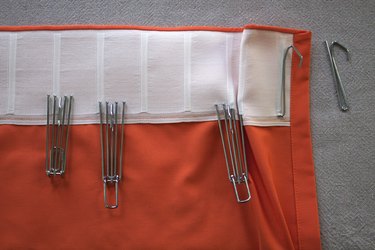
Pin the pleat tape to the top edge of the drapes, right sides together, leaving a 1 inch space at the side seam for seam allowance. Take note of which side the holes for the pleat hooks are and place them against the right side of the fabric, facing down towards the length of the fabric. Sew along the top edge.
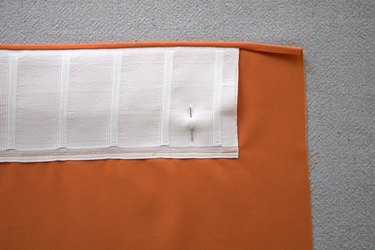
Step 4
Turn over the pleat tape and press. Top stitch along the bottom of the pleat tape, making sure not to sew over the pleat hook holes.
Step 5

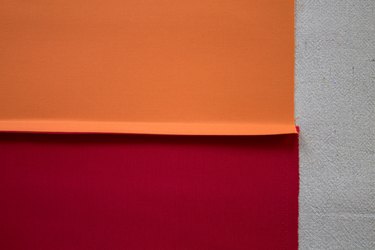
Optional Step: Add a contrasting border by combining two panels horizontally. Make a french seam by sewing wrong sides together, 1/2 inch from the edge. Trim the seam allowance, flip fabric to right sides together, press and sew 1/2 inch from the edge.
Step 6
Turn the raw edge along the side of the drapes under 1/2 inch and press. Turn under 1/2 inch again while making sure you cover the edge of the pleat tape. Press and top-stitch down to finish the side seam. Repeat this step for the hem, or wait until the drapes are finished and hung to mark the hem.
Step 7
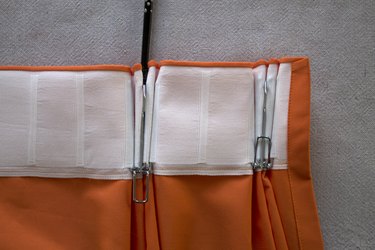
Open the hook lock at the bottom of the hooks and begin to insert the pleat hooks into the tape. Fold the fabric as you go to start the pleat. Pleat hooks come with edge hooks which do not pleat the fabric. You can use this, or start the pleat at the edge. Skip a hook hole on the tape for space between your pleats. You may need to adjust the placement of hooks depending on the amount of pleat tape hook holes on the width of your panel.
Step 8
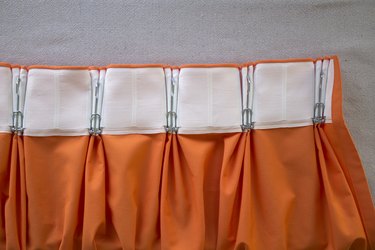
Use a chopstick or pencil to pull out and straighten the pleat. Close the hook lock on top of your pleated fabric.
Step 9
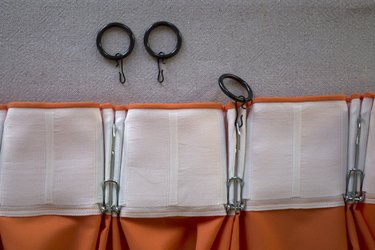
Place curtain rod rings with eyelets onto your rod. Hook your drapes onto the eyelet as shown. Adjust the pleats with your fingers for a nice fold.
Tip
Try several different pleat hook arrangements on your tape to see what you like. Skip two rows for a wider space between pleats. Or make the pleats larger by skipping a row while you insert the pleat hooks.
Warning
A large amount of fabric is used for these drapes. Make sure to buy extra in case you need to add another panel or two.
Video of the Day