Things You'll Need
Vice
Grapevine or barbed wire
Wire cutters
Heavy duty staples
Staple gun
Heavy gloves or garden gloves
Clear lacquer spray
Wood stain or paint
Paintbrush
Hot glue gun
Clear glue sticks
Craft glass rounds
Clear silicone caulk

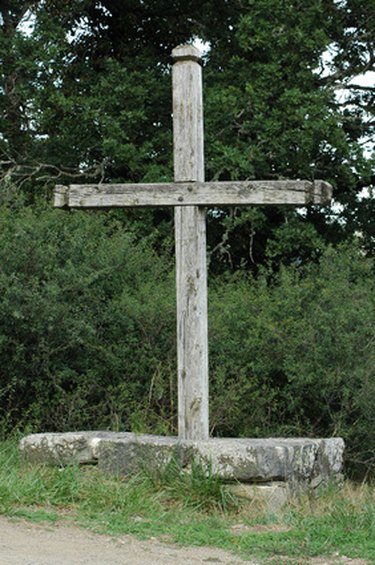
Crosses can be both a decorative item and a way to show your faith. Many people also use wooden crosses to memorialize a family member after death. Decorating a wooden cross for a garden or other outdoor display means adding a personal touch to a traditional icon. As an artistic project or way to honor a loved one, decorating a wooden cross can be a healing way to express yourself.
Religious Reflection
Step 1

Post your wooden cross in the ground or in a vice in your workshop so you can work in the round without having to handle the cross or materials.
Video of the Day
Step 2

Take the end of a length of grapevine or barbed wire. The length of the material varies dependent upon the size of the cross. Start with 4 yards of material for a medium-sized cross and add or cut with wire cutters as necessary.
Step 3

Attach the grapevine or wire to the bottom of the cross using heavy-duty staples. Use a staple gun to connect the material to the wooden cross.
Step 4

Wear heavy gloves to handle the wire (or garden gloves for grapevine) and wrap the material around the straight upward portion of the cross.
Step 5

Move the material back down and to the left and right of the cross to wrap the arms. This will make the center of the cross a bit thicker and add more interest to the piece.
Step 6

Bring the end of the material to the back-center of the cross and secure with a heavy duty staple.
Step 7
Spray the cross with a clear lacquer to make the piece water resistant and further secure the attached material.
Sparkling Tribute
Step 1
Paint the wood cross with a light wood stain or white opaque outdoor paint with a medium-sized brush. Allow to dry.
Step 2

Heat up your hot glue gun and clear glue sticks. Use heavy duty clear glue for the best result.
Step 3

Mix up the assortment of glass round pieces to apply an unplanned pattern or divide glass pieces by color if you are adding specific details.
Step 4

Starting at the top of the cross, place glass rounds, flat side down onto the cross. Complete a section to your liking before gluing in place.
Step 5
Using the hot glue, apply a dollop of glue to the flat side of the glass and press firmly onto the cross. Continue placing the glass closely together to cover the wood cross.
Step 6

Apply glass to both sides of the cross to use in the center of a garden or in front of a house.
Step 7
Apply a clear silicone caulk around the glass rounds to further secure and protect the project if you plan on leaving it outdoors year round.
Tip
Seal all outdoor wooden crosses with a clear weatherproof sealant.
Warning
Always check the labels of paints and sealants to make sure they are weather resistant when using your wooden crosses outdoors.
Video of the Day