Things You'll Need
2 wooden dowels, 3/16 inch by 36 inch.
Spool of kite string and a tapestry needle
Freezer paper
Double sided tape
Craft knife
Scissors
Pinking shears (optional)
Lightweight fabric (Sheer fabric or very light weight cotton works best. Recycled scarves work great too!)
Iron
Measuring tape
Pencil
White glue
Clear tape
1 to 1 ½ inch ribbon
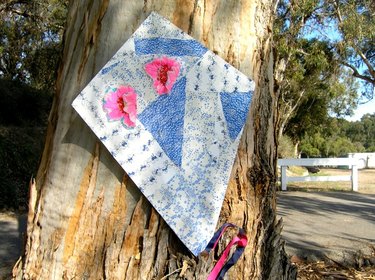
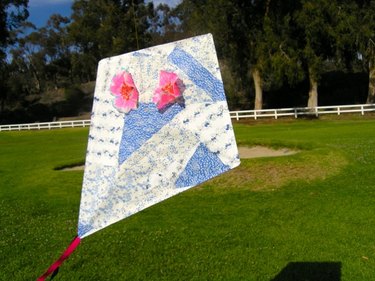
The leaves are rustling in the trees and the spring breeze is calling us out to fly a kite! Yes! It is Kite season! Here is an easy DIY Kite tutorial using simple supplies that you might just have lying around the house. This fabric kite is beautiful enough to make as a decoration, but the best part is, it actually flies! The technique of backing fabric with freezer paper makes for a light weight paper like kite that is nearly rip proof. Here is what you'll need to make your own.
Make the Frame.
Step 1
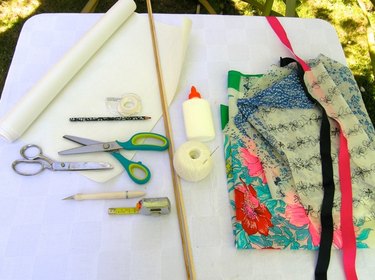
Gather your supplies. You'll need wooden dowels, string, freezer paper, sheer fabric and crafting tools to make this kite.
Video of the Day
Step 2
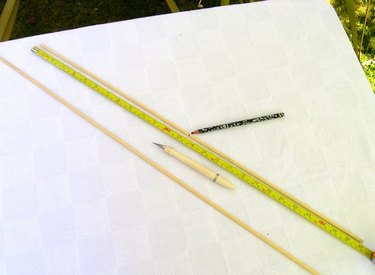
Begin by trimming one dowel down to 27 inches using the craft knife. The wood is thin and can be cut without too much effort. Then mark half way on the smaller dowel. Mark the longer dowel 12 inches down.
Step 3
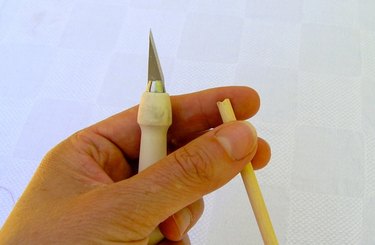
Notch a "v" in the ends of the dowels with the craft knife. Pay careful attention that the notches face the same direction at both ends.
Step 4
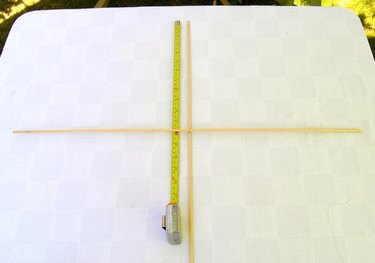
Line the dowels up perpendicular to one another at the marks, forming a cross. Line the notches up parallel to the ground. Secure with string.
Step 5
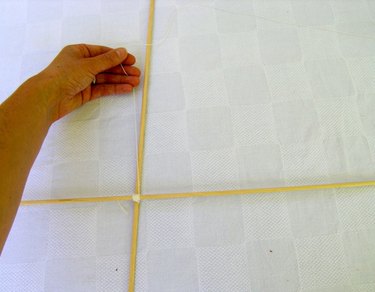
Without trimming the end yet, run the string up the shorter end of the long dowel (towards the top of the kite), over the notch and around the outside of the dowel ends, returning to the first notch and then back down to the dowel cross. The notches will keep the string in place. Tie off with other end of string. This is the frame for your kite. Set aside.
Make the Sail.
Step 1
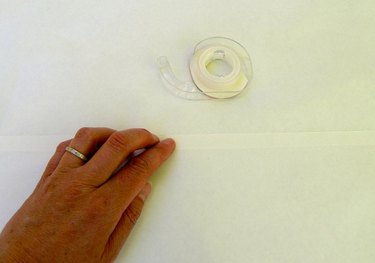
Measure two large sheets of freezer paper 30 inches long. With the dull side up, attach the two sheets together horizontally with double sided tape, making one large sheet.
Step 2
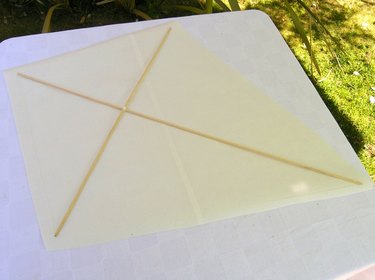
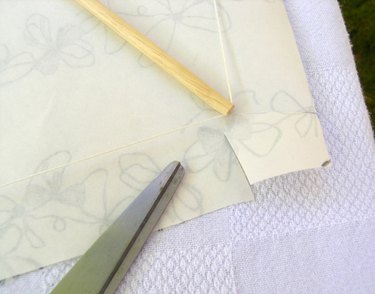
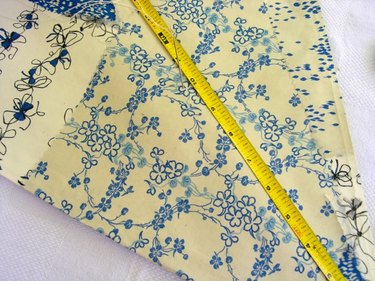
Turn the attached freezer paper sheet so the kite frame fits completely over the sheet, dull side up. Mark and trim 1 ½ inches from kite frame. This will be the base for your sail.
Step 3
Create a fabric cover for the kite. If you would like to make a simple cover with one solid fabric piece, trace freezer paper shape onto fabric and cut out.
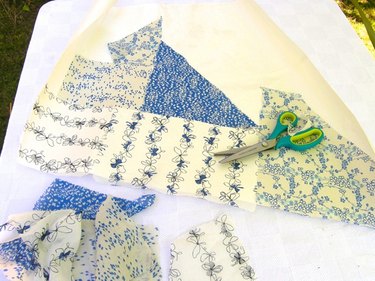
To make a patchwork kite, use pinking shears and cut fabric into different sized basic shapes such as rectangles and triangles. The pinking shears will keep the fabric edges from fraying. Turn iron on to Med High with no steam. With the shiny side up, iron fabric pieces onto the freezer paper. The shiny side of the freezer paper will bond to the fabric when heated. Use a piece of printer paper between the iron and the fabric to protect the iron. Just be careful not to iron the paper to the freezer paper.
Step 4
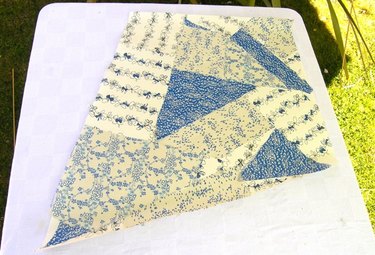
Continue lining up and ironing fabric pieces on until the entire kite is covered in fabric. Give the kite one last pass with the iron just to make sure all fabric edges are tightly bonded.
Step 5
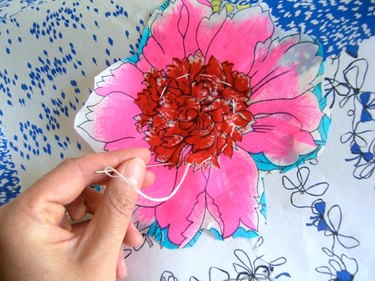
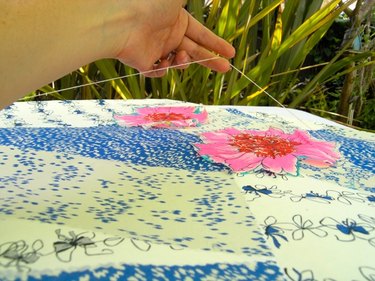
You can leave the kite cover as is or add a decorative applique. To do this, simply cut out flowers or desired shapes from a scarf, and sew onto the kite with a large stitch using the kite string and the tapestry needle. You can secure just the center so the edges flutter in the wind.
Assemble Kite.
Step 1
Turn fabric kite cover over to the backside and place kite frame on top. Using scissors, notch the corners of the cover at the four points of the kite.
Step 2
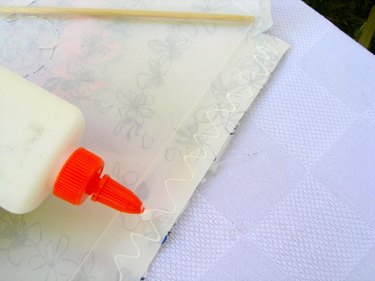
Wrap the edges of the kite cover over the frame. Use a generous amount of white glue to secure. Press and smooth with your fingers. Use clear tape to reinforce the points.
Step 3
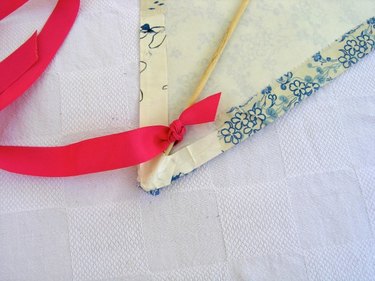
You can attach a tail to your kite by tying a long ribbon to the back dowel. Make sure your ribbon is 4 feet or longer.
Step 4
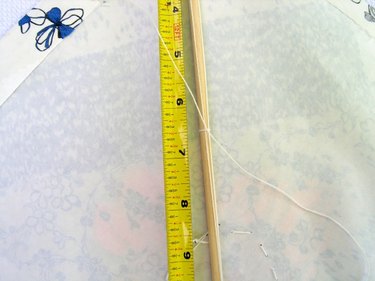
Attach the bridle. On the backside of the kite, tie string to the dowel 6 ½ inches down from the top of the kite. Double knot tightly. Measure 2 ½ feet of string and trim. Thread trimmed end through tapestry needle and sew through backside of kite under the dowel. Pull string to the front of the kite.
Step 5
Sew back to the backside 10 inches from the bottom of the kite. Tie off securely to the dowel.
Step 6
Leave enough slack in the string so the bridle comes about 4 inches away from kite when pulled.
Step 7
Attach your long kite string where the dowels cross. Now you're ready to fly!
Tip
Is your kite flopping around on the end of the string not wanting to soar? Chances are you need a longer tail. Or you can try weighting the tail by tying on scrap pieces of fabric. This should give your kite more stability. You can also try adding a fishing swivel to the bridle to keep the string from tangling.
Video of the Day