Did you know that you can paint on cake? Yes, it's true! Instead of decorating a smooth fondant surface with simple icing script or long candles, think of it as a blank canvas worthy of a more dramatic finish. Using food-safe brushes, adorn the cake with layered images of colorful florals that could also be accompanied by the real things. Your finished creation can be the sophisticated centerpiece of a bridal shower, baby shower or Mother's Day lunch, and everyone will stop to admire it — just like a work of art.
Video of the Day
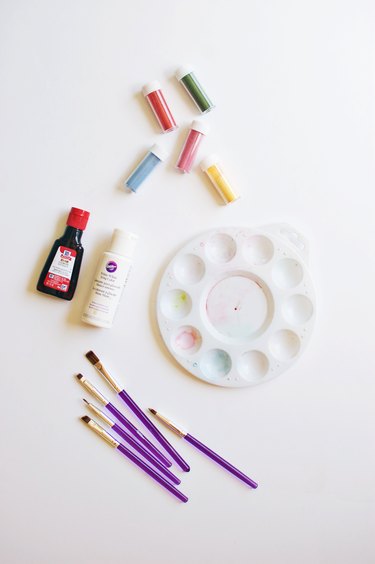
Things You'll Need
Color dust in primary colors (and desired colors)
Liquid white icing color
Pure lemon extract
Palette
Food-safe brushes
Paper towels
Fondant cake
Fresh flowers (optional)
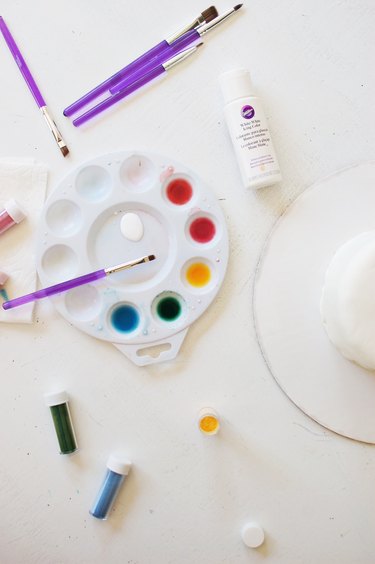
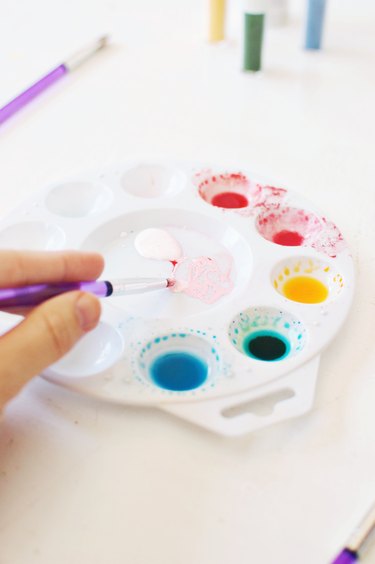
Step 1: Create a Colorful Palette
Fill each well of your palette with lemon extract according to the number of colors you want. Start with primary colors like red, yellow and blue. Gently tap 1/4 teaspoon of color dust into each well and mix with the end of a paintbrush until the dust has dissolved. Test the intensity of the color on a scrap piece of fondant, and add more dust until you reach a desired hue.
Video of the Day
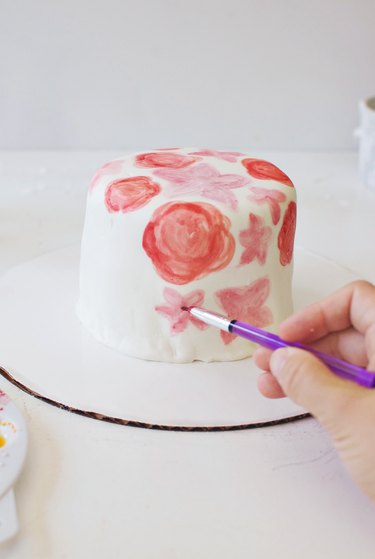
Step 2: Paint a Floral Design
Start your floral design by using a fine-tip paintbrush to paint the outline of the flowers on the fondant. Typically, it looks aesthetically pleasing to use three different flower shapes. This project uses a round flower, a five-petal flower and a four-petal flower in shades of pink and red. Cover your entire cake in evenly-spaced flowers, and use your paper towel and fresh lemon extract to clean the brushes between colors. Allow each layer to dry for 5 minutes before starting another. Lastly, don't forget to leave room in between each bloom for the leaves and flourishes.
Step 3: Add Dimension to the Florals
Now let's add texture and detail to the flowers! Place white icing color inside one of the empty palette wells, and mix it and the other shades together to get opaque and lighter tints (use the middle of the palette to do so). Paint detailed petal shapes, shadows and center buds onto the flowers for dimension. Allow the layer to dry for 5 minutes.
Tip
The lemon extract evaporates quickly, so mix a large amount of your color if you plan on using it often.
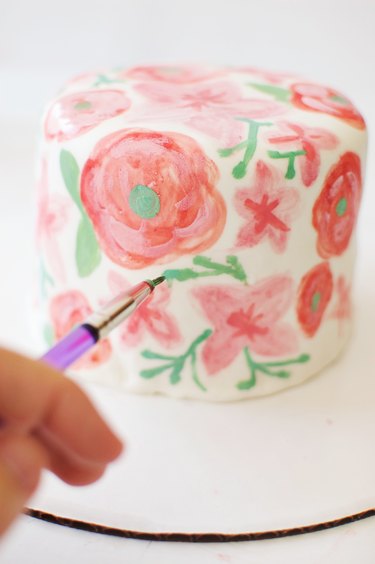
Step 4: Fill in the White Spaces with Green Details
Time for the finishing touches. Mix together your green shade with white icing color. Add in yellow color if the hue is too blue-green. Using a fine-tip brush, paint the centers of the flowers, and then finish with the leaves and stem flourishes. Keep the leaves close to the body of the flowers, and fill the white space in between the florals with vines. Finish with bud details and veins in the leaves to give it a complete look. Allow it to dry completely for 10 minutes.
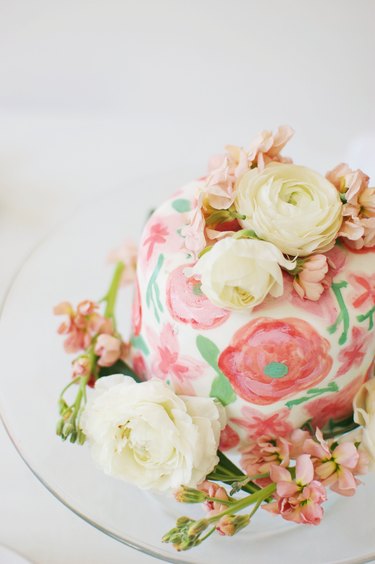
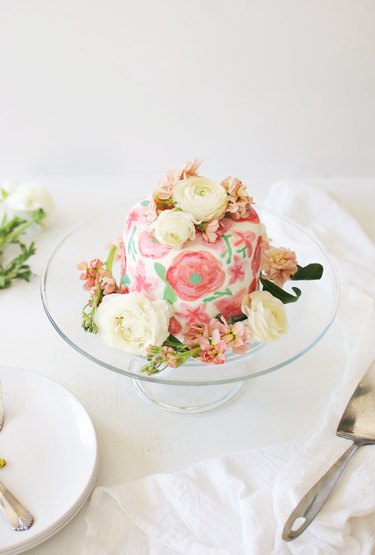
Step 5: Go All Out With Real Flowers
Place the cake on a stand, and arrange fresh floral blooms on the top and around the bottom of your watercolor masterpiece. This floral watercolor cake is almost too pretty to eat, but it will most certainly be a show-stopper for your event!