Things You'll Need
Coil binding machine
3 1/4-inch wire coils
2 pieces of cardstock
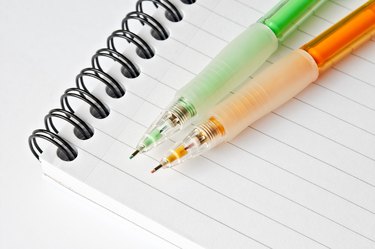
16 sheets of lined paper with no holes
Creating your own spiral notebook is a cinch when you have a spiral binding machine, which can probably be found at an office supply retailer near you. You can purchase spirals separately, or take advantage of spiral binding services, at many print and copy shops as well as office supply stores.
Bind the Notebook
Step 1
Set the spiral binding machine on a flat surface. Make sure the surface is stable enough to compensate for the pressure that will be applied to the spiral binding machine's handle.
Video of the Day
Step 2
Stack two pieces of cardstock on top of each other. Insert the cardstock into the spiral binding machine's hole punch. Make sure that the paper is lined up on all edges. Apply pressure to the spiral binding machine's handle and press down firmly. Remove the paper and set it aside. Be careful not to separate the sheets of paper.
Step 3
Gather 16 sheets of lined paper together and make sure that all of the edges are lined up exactly. Insert the lined paper into the spiral binding machine's hole punch. Double check that the paper is lined up evenly. Apply pressure to the spiral binding machine's handle and press down until all papers have been punched. Remove the paper from the machine and set aside.
Step 4
Place a 3 1/4-inch metal coil into the spiral binding machine. Make sure to set the coil in the guides evenly. Secure the coil in place, and pull the lever until the spiral is separated.
Step 5
Place the prepared cardstock on the top and back of the lined paper. The stack of papers should resemble a spiral notebook without the binding. Gently lift the paper and tap the bottom on a flat surface. Make sure all the holes in the paper are lined up exactly.
Step 6
Insert the coils into the holes on the stack of paper. Make sure that every hole has a piece of coil inserted through it. Lay the paper onto the coil binding machine's surface, and then lift the lever to close the coils. Remove the completed spiral notebook from the machine.
Tip
Never overload the coils, or the paper might tear. Remember to check the machine's recommended paper punch specifications. Always double check that the paper is lined up evenly. Decorate the front of the notebook with scrapbooking stickers, or markers.
Warning
Keep fingers away from the hole punch when in use. Never stick foreign objects into the hole punch area. Always put the comb binding machine in a safe place when the project is completed.
Video of the Day