Things You'll Need
Measuring tape
Utility knife
Straight edge
Drywall rasp
Drywall lift
Ladder
Drywall screws
Screw gun
6-inch drywall knife
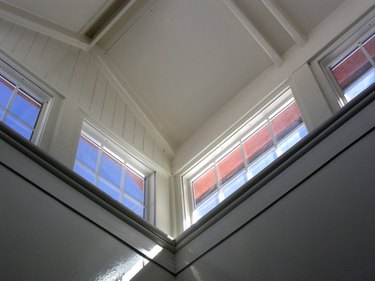
Hanging drywall--often called sheetrock--on vaulted ceilings presents a few challenges. First, the height of the ceiling makes it difficult to lift the boards up without a scaffold or several ladders. Second, a vaulted ceiling often has an obtuse angle (greater than 90 degrees) at its center. This angle is highly visible, so it needs to be as straight as possible. The best way to handle these issues is to use a drywall lift to hang sheetrock on vaulted ceilings. If you only need the lift for one project, rent a lift by the day from a building supply store.
Step 1
Clear the room of all debris and obstacles that might get in the way as you wheel the drywall lift around.
Video of the Day
Step 2
Measure the ceiling area that you need to sheetrock. Start with the largest area first. That way you can use as many full boards of sheetrock as possible, saving time later when you have to finish the sheetrock.
Step 3
Cut the sheetrock to match your measurements. To do this, hold a straight edge up to the sheetrock. This will ensure that the cut is completely straight. Use a utility knife to score the drywall, then snap it. Use a drywall rasp to smooth the cut edges.
Step 4
Use the drywall lift to raise the sheetrock into place. To do this, place a board of sheetrock on the drywall lift face down. Crank the winch to lift the board. When the board is in position, climb a ladder and install drywall screws every 6 to 8 inches. Make sure the screws penetrate through to the underlying wood studs. Crank the winch to lower the lift again.
Step 5
Hang the sheetrock on one half of the ceiling, then do the other half. If you bounce from side to side, the obtuse angle in the center will end up crooked.
Step 6
Wipe a 6-inch drywall knife over all the installed screws to ensure that they are not protruding. If you hear a click as the knife passes over a screw, turn the screw in slightly more. If the screw head penetrates too far and breaks the paper surface of the sheetrock, back it out and reinstall it right next to its original position. The hole can be patched with wallboard compound (mud) during the taping and mudding finishing stage.
Tip
Hang all boards that butt up against the obtuse angle with extreme care. These will determine the strength and straightness of the obtuse angle. Measure very carefully, and always use a straight-edge while cutting these last boards.
Video of the Day