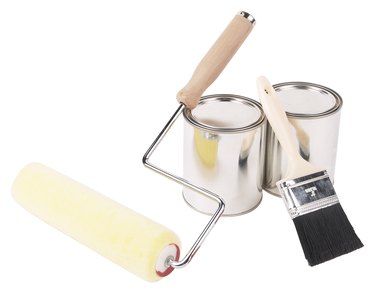
Things You'll Need
Drywall joint compound
12 inch drywall trowel
Fiberglass mesh sheets
Fiberglass mesh tape
Drywall mud pan
Respirator mask
Hand sander
150 grit sanding screens
Tack cloth
Painters tape
Paint tray
Primer paint
Three inch paint brush
Medium nap roller

When you skim coat a wall, you apply a thin layer of drywall joint compound to the entire wall in order to create a smooth, even surface. For heavily cracked or severely uneven walls, people attach a thin sheet of fiberglass mesh to the wall and apply a skim coat over that. After the skim coat is complete, it is ready to take paint. Properly prepare the walls for painting a skim coat for a professional looking paint job.
Skim Coat Walls
Step 1
Cover all the cracks. Do this with fiberglass mesh tape. First apply a thin layer of drywall compound so the tape will adhere to the wall. Cut the tape to fit and gently press into place.
Video of the Day
Step 2
Cover the entire wall. If the entire wall is severely uneven, you have to apply fiberglass mesh sheets to the entire wall. First apply a thin coat of joint compound and then gently press the sheet into place.
Step 3
Apply skim coat. Fill the mud pan with joint compound. Load the 12-inch drywall trowel and apply the skim coat by holding the trowel at a 45-degree angle. Continue until the walls are complete.
Prepare Walls for Paint
Step 1
Put on a respirator mask. During sanding, skim coat produces a lot of dust that irritates the lung, nose and throat. Respirator masks help prevent this irritation.
Step 2
Sand the wall. Attach the 150 grit sand paper to the hand sander. Using smooth circular strokes, apply even, light pressure to the skim coat to smooth out uneven areas.
Step 3
Clean the wall. Lightly rub the tack cloth over the entire wall until you remove all the dust from the walls.
Step 4
Mask off the walls with painters tape. Cover the perimeter of the walls where it meets the ceiling and other walls where you are not applying primer or paint.
Step 5
Cut in the walls. Pour the primer paint into a paint tray. Using a three-inch paintbrush, paint the inside corners as well as where the wall meets the floor and the ceiling.
Step 6
Apply primer paint. Primer bonds with the skim coat and readies it for taking paint. It also allows the final paint coating to go smoothly and evenly. Using a medium nap roller, paint the walls with one coat of primer and allow it to dry.
Step 7
Paint on a second coat. After allowing the first coat of primer to dry according to the manufacturer's instructions, apply a second coat to cover any spots you may have missed with the first coat.
Tip
Always allow the skim coat to cure according to the manufacturer's instructions. Sanding screens tear out joint compound that is still damp.
Always ventilate. Both the dust from the skim coat and the primer paint fumes are irritating. Ventilate the room by opening a window and using a fan.
Warning
Never rush the second coat. Applying the second coat of primer before the first coat is completely dry will pull the first coat of paint away from the wall
Video of the Day