Things You'll Need
Soft cloth
Painter's tape
Tape measure
Pencil
Elastomeric adhesive caulk
Caulk gun
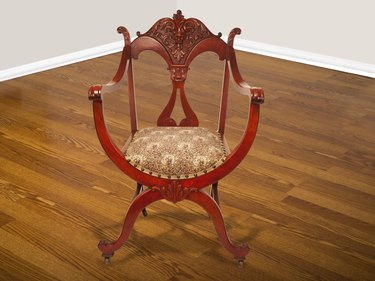
Wood appliques add detailed, carved elements to even the most drab, uninteresting home furnishings, transforming them with embellishments of elegance. For best results, paint or stain the appliques before attaching them to your project piece unless you intend to paint the entire project area the same color, including the appliques.
Step 1
Wipe the back of each applique with a soft cloth to remove dust. If necessary, wet the cloth slightly to remove dirt. Wipe the project pieces down as well in all areas where you plan to install the appliques.
Video of the Day
Step 2
Hold the applique up against the project piece to locate an ideal position for it. If it is hard to tell up close, make one or two loops of painter's tape, stick them on the back of the applique, then press the applique on the project piece. Stand back and look at the project from afar, then adjust the applique as needed.
Step 3
Use a tape measure and pencil to align each applique so it is level and straightened to your liking. Draw small pencil marks to indicate the bottom and side edges of each applique on the project piece, or use small bits of painter's tape if you prefer not to mark the project. Repeat the process for additional appliques, if using more than one.
Step 4
Position the project piece horizontally, if possible, so gravity assists your efforts to secure the appliques. For instance, if decorating a drawer front, remove it from the furniture and place it so the front faces up before applying the applique.
Step 5
Fold a soft cloth and place the applique face down atop it.
Step 6
Apply a thin bead of elastomeric adhesive caulk around the perimeter of the applique, staying at least 1/8-inch away from the edge. Apply more caulk to the inner areas so there is no more than 1/2-inch of caulk-free space in any direction on the back of the applique.
Step 7
Press the applique, adhesive-side down, against the project piece, using the pencil or tape marks as guidelines.
Step 8
Repeat Steps 5 and 6 for each remaining applique. Allow the adhesive to completely dry for several hours or as recommended on the adhesive packaging before setting the item up vertically.
Tip
When the project piece is also made of wood, use a high-quality wood glue in place of construction adhesive.
Small finish nails may be used to help secure appliques, but they may cause the appliques to split, crack or break.
Warning
Avoid applying too much caulk or glue to the back of the applique, otherwise it may squirt out around the edges as you press it onto the project. If this happens, wipe the excess immediately with a soft, damp cloth or cotton swab.
Video of the Day