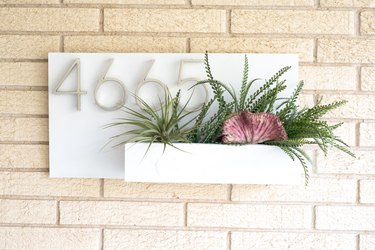
Although it's often an overlooked detail at your doorstep — paint colors, outdoor seating and wreaths tend to garner more attention — your address is still an important aspect of your home's aesthetic. It's a necessity, of course, but why not make it a style statement, too? Welcome guests to your front porch with a modern and eye-catching take on an address plaque. Using scrap pieces of wood and a coordinating paint color, you can create a personalized plaque that features a unique planter for real or faux succulents. In the course of an afternoon, your main doorway will receive a polished and on-trend accessory.
Video of the Day
Things You'll Need
3/4 inch x 12 inch x 24 inch particle board or plywood
1/2 inch x 3 inch x 5 foot wood board
Miter saw
1 1/2 inch wood screws
Drill
Wood glue
Clamps
Primer and paint
Metal numbers
Succulents
Wall hangers
Tip
When buying your particle board or plywood, have your hardware store cut your piece to size. This saves time and effort, especially if you don't own a table saw.
Step 1: Cut the Wood Pieces
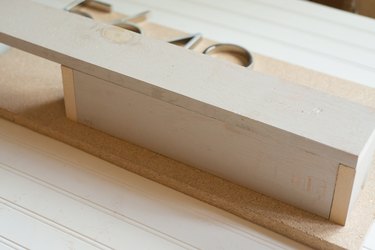
Since you had your plaque cut at the hardware store, the only cuts you need to make now are for the planter box. Take the 1/2 inch x 3 inch x 5 foot board and cut the board to 14 inches in length, using a miter saw. This board will be the base of the planter box. Next, cut 2 pieces from the same board to 3 1/2 inches in length. These two pieces will be either end of the box. The last cut is for the front of the box, which should be 15 1/2 inches long.
Video of the Day
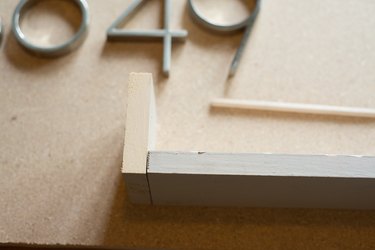
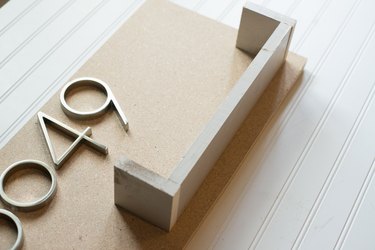
Step 2: Attach the Planter Box
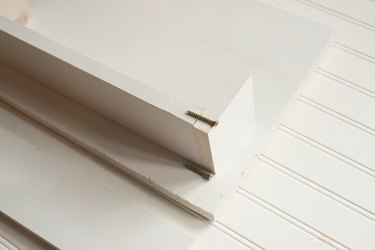
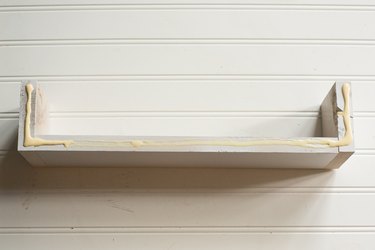
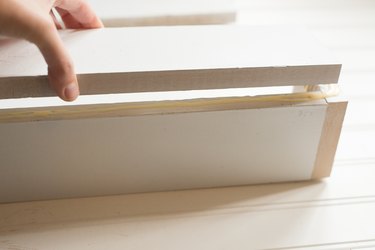
Connect the end pieces to the bottom board by screwing in two wood screws on both sides. Next, apply wood glue to the boards that are now attached, and then place the front-facing board on top. Clamp the board in place until the wood glue has dried. Once it's dry, adhere the planter box to the particle board (or plywood). After, clamp the box in place until the glue has dried again.
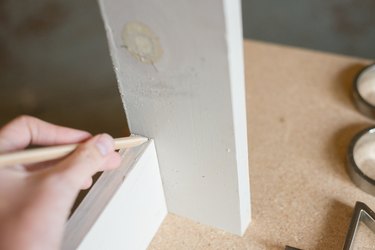
Step 3: Prime and Paint the Boards
Using spray paint, prime the boards. Then, cover the primer with a color of your choice. Follow the directions on the paint canisters for the best results.
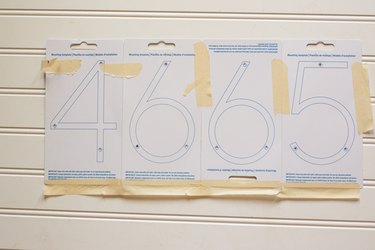
Step 4: Attach the Numbers and Hang
Using the instructions provided alongside your house numbers, attach the numbers to the board in your desired location — this project attached the numbers to the far left side. Once you're finished, attach the plaque to the wall using wall hangers.
Step 5: Fill the Box With Succulents
Fill the planter box with faux or real succulents, and happily invite guests to your door.