Things You'll Need
Felt, 2 colors
Scissors
Pencil
Thread and needle
Hot glue gun
Headband or hair clips
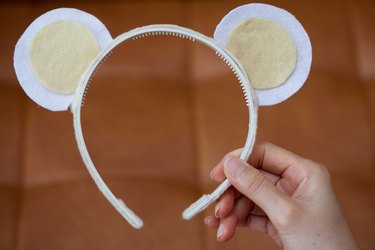
One of the cutest things about a mouse is its big ears. If you want to make a pair of your own mouse ears, they are easy to do and take little time. It is a great craft for kids on a rainy day or a great last minute costume idea.
Step 1
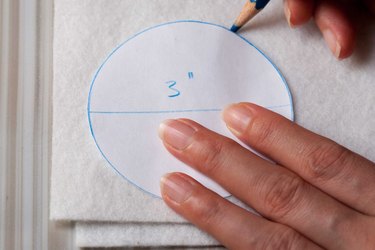
Fold one color of the felt in half. Draw a circle with a 3-inch diameter on the felt. This is your outer ear.
Video of the Day
Step 2
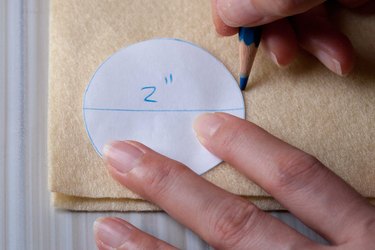
Fold the other color of the felt in half. Draw a circle with a 2-inch diameter on the felt. This is your inner ear.
Step 3
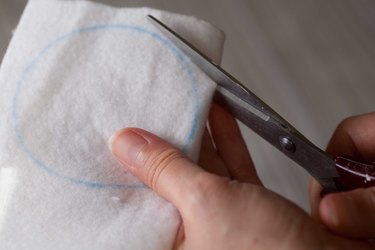
Cut out all four circles.
Step 4
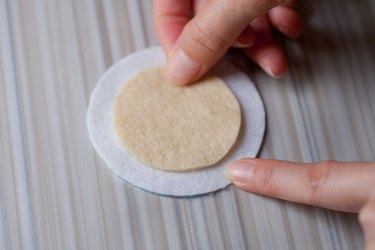
Place the smaller circle in the middle of the larger circle.
Step 5
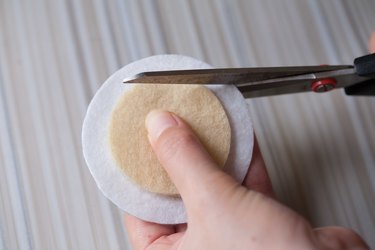
Cut one-quarter off of the bottom of both circles.
Step 6
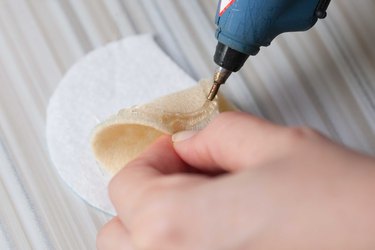
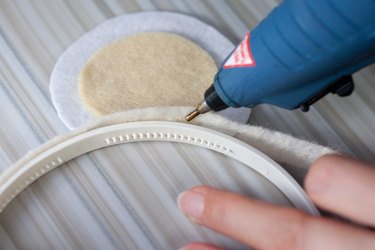
Glue or sew the smaller circle to the larger circle.
Step 7
Cut out a rectangle as wide as your headband or hair clips and one-half an inch longer than the flat part of the ears.
Step 8

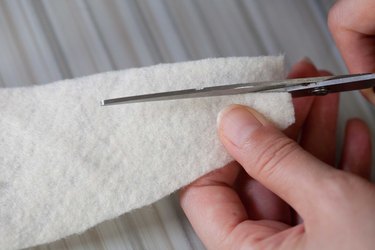
Cut a slit in the rectangle as long as the flat part of the ears.
Step 9

Glue the flat part of the ears into the slit. Wait for it to dry.
Step 10
Glue the flat part of the rectangle to the headband or hair clips and wait for them to dry. Put them on and eat some cheese.
Tip
Cut out triangles to make cat or dog ears instead. Use any two colors of felt.
Warning
Supervise children when using a hot glue gun or a needle.
Video of the Day