Making wire wrapped jewelry is the perfect hobby for those who are interested in crafting metal jewelry but aren't ready for the commitment of setting up a metal-smithing studio. Determining the correct wire gauge for these projects is somewhat up to creative license, but here are some general uses of standard thicknesses.
Things You'll Need
15 gauge jewelry making wire
20 gauge jewelry making wire
26 gauge jewelry making wire
Beads
Ring form
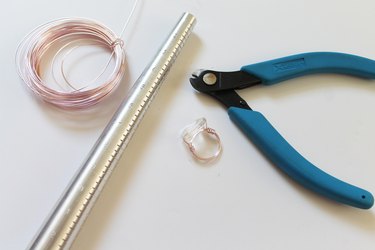
Flat nose jewelry making pliers
Round nose jewelry making pliers
Wire cutters
Drinking glass
Video of the Day
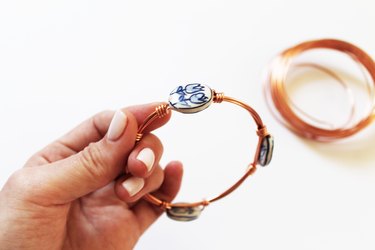
Wire-Wrapped Bracelets
15 gauge wire was wrapped around a drinking glass to create this beaded bangle bracelet. The thickness of the wire ensures the bracelet won't loose its circular form or dig into the arm when leaning on surfaces.
Video of the Day
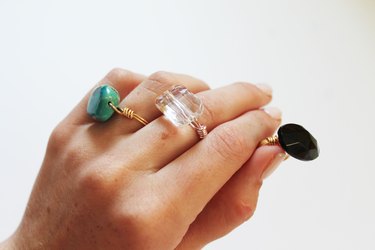
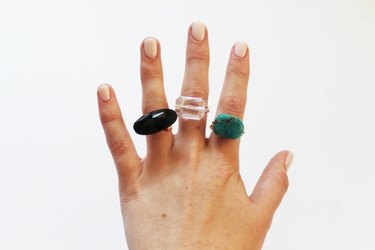
Wire-Wrapped Rings
20 gauge wire was wrapped around a ring form before adding the perfect crowning jewel. This medium gauge wire will fit through most bead borings and won't create too thick of a band for rings when wrapped two or three times.
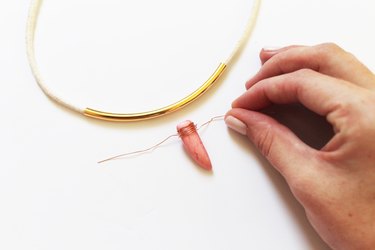
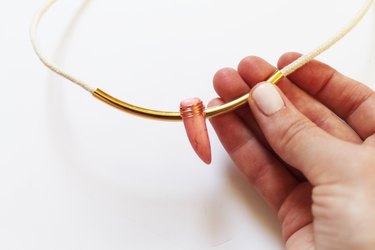
Wire-Wrapped Pendants
26 gauge wire is a thin wire perfect for creating cage pendants for un-drilled curiosities and stones, but take care -- over twisting this wire will cause it to break off. Use this gauge in combination with heavier gauges to create artistic pendants or add finely wrapped details.

Experiment with mixing different metals and gauges for a modern look. Your friends will love having a personal jeweler at their disposal!
Have questions about wire wrapped jewelry? Leave them in the comments section below.