Things You'll Need
52-inch boards (2)
78-inch boards (2)
2-inch L brackets (4)
3-inch No. 5 wood screws (16)
1-inch No. 5 wood screws (16)
2-inch No. 9 wood screws (64)
3/16 drill bit
Making rag rugs is a project that can be customized in a lot of ways. Your choice of material, how wide you cut your strips of fabric and the size of the loom are all factors that affect the look and feel of the rug when it is finished. Although you can buy a rug loom in a few standard sizes, if you make the loom yourself, it can be any size you want. And if you use scrap wood to make the loom, it will cost almost nothing to make --just like the rag rugs you make on it.
Step 1
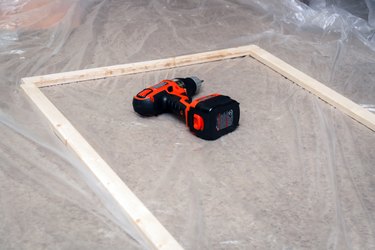
Lay out your boards with the two long ones on either side and the shorter ones at the ends. Square them off and screw the end ones into the side ones using the 3-inch wood screws and an electric drill. Pre-drill pilot holes if using hardwood. This is the framework of the rag rug loom.
Video of the Day
Step 2
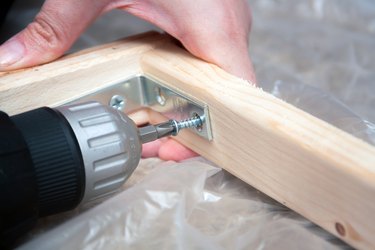
Reinforce the loom by adding the four L brackets to each inside corner. Measure diagonally from corner to corner and make sure that the measurements are the same by pushing the frame into place. This will keep the frame square. Screw the brackets in place with 1-inch wood screws.
Step 3
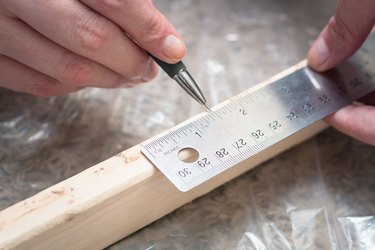
Mark the top and bottom of the loom with a pencil, every 1.5 inches for a total of 32 marks, starting with the center and working outward in both directions on either end of the frame. These are the placement marks for the screws that will hold the strips of fabric or yarn on your loom. There will be extra room at the outer edges.
Step 4
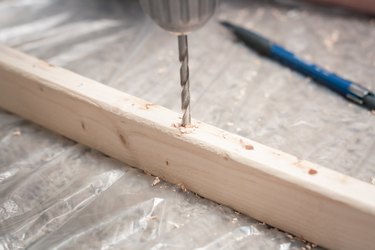
Drill pilot holes with the 3/16 drill bit on each of the pencil marks to prevent the wood from cracking when you insert the screws, especially since you have so many screws close together in a straight line. Drill in about 1 inch deep.
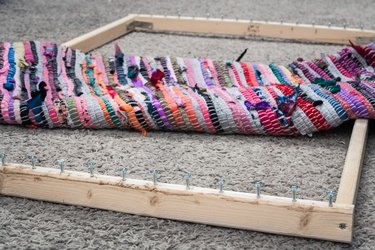
Step 5
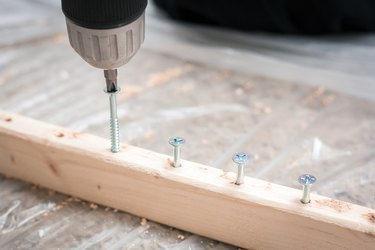
Screw in the 2-inch screws in each of the pilot holes, about 1 1/2-inches deep, leaving 1/2 inch above the surface of the wood. T
Tip
Use hardwood like oak or maple for a stronger frame.
You can start with a wood picture frame to make a loom for making small rugs or placemats.
Video of the Day