Things You'll Need
Large wooden picture frame
4 angle brackets
3/4-inch screws
Pen or pencil
Drill
1-inch flat head nails
Hammer
Yarn
There are many types of weaving looms. Precision calibrated floor looms can create hundreds of yards of cloth a day, while others are based on more traditional methods and are not as complex. Unless you have an engineering background and a lot of time (and space), homemade weaving looms are the simpler, more traditional style, often referred to as "lap looms." Making your own weaving loom is simple and you can be weaving in no time.
Step 1
Fit the angle brackets into the corners of the frame and screw them into place. This gives the frame extra strength. You can use any sturdy picture frame, or build your own frame from wood.
Video of the Day
Step 2
Decide which side of your frame is the vertical and which is the horizontal of your loom. Make parallel marks on both horizontal sides every 1/4 inch down the length and hammer a flat head nail halfway in at each 1/4 inch point. These nails will hold the warp or base threads of the weaving. You are now able to string the loom with warp threads in readiness for weaving.
Step 3
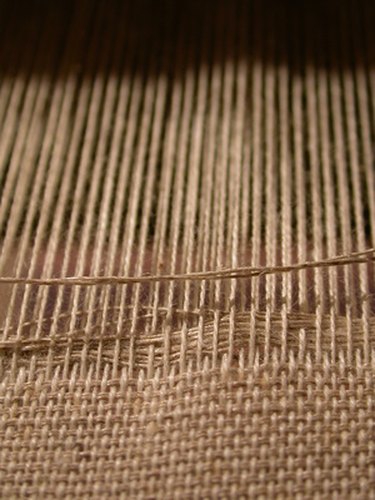
Tie the end of yarn to the nail in the right bottom corner of the vertical side. Guide the yarn up to the corresponding nail on the upper horizontal of the frame. Lead the yarn around the back of this nail and over to the nail on its left. Go around this nail and down across the loom to its corresponding nail on the lower horizontal. Repeat until the entire loom is strung and you are ready for weaving. Tie off on the last nail in the upper left corner.
Tip
Smaller looms can be made out of thick cardboard with matching notches in the horizontal ends in place of nails; string the same way.
Children and adults can create woven items on this simple homemade loom. Older children can even make their own looms.
Warning
Always follow standard safety precautions when using a power drill or hammer. If using for the first time, ask advice from someone familiar with the particular tool.
To avoid injury, keep your hands away from the drill bit end once the drill bit has bitten into the wood.
If using a drill or hammer for the first time, practice on a piece of scrap wood until you are comfortable with the process.
Video of the Day