Building a raised garden bed is easier than you think. All it takes is a quick trip to the home improvement store, a few tools, a couple of hours, and you'll be ready to plant your very own garden.
Things You'll Need
(12) 4"x 4"x 10' wood posts
Variable speed reversing drill with grip
7/8" drill bit
(4) 1"x 48" wooden dowels
Tape measure
Hammer
Extension cord
Skill saw
Pencil
Vacuum
Miter saw
Tip
Sponsored tip: Need tools for your project? Check out RentalHQ and get connected with local businesses that’ll help you rent the equipment and tools you need.
Step 1: Choosing Lumber
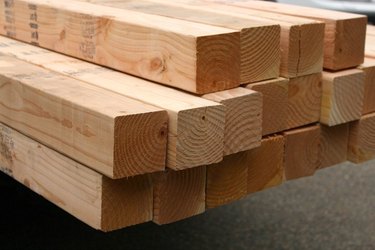
Depending on your budget and the wood available in your area, you'll need to select the wood you will use for this project. While cedar is ideal, Douglass fir is a great alternative and about half the price of cedar.
Video of the Day
Step 2: Cutting Wood For The Garden Boxes
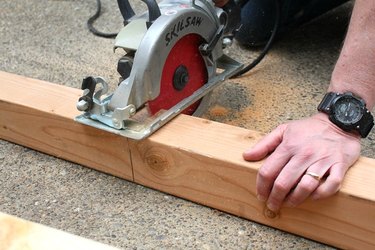
Using a skill saw, measure and cut the following pieces to length:
- (8) 4"x4"x10' wood posts
- (8) 4"x4"x5' wood posts
Step 3: Assembling The Garden Box
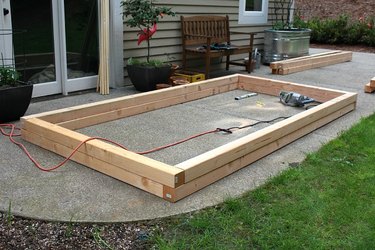
Assemble the garden box on an even surface using the 10' lengths on the sides and the 5' lengths on the ends. Stack the wood four pieces high, staggering the corners as you go.
Step 4: Stacking Wood
Once you have your four layers of wood lined up, give your garden box a final check to make sure all the pieces are in place.
Step 5: Drilling Holes in the Corners
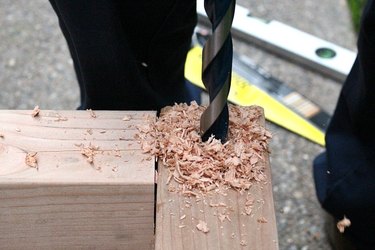
Starting in the corner of your garden box, use a 7/8" drill bit to drill through all four pieces of wood. Be sure and keep your drill bit nice and straight as you drill through the wood.
Step 6: Vacuum Wood Shavings as You Drill
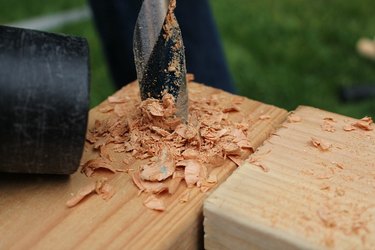
It is helpful to have someone sucking up the wood shavings with a vacuum as you drill the holes into the wood. If you don't vacuum the wood shavings as you go, the drill bit could get stick in the hole you are drilling and become difficult to remove.
Step 7: Placing the Dowel in the Corner
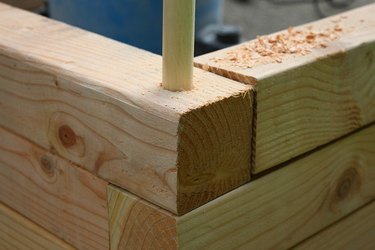
Once you have your corner holes drilled, insert a wooden dowel.
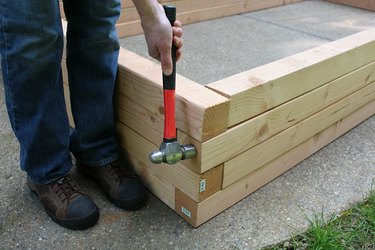
Step 8: Setting the Corners
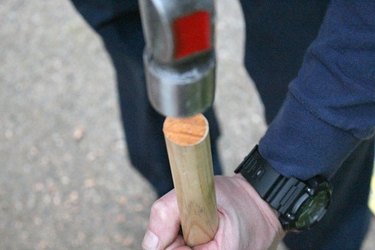
Using a hammer, pound in the dowel through all layers of the wood.
Step 9: Saw Remaining Dowel

Using a miter saw, saw the excess dowel so it is flush with the top layer of wood.
Step 10: Rinse, Wash, Repeat

Once you have the corner holes drilled and a dowel in place, drill another set of holes about 4 inches away from the center hole and repeat steps 7 though 9 until all the corners are secure.
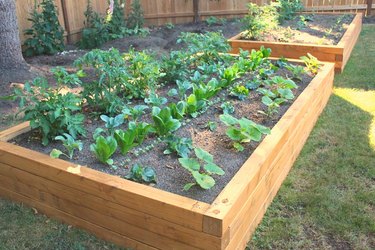
Step 11: Move Garden Box in Place
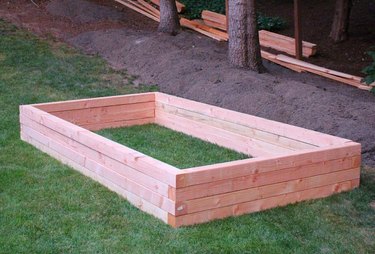
Once your garden box is finished, place it in your yard and plant with vegetables.

Tip
Find out how to build a custom trellis for your new raised bed here.
Video of the Day