Things You'll Need
Hollow rubber tubing
Scissors
String or yarn
Rubber band

A ring guard protects your ring from falling off when it is too loose. Potential threats to a loose ring include activities such as exercising and washing the dishes. Temperature changes and weight loss can also cause your finger width to decrease, leading to a difference in how your ring fits. The ring guard slides around the back band area of your ring to tighten the space between your finger and your ring. You can make a ring guard out of household items that you can find in your sewing kit or you can create one using bendable plastic tubing.
Rubber Tubing Guard
Step 1
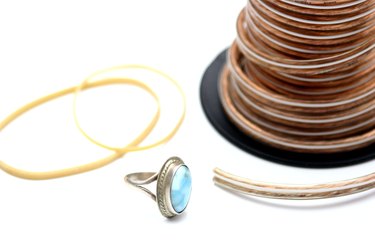
Find and purchase bendable rubber or plastic tubing, that roughly resembles the width of the band of the ring that the guard is being made for. The closer the fit, the more likely the guard will stay in place once it is on the ring.
Video of the Day
Step 2
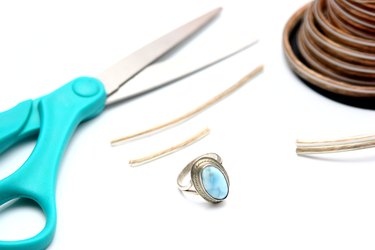
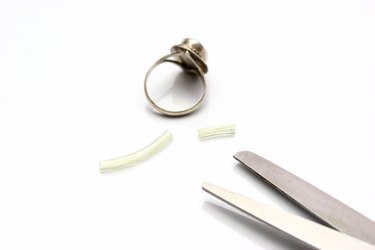
Cut a piece off rubber tubing, roughly the length of half of your ring size. The tubing can always be sized for a more perfect fit as the project progresses. Leave the tubing open on either end.
Step 3
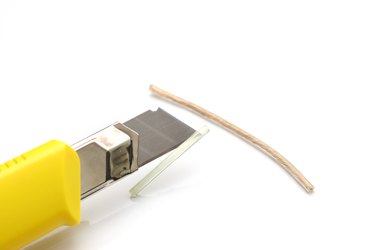
Slit open the top of the rubber tubing, from one end to the other end so that it opens. Be careful to not cut through the tubing when cutting the slit.
Step 4
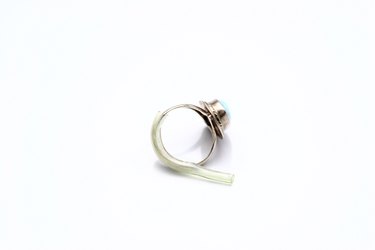
Slide the rubber tubing over the band of your ring.The tubing may need to be re-cut to fit the ring, as you do not want it to show once the ring is placed on your finger. Turn the rubber piece so that your band is cradled in the closed part and so the opening faces outward.
Step 5
Take your homemade rubber ring guard of to adjust the size. Cut it to make it smaller, if necessary.
String Guard
Step 1
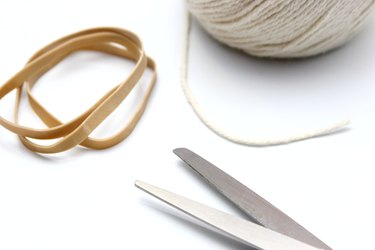
Cut a piece of string, yarn or rubber band.
Step 2
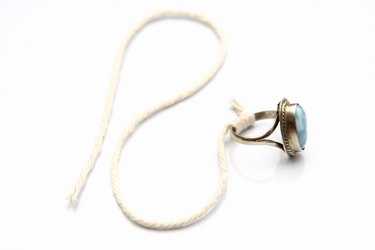
Wrap the string or yarn around the backside of the ring you are sizing. If you are using a rubber band for this, first cut the rubber band in half before wrapping it around the ring.
Step 3
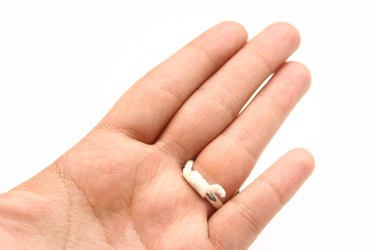
Try your ring on with the string or rubber band attached, but not yet cut or tied. Continue wrapping more string around the ring if it is too loose. If it fits, tie the string or rubber band securely at the back of the ring, where it does not touch your finger.
Video of the Day