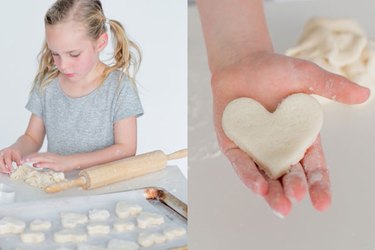
Salt dough is a fun, easy-to-make recipe that can be formed, molded, cut and dried to make all sorts of figures. Use your imagination and don't let the kids have all the fun!
Things You'll Need
Video of the Day
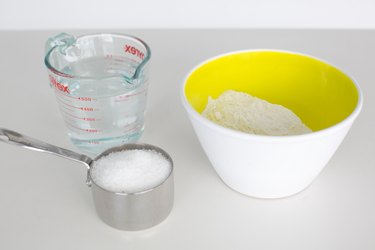
2 cups flour
1 cup salt
¾ to 1 cup water
Large mixing bowl
Strong mixing spoon
Baking sheet
Parchment paper
Rolling pin
Airtight storage container
Video of the Day
Mix Salt and Flour
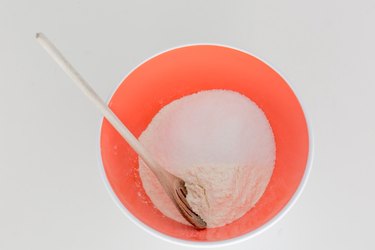
Mix salt and flour together in large bowl.
Add Water and Mix
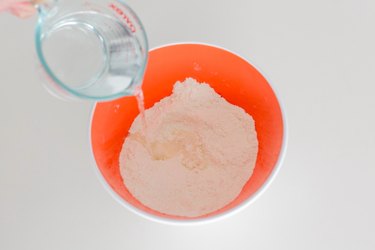
Gradually add water and mix together, until you have a good "doughy" consistency.
If it gets too watery add salt, then flour, until you have a firm dough ball.
Knead the Dough
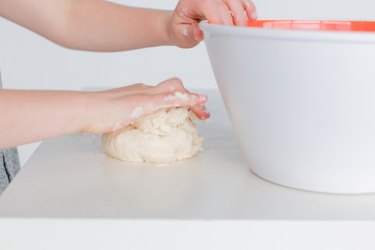
Lightly dust a baking sheet or countertop with flour.
Place dough ball on your surface and continue to knead until the ball is smooth and there are no patches of dry mix.
Getting Crafty? Continue On...
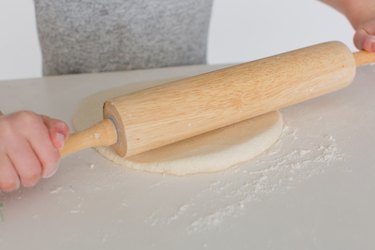
If you plan to use the salt dough for crafts such as ornaments or other art projects, use a rolling pin to flatten out the dough to your desired thickness.
Get Creative

Have fun with your designs.
Baking Salt Dough
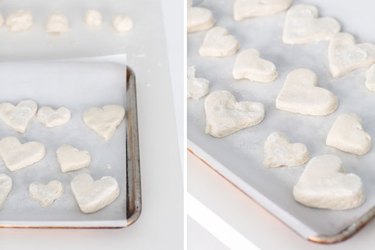
In a preheated oven of 200 degrees, place salt dough designs on a cookie sheet lined with parchment paper and bake for 2 to 3 hours until creations are dry.
You can also let them air dry until hardened, usually a week. This is best for smaller items.
Place any unused dough into airtight container.
After your creations have dried, you can paint and decorate them!