Things You'll Need
Plastic storage bin with lid
Drill
Newspaper
Bucket
Tray
Bricks
Fruit and vegetable scraps
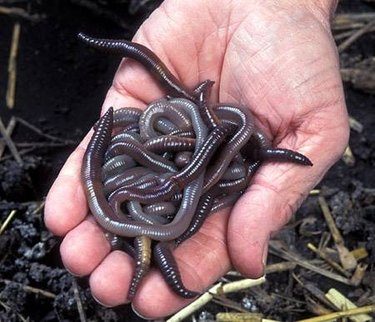
Worm composters may be used indoors or outdoors to make nutritious soil additives for your garden. Vermicomposting, or worm composting, is an easy way to recycle kitchen scraps into rich fertilizer. A compost bin designed for worms takes little effort to assemble and is low maintenance in the longer term. Worm compost systems are available from garden centers, but it is easy to make your own inexpensively. Use these steps to build a worm composter with a simple plastic bin.
Step 1
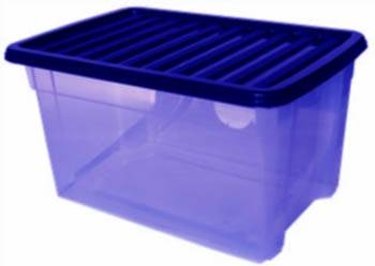
Wash a plastic storage bin and the lid with warm, soapy water. Rinse thoroughly to remove all residue.
Video of the Day
Step 2

Drill 5/8-inch holes around the upper perimeter of the bin for ventilation. Space the holes 2 to 3 inches down from the top edge and at 3-inch intervals. Drill holes in the bottom of the bin for drainage. Space the bottom holes 4 inches from each other.
Step 3

Shred a large stack of newspaper. Tear into strips no wider than 1 inch each. Use the black-and-white printed pages and discard the sheets with colored ink.
Step 4
Soak the shredded paper in a bucket of water. Leave in the bucket at least 1 hour so that the paper absorbs a lot of water.
Step 5
Squeeze out the paper until it has the consistency of a damp sponge. Pull the paper apart, and place into the plastic bin. Fill the bin to 4 inches from the top.
Step 6
Place a tray on the floor or shelf in an area where the temperature does not drop below 40 degrees F. Put four bricks on the tray positioned to hold up the corners of the plastic bin so that excess moisture can drip out. Set the plastic bin on top of the bricks.
Step 7

Bury two handfuls of fruit and vegetable scraps in the damp paper. Leave the bin sitting for a week before introducing worms into the worm composter.
Tip
You may shred and soak brown cardboard to add more bulk to newspaper used to fill the bin.
Video of the Day