
Floral bows make any arrangement of flowers or plants look amazing. Plus, once you learn how to tie a floral bow and arrange flowers like a pro, you won't have to spend money at the florist anymore!
Things You'll Need
Video of the Day
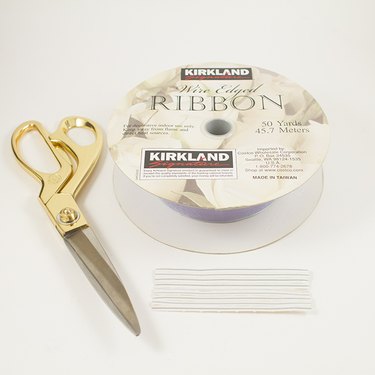
- Wire ribbon
- Twist tie
- Extra ribbon of the same color
- Scissors
Video of the Day
Step 1: Choose Your Ribbon
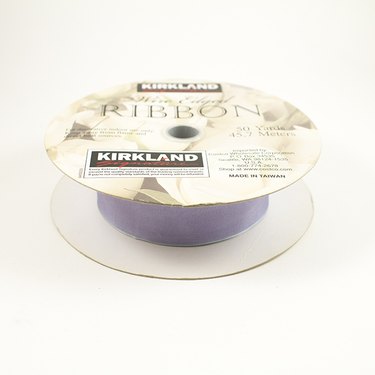
Choose the ribbon color you'd like to use for your project.
Step 2: Make a Loop
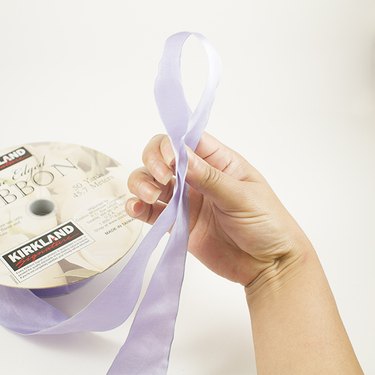
Measure about 8 inches of your wire ribbon. This will be one of the tails for your bow. Next, make a loop with your index and thumb and hold it tight.
Step 3: Create Additional Loops
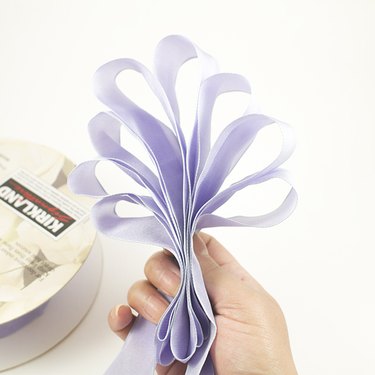
Now that you have your first loop, make seven more loops. Have each loop get larger and then decrease in size as you go along. You should have a total of eight loops.
Step 4: Pinch the Ribbon
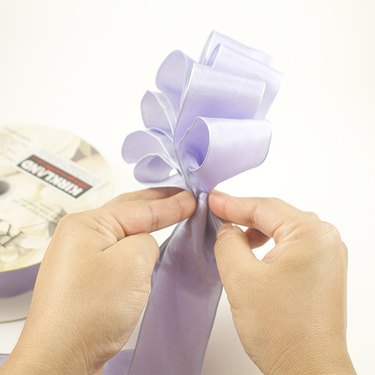
Pinch the base of your ribbon inward and fasten with a twist tie. Make sure it is secure so your loops do not unravel.
Note: You can skip the twist-tie step and just tie a knot with your extra ribbon. Just make sure you tie it securely.
Step 5: Wrap the Ribbon
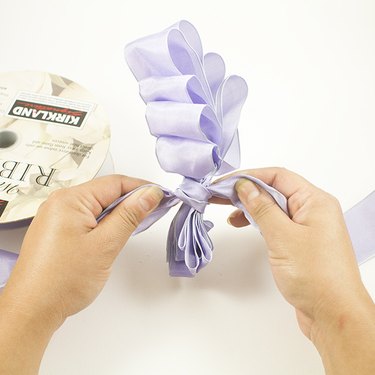
Take some your ribbon and wrap it around the base you just fastened with your twist tie. This will hide the twist tie.
Step 6: Fluff the Bow

Fluff up your loops to form your floral bow. You can arrange them to your liking.
Step 7: Trim the Tails

Cut your ribbon tails to your liking and attach your floral bow to your floral arrangement.