Cypress mulch is marketed as a termite- and decay-resistant form of soil protection. Like all mulches, it maintains soil moisture and regulates soil temperature. Cypress mulch, however, may not be the best garden choice--and for a number of reasons.
Stability
Video of the Day
The best mulches remain where they are even in heavy wind and rain. Cypress mulch, however, will float away in heavy rain, according to the Lake Pontchartrain Basin Research website. This limits its use for erosion control.
Video of the Day
Insect Resistance
Cypress trees develop termite- and decay-resistant heartwood as they mature. Old growth trees are highly insect and decay resistant. Harvesting, however, has taken most old growth trees. Cypress mulch now comes from young trees lacking in heartwood. It is no more resistant to termites and rot than other wood mulches.
Moisture Retention
Cypress mulch repels water when dry and absorbs water slowly. Until completely saturated, it retains water that would otherwise be reaching plants.
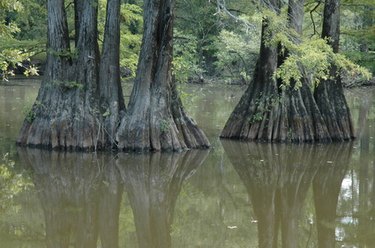
Environmental Impact
In Florida alone, thousands of acres of cypress swamps are being harvested for mulch each year. Because cypress is difficult to grow from seed, replacement of harvested trees with cultivated ones seldom occurs. Non-native plants often invade where the cypresses grew, forcing wildlife to migrate elsewhere for shelter and food.
- Lake Pontchartrain Basin Research: Understanding the Environmental Impacts of Cypress Mulch
- University of Florida IFAS Extension: Mulches for the Landscape
- University of Florida College of Arts and Sciences: Cypress Mulch
- UF IFAS Extension: Why Extension Recommends That You Not Use Cypress Mulch in Your Landscape