Things You'll Need
Tracing paper
Transfer pencil
Pattern
Fabric
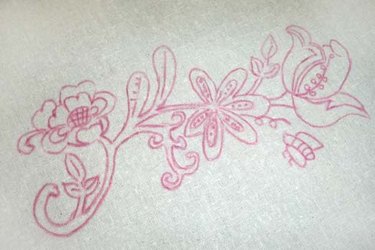
Almost any drawing can be turned into patterns for embroidery by transferring the drawing onto the fabric. A transfer pencil, which works equally well on light and dark fabrics, creates a design template that is easy to follow and washable after the embroidery is finished.
Transfering Patterns for Embroidery
Step 1
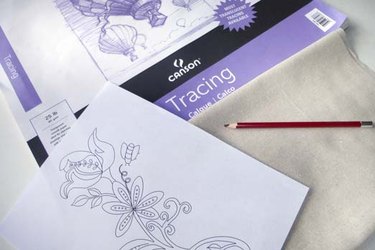
Tracing paper is translucent enough for you to see the original pattern clearly. You can find it at any crafts or art supply store. Transfer pencils come in a range of colors. You can use the same color for the entire pattern or match the color of the lines to the color you intend to embroider in each area.
Video of the Day
Step 2
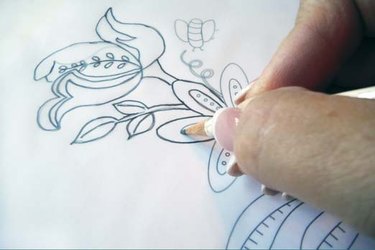
Use a standard #2 pencil to trace the embroidery design onto the tracing paper. Remove the transfer paper from the design.
Step 3
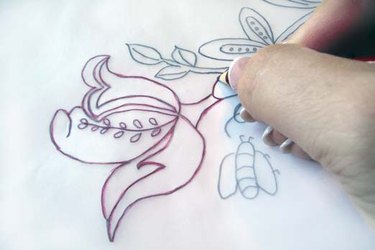
Turn the tracing paper over and trace the embroidery design onto the opposite side, using a transfer pencil. Make sure the color of the transfer pencil will show up on the fabric you want to embroider. Use dark colors for light fabrics and light colors for dark fabrics. Keep the pencil sharp.
Step 4
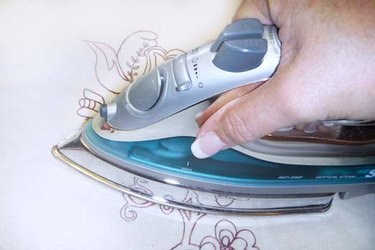
Put the transfer paper right side down on top of the fabric, so lines from the transfer pencil face the fabric. Use a hot iron without steam to attach the transfer to the fabric. Set the iron down and then lift, rather than moving it back and forth. Cover the entire pattern, transferring the markings to the fabric. Periodically lift a corner of the paper to check the transfer.
Tip
Since you traced the design backward, it will face forward when you transfer it to the fabric.
Warning
Do not use steam when transferring the pattern to the fabric.
Video of the Day