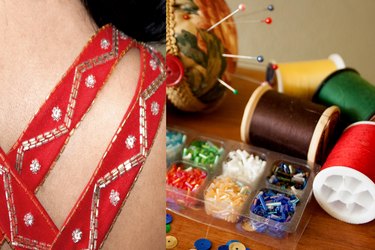
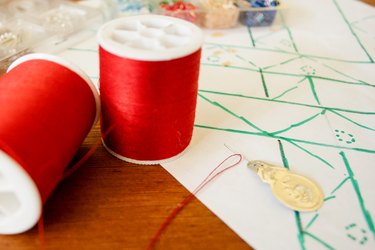
Things You'll Need
Beads
Beading thread
Scissors
Needle
Knotting tool (optional)
Beading in recent years has developed into a new art form. With abundant inspiration surrounding crafters and designers, beaded patterns, motifs, appliques and embroideries have surfaced. Fashion and home decor have also benefited from this influence. However, beading an already made formal dress can seem intimidating. By taking extra care and pre-planning your bead work, you will be able to introduce your art onto your delicate fabrics and formal dress.
Pre-Planning Process
Step 1
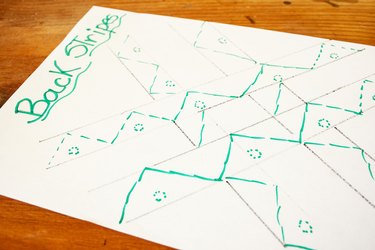
Pre-plan your bead work pattern. Sketch out your design or bead placement order prior to attaching your beads. Review your dress on the reverse for special linings or inserts such as corset straight bone channels. This will give you your dress parameters as to where and how you will be able to attach your beads. Check your bottom hem for a separate lining. If your lining is separate from your shell fabric, turn your dress inside out to expose the inner workings. Access to a separate lining can also avoid sewing through two layers of fabric during your bead application.
Video of the Day
Step 2
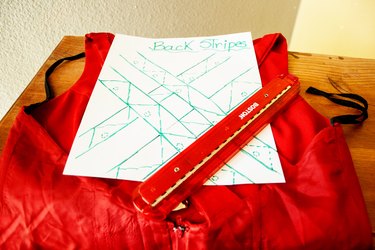
Measure the selected area for your bead work directly on your dress. Measure the width and length for your application and compare it to your sketch design. Make any necessary adjustments to your sketch.
Step 3

Know your dress fabric's type and properties. For example, if you are adding beads to tulle, you will have to adjust your needle size to avoid any punctures or tears to the fabric. If you are adding beads to an embroidered bodice, adjust your needle size in order to secure your beads through the embroidery thread type. High count embroideries can be damaged by puncturing and threading with a needle. It is beneficial to attach a bead as a preliminary test in an unexposed fabric area prior to beading and view your fabric's result.
Step 4
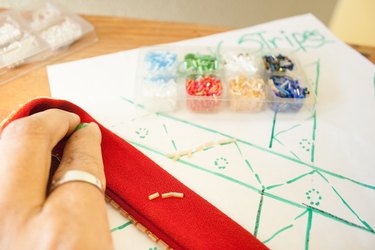
Select your beads. Place your beads with your sketch on a flat work surface. Determine your bead placement order and pattern. Compare and contrast your bead to your fabric and dress. Certain bead types and styles work best with specific fabrics and may not enhance your dress. Determine if you want your beads to appear dyed to match to your fabric or act as an accent or feature in a contrasting color scheme and pattern.
Step 5
Select your thread type. You can opt to use a nylon beading thread, which is generally pre-waxed for easy use and twisted for strength. You can also knot this thread easily to secure your beads. You can opt to use other beading threads such as silk, which is generally used with pearl or stone beads. Your thread choice will directly correlate to your bead type and looping hole. Be aware of your thread size, especially when you work with delicate fabrics.
Bead Work: Application Process
Step 1
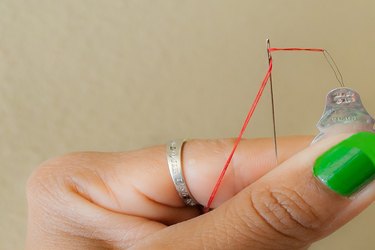
Thread your needle and sew through the back side of your dress fabric. Knot your thread twice. Your initial knot needs to be secure to avoid attaching your bead to a loose knot. Determine if you will be applying each bead individually or as a running stitch.
Step 2

Thread your bead. Insert your needle towards the direction where your next bead placement is to be set. It is best to thread and apply your beads in the same direction to ensure that your thread disappears against the fabric, once you have completed the overall beaded pattern.
Step 3

Loop each bead twice. Knot your thread on the inside of your fabric. Cut any loose threads and repeat the process when starting your next bead until your pattern is complete. Although you can opt to have a running stitch by looping once, inserting your needle, bringing it up through your fabric towards your next bead point and looping your next bead, your thread tension can become weak after several wears and your bead work will loosen. Individual beading handwork is time-consuming but will warrant the best result.
Video of the Day